Issue
- Download, install, and activate ESET Security Ultimate, ESET Smart Security Premium, ESET Internet Security, or ESET NOD32 Antivirus
- Download, install, and activate ESET Small Business Security or ESET Safe Server
Solution
![]()
Before the installation
-
Uninstall any previously installed antivirus software on your system.
-
Create an ESET HOME account. You can also create the account during the installation.
-
Add your subscription to your ESET HOME account. You can also add the subscription to your ESET HOME account during the installation.
Download the activated installer file from ESET HOME
-
Log in to your ESET HOME account.
-
Click Protect device in the Devices section.
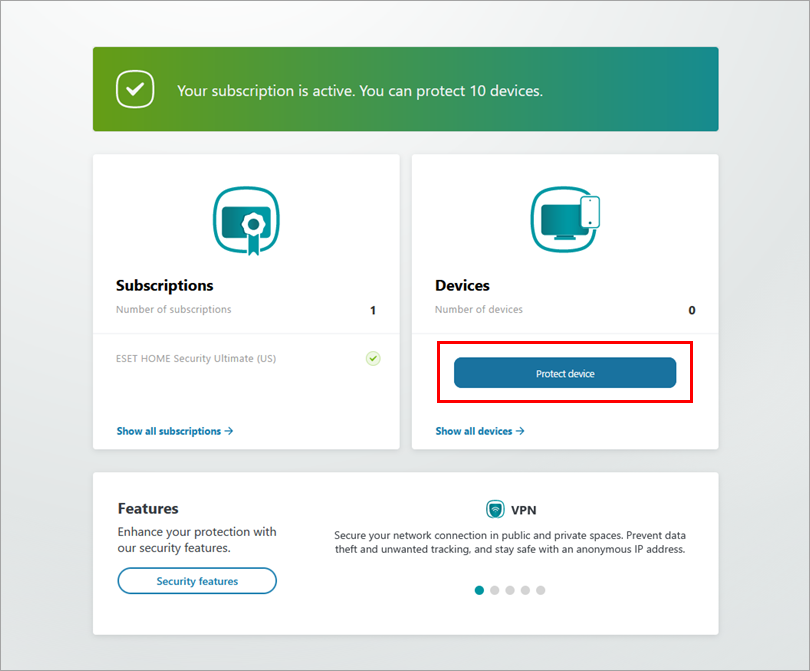
Figure 1-1 -
Choose where you want to install your ESET home or small office product for Windows. If you want to install it on the current device, click Protect this device or click Protect another device if you want to install it on another Windows device.
Protect this device
-
Click Protect this device and click Continue. If you select Protect another device, you can send the download link to the installer via email and download it on another device.
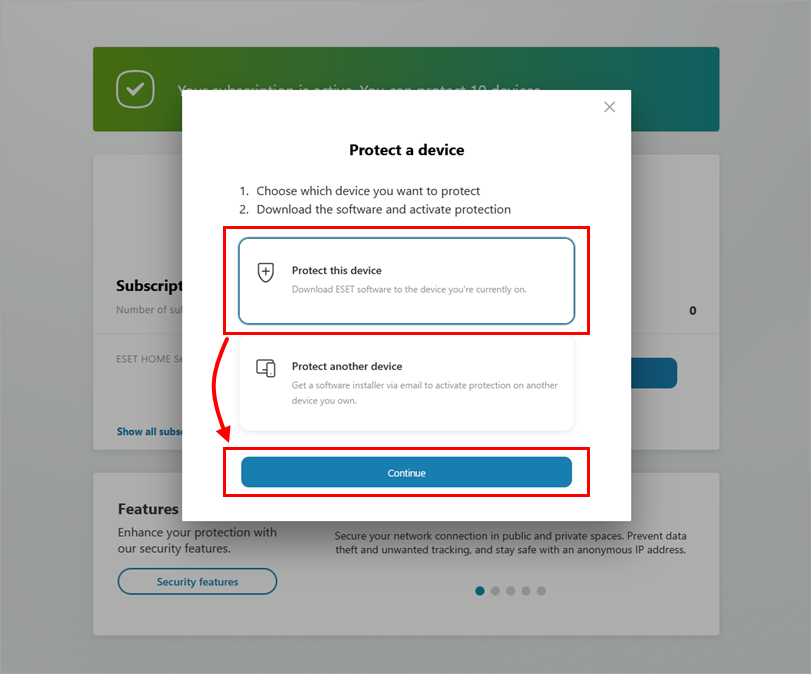
Figure 2-1 -
If you have multiple subscriptions, you will be prompted to select a subscription you want to use to activate your ESET home or small office product for Windows. Select the subscription you want to use and click Continue. If you have only one subscription, continue to step 6.
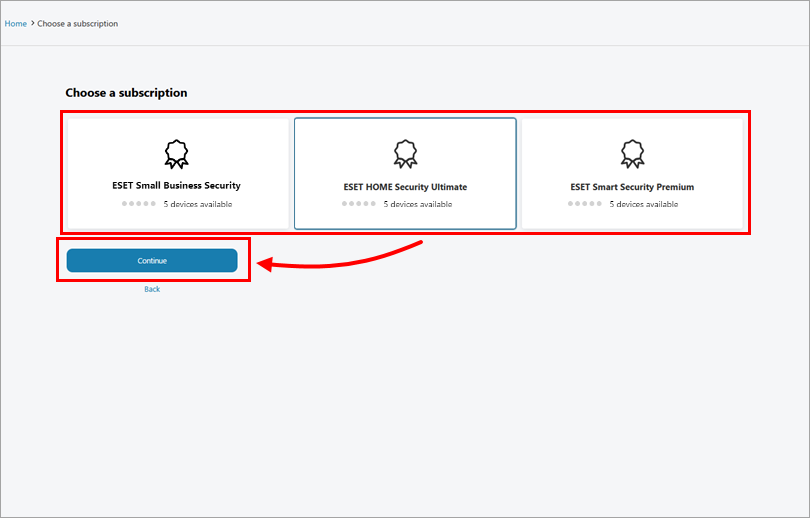
Figure 2-2 -
Click Download protection. ESET HOME will download the ESET home or small office product for Windows according to your operating system and your subscription.
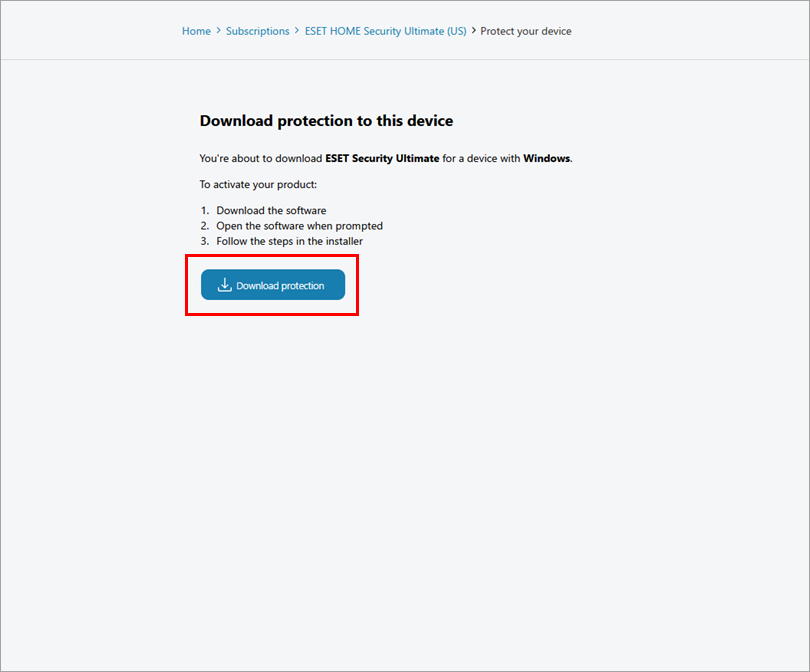
Figure 2-3 -
The installer file is downloaded, and you can proceed with the installation.
Protect another device
-
Click Protect another device and click Continue.

Figure 3-1 -
Click Get a software installer via email and Continue.
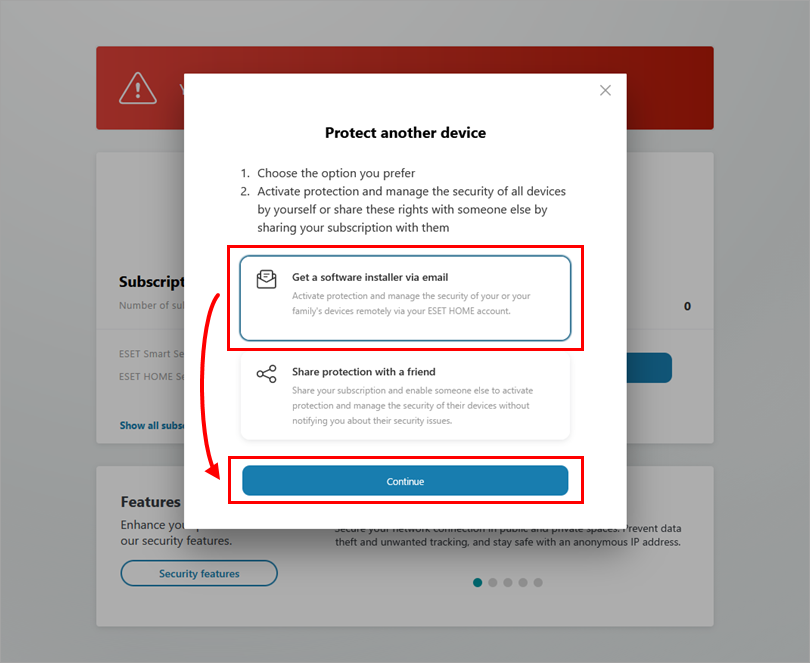
Figure 3-2 -
Depending on the product for which you want to get an installer, select Windows or Windows Server and click Continue.
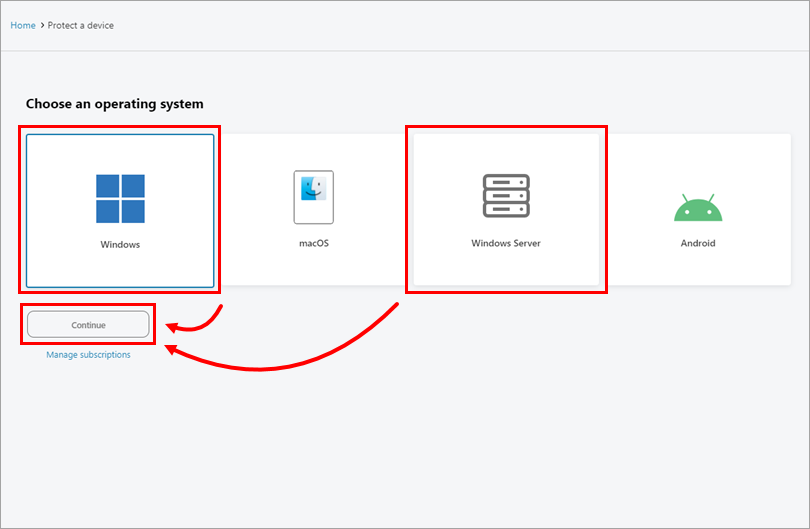
Figure 3-3 -
If you have multiple subscriptions, you will be prompted to select a subscription you want to use to activate your ESET home or small office product for Windows. Select the subscription you want to use and click Continue. If you have only one subscription, continue to step 8.
Figure 3-4 -
In the Email address field, type the email you want to send the installation file link to and click Send protection.

Figure 3-5 -
The link to the installer file was sent to the email address of your choice.
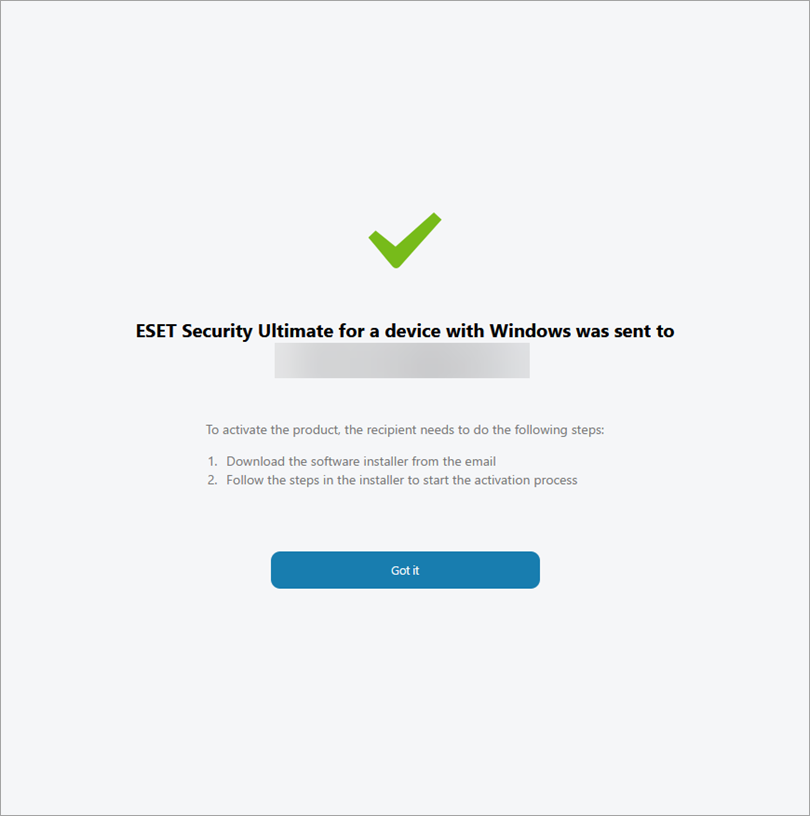
Figure 3-6 -
Open the email from info@product.eset.com in your inbox and click Download product.

Figure 3-7 -
The installer file is downloaded, and you can proceed to the installation.
Install ESET Windows home or small office security product
-
Double-click the downloaded installation file to start the installation.
-
Select your preferred language from the drop-down menu and click Continue.
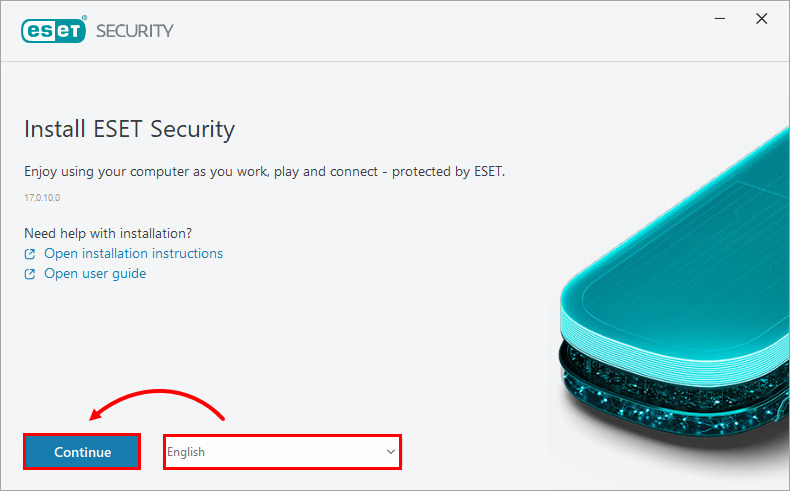
Figure 4-1 -
We recommend enabling all protection and installation settings. Click Allow all and continue, or select your custom options and click Continue. You can review the End User License Agreement and Privacy Policy before you proceed.
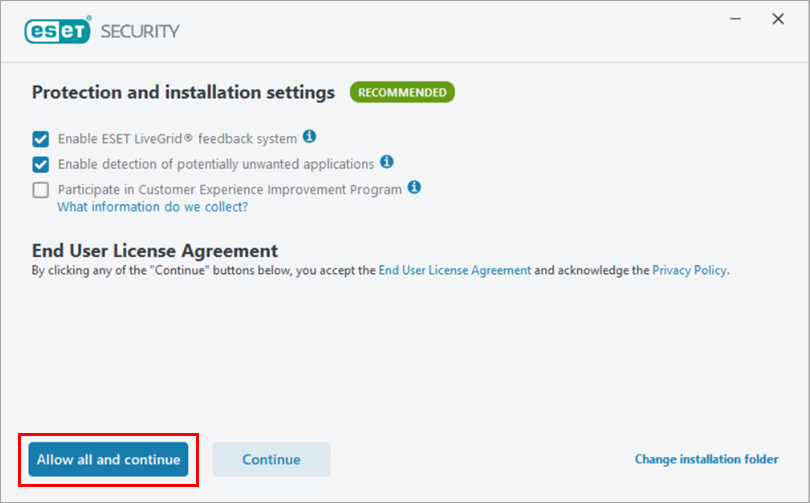
Figure 4-2 -
In the Device name field, type a name for your device and click Continue.
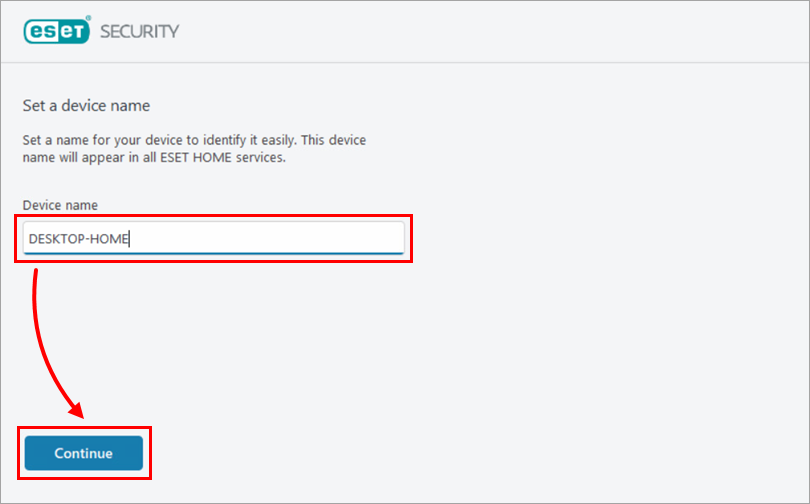
Figure 4-3 -
Click Continue to start the installation.
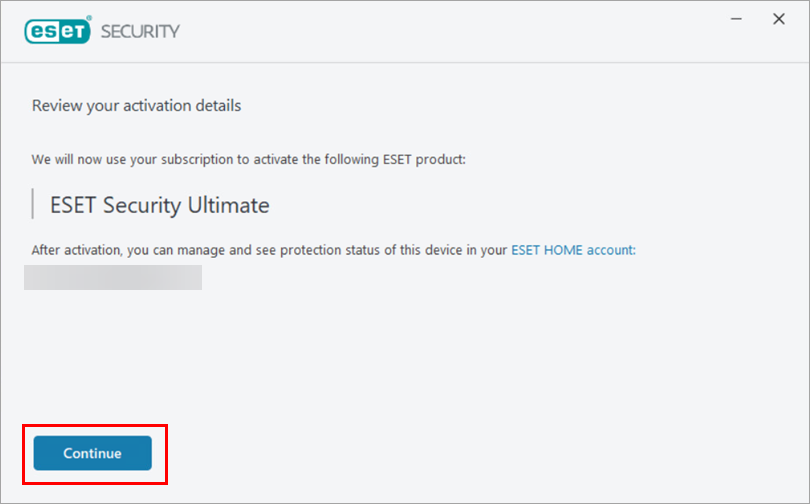
Figure 4-4 -
After the installation is successfully finished, click Done.
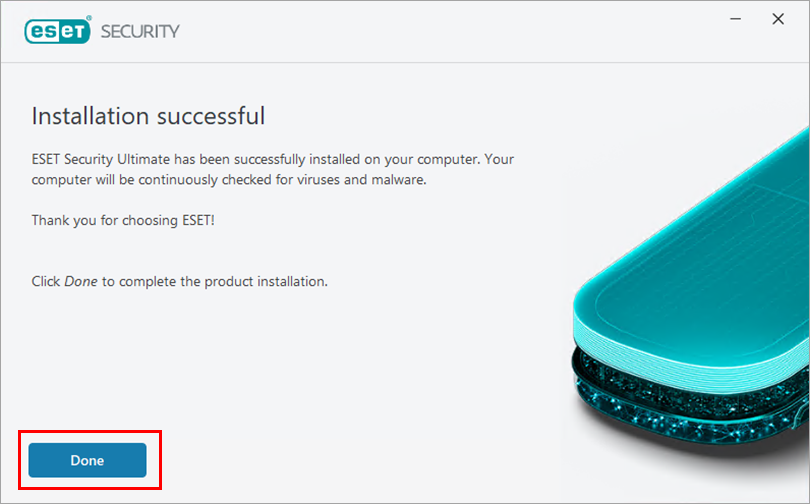
Figure 4-5
Your ESET home or small office product for Windows is now installed and fully functional. An initial scan of your computer will start shortly after installation is completed.
Need further assistance? Contact ESET Technical Support.