Issue
- Install and activate ESET Mail Security for Microsoft Windows Exchange Server
- Schedule a weekly scan in ESET Mail Security for Microsoft Windows Exchange Server
Solution
- Uninstall other antivirus applications
- Verify that a Transport Agent Role is installed
- Download and install ESET Mail Security for Microsoft Exchange Server
- Verify ESET filtering agents are installed
- Initial configuration (recommended)
I. Uninstall other antivirus applications
Use uninstallers (removal tools) for common Windows antivirus software.
II. Verify that a Transport Agent Role is installed
-
Click Start, type
Exchange Management Shell, and click Exchange Management Shell.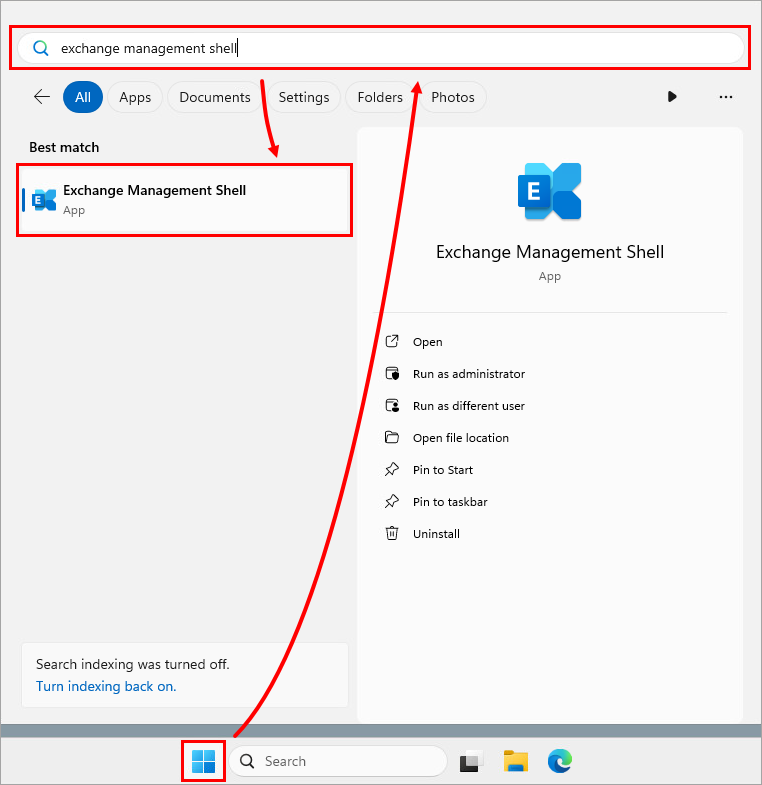
-
In the Exchange Management Shell, type
get-transportagentand press Enter. Verify that the Transport Rule Agent is listed.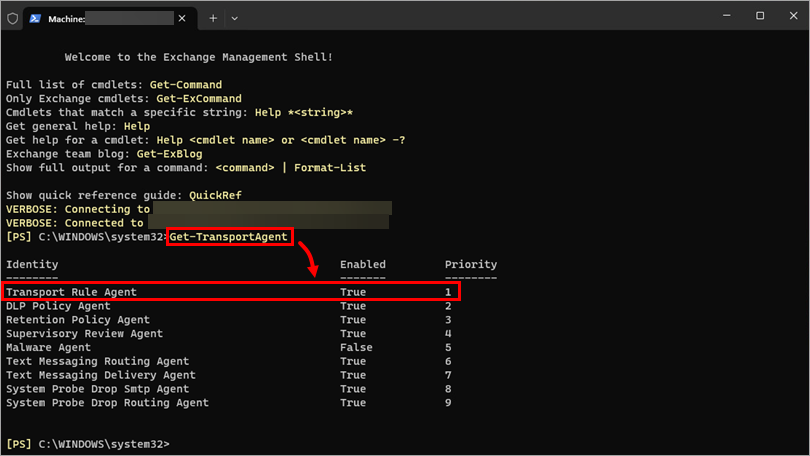
III. Download and install ESET Mail Security for Microsoft Exchange
-
When the download is complete, double-click the installer file to launch the ESET Mail Security for Microsoft Exchange Server installer.
-
Select the preferred language from the Product language drop-down menu and click Next.

-
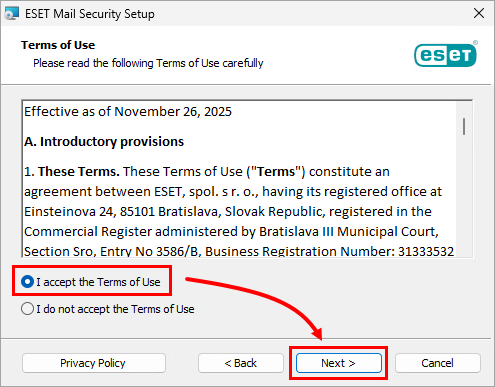
Select I accept the Terms of Use and click Next.
-
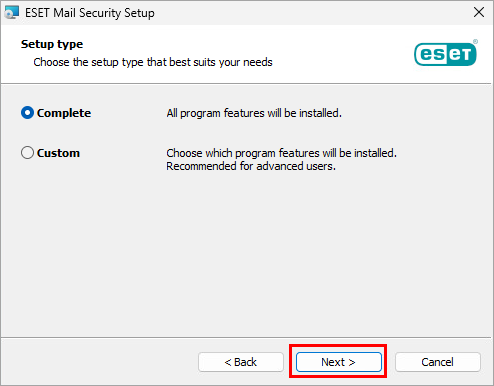
Click Next.
-
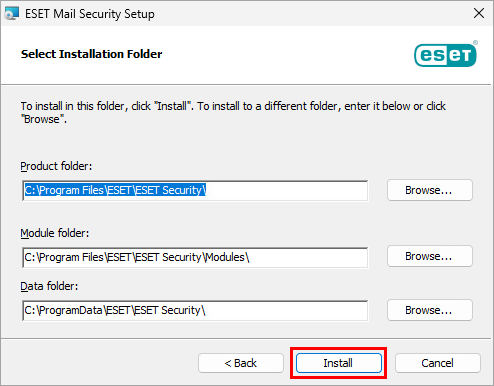
Click Install.
-
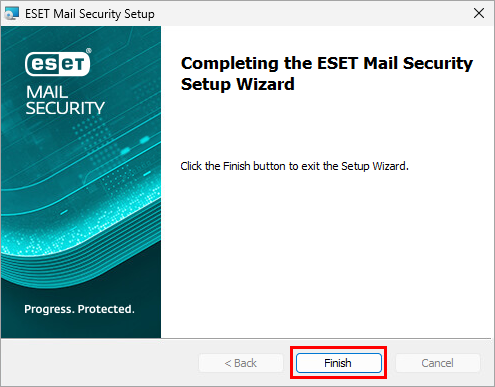
Wait for the installation to complete and click Finish.
-
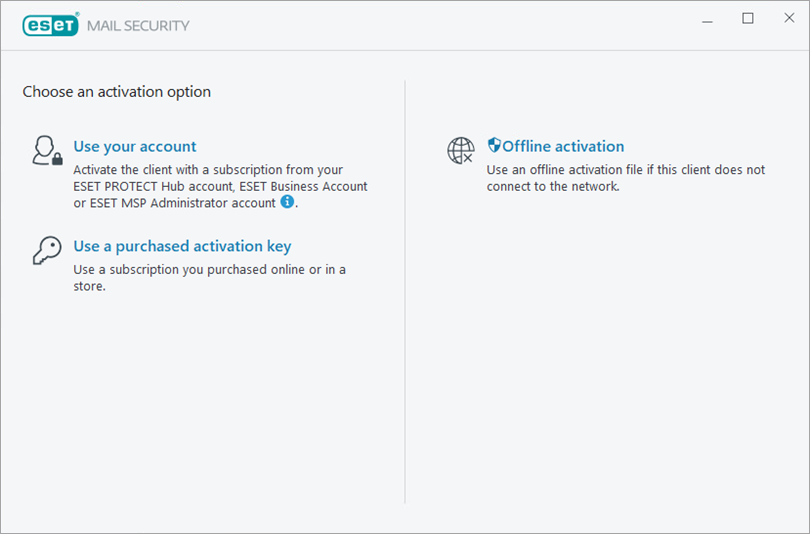
Choose an activation option and activate ESET Mail Security for Microsoft Exchange Server.
IV. Verify ESET filtering agents are installed
-
Click Start, type
Exchange Management Shell, and click Exchange Management Shell. -
In the Exchange Management Shell, type
get-transportagentand press Enter. Verify that two ESET filtering agents are listed above Transport Rule Agent.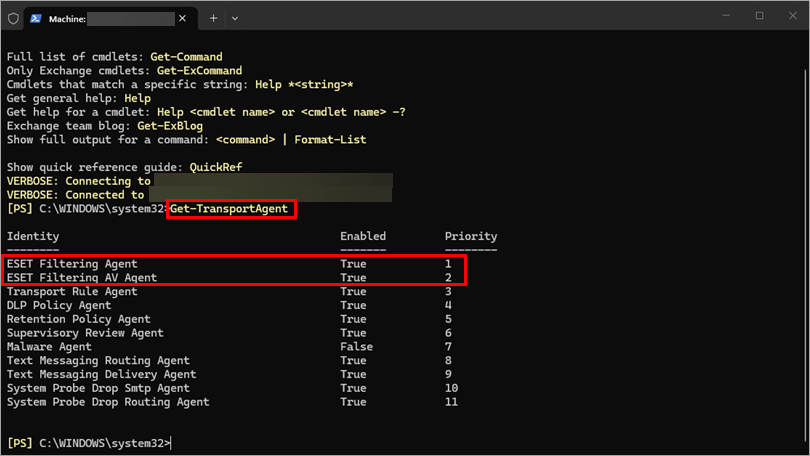
V. Initial configuration (recommended)
Enable features and schedule a weekly scan in ESET Mail Security for Microsoft Windows Exchange Server.
-
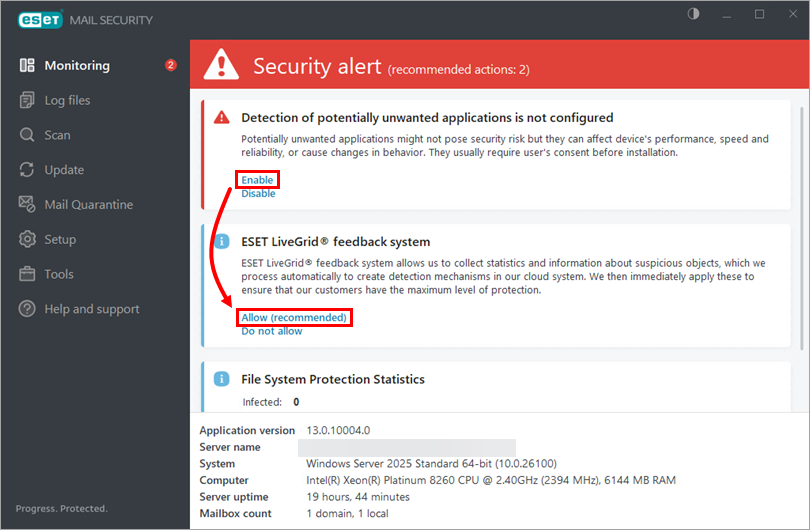
Open the main program window of your ESET Windows application.
-
Click Enable to enable the detection of potentially unwanted applications, and click Allow (recommended) if you want to participate in the ESET LiveGrid® feedback system.
-
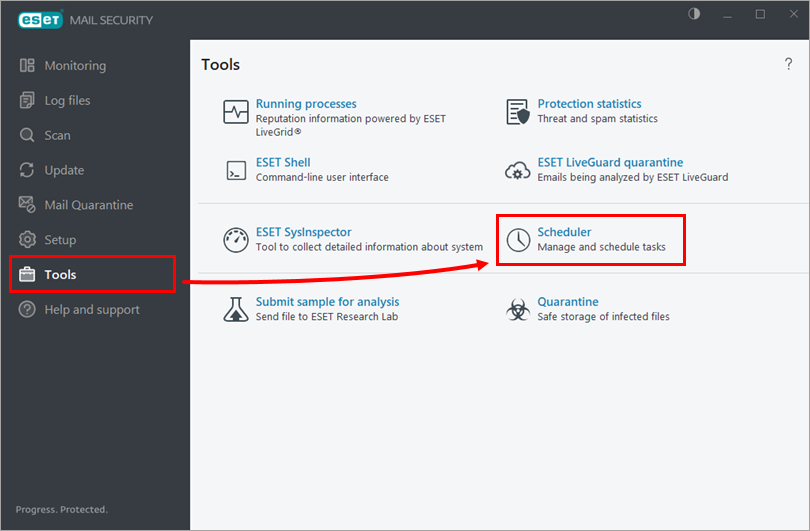
Click Tools → Scheduler.
-
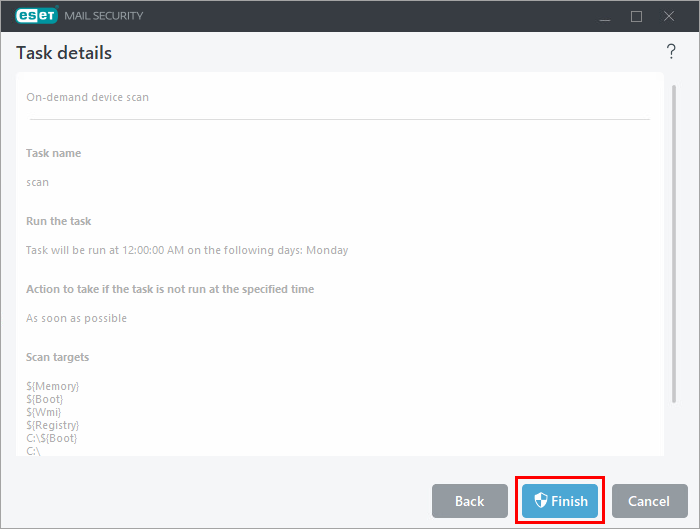
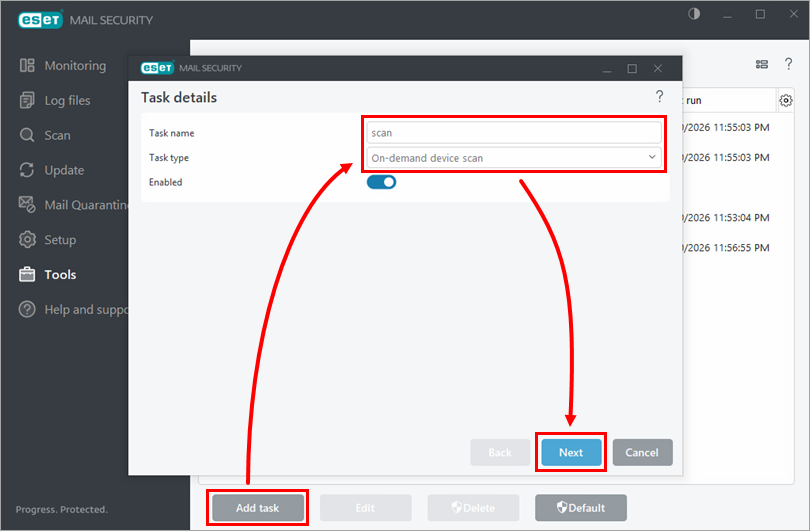
Click Add task. Type a name for the task in the Task name field, select On-demand device scan from the Task type drop-down menu, and click Next.
-
Select your preferred interval and click Next.
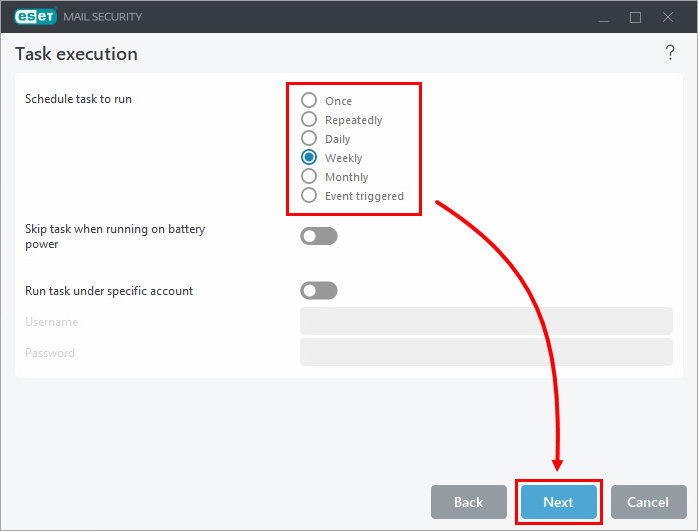
-
Select a day and time for the task and click Next.

-
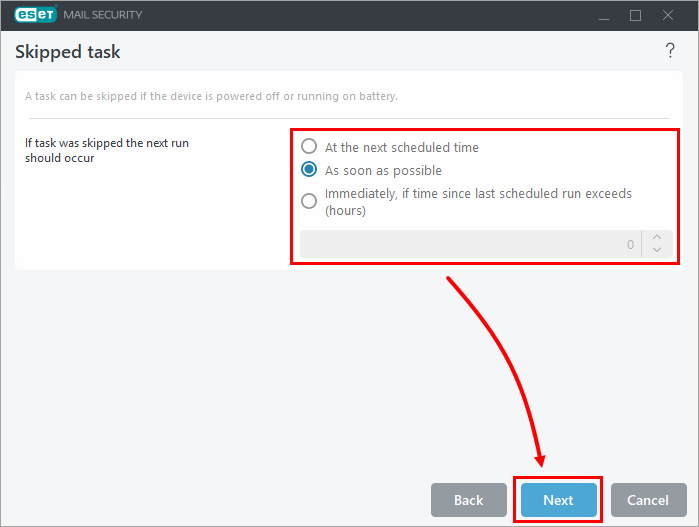
Select an option to run a skipped task (in this example, As soon as possible is selected) and click Next.
-
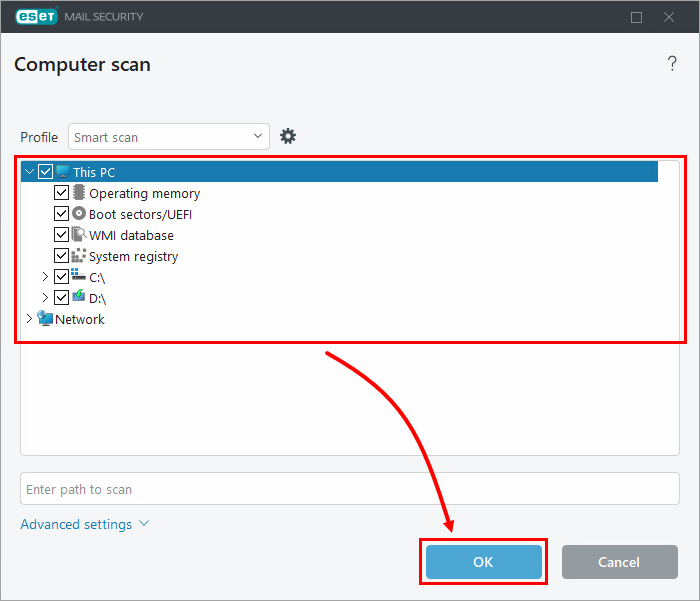
Select check boxes next to items you want to scan and click OK.
-
Click Finish.