Issues
- Download, install, and activate ESET Cyber Security
Solution
Install ESET Cyber Security
-
Uninstall any previously installed antivirus software on your system.
-
Download ESET Cyber Security from ESET HOME and double-click the installer file to begin the installation.
-
If you are installing ESET Cyber Security using a .dmg installer file, double-click the installer file and double-click the Install ESET Cyber Security icon.
-
-
Click Continue.
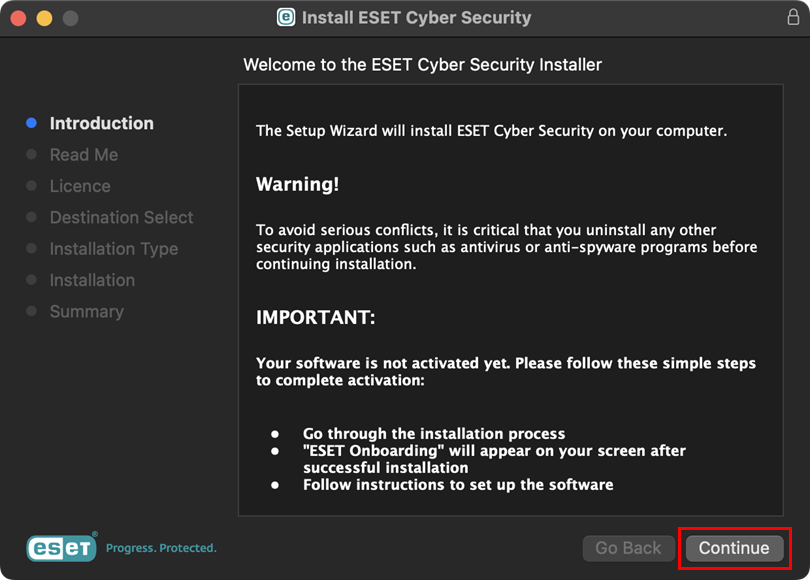
Figure 1-2 -
Click Continue.
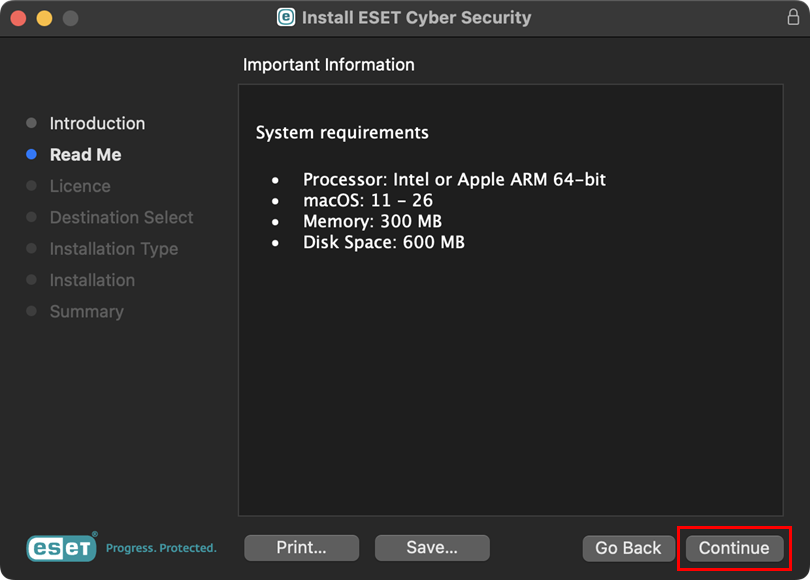
Figure 1-3 -
Click Continue. In the dialog window, click Agree.

Figure 1-4 -
Select the software installation option and click Continue.
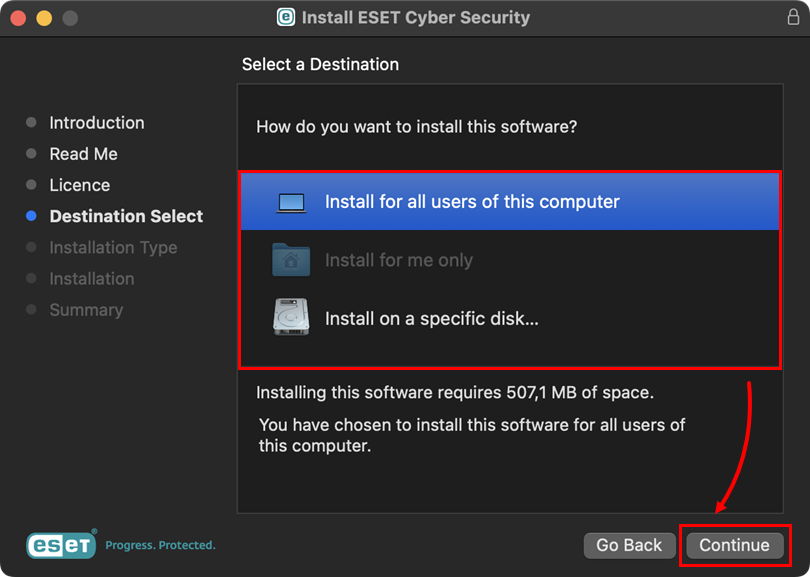
Figure 1-5 -
Click Install.
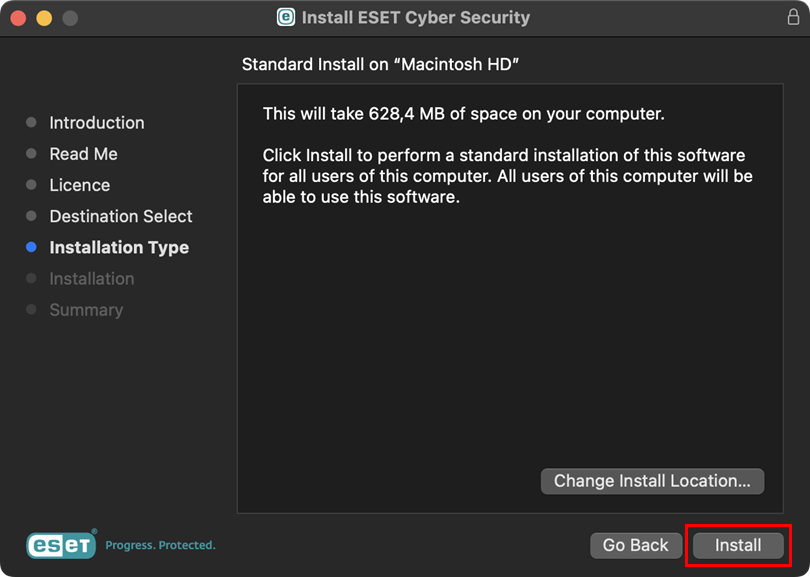
Figure 1-6 -
When prompted, confirm the action by typing your administrator Password or using Touch ID, and click Install Software.
-
The installation may take a few minutes to complete. When the The installation was successful screen displays, click Close.
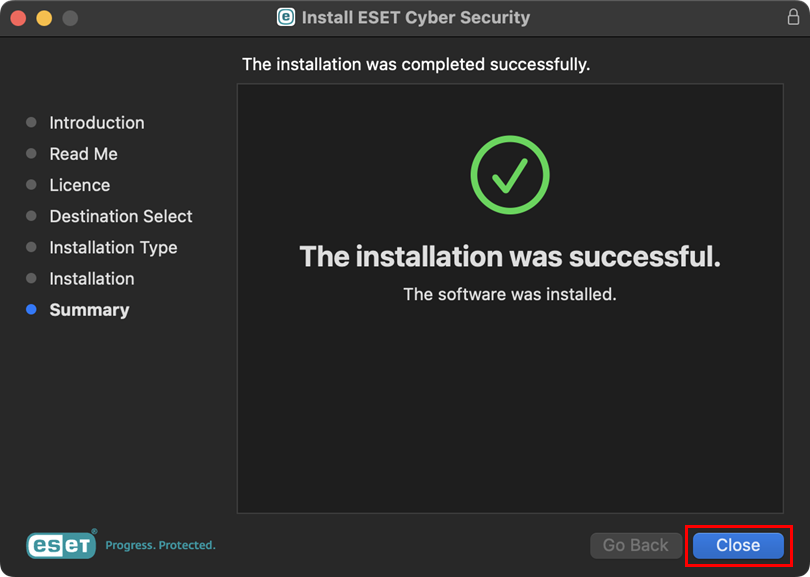
Figure 1-7 -
When the "Installer" would like to access files in your Downloads folder window displays, click Allow.
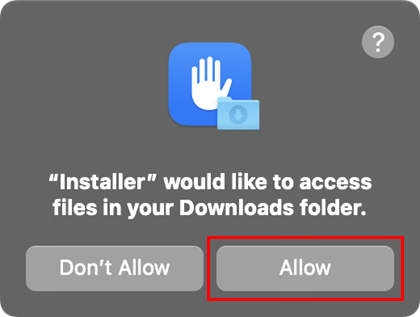
Figure 1-8 -
Click Continue.
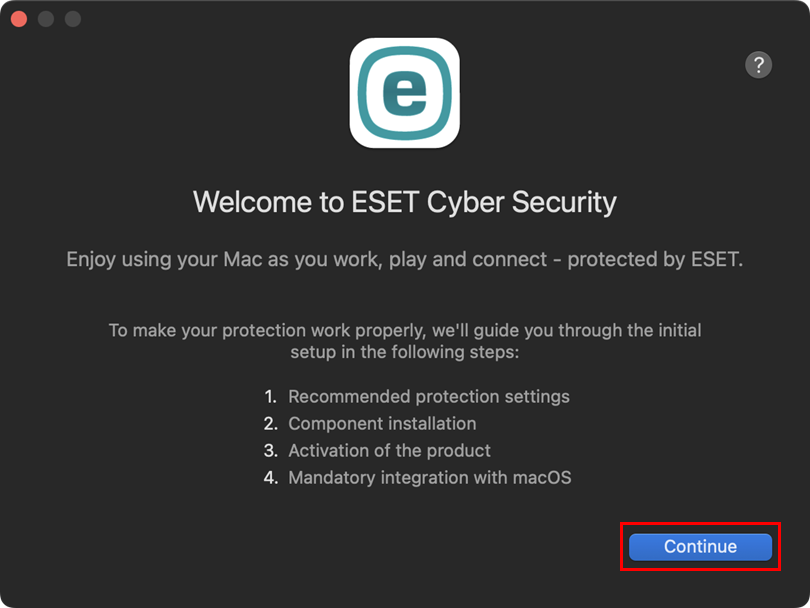
Figure 1-9 -
Click Enable All and Continue.
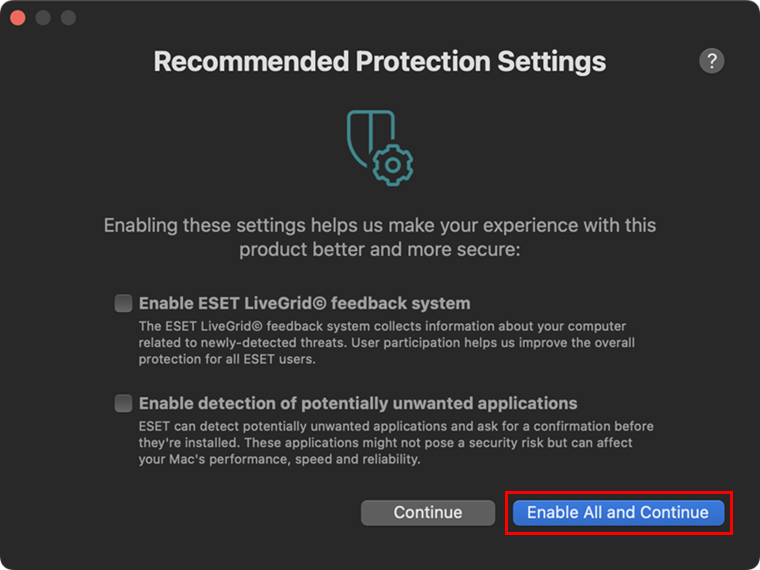
Figure 1-10 -
In the Component Installation window, leave the Default Installation preselected and click Continue.
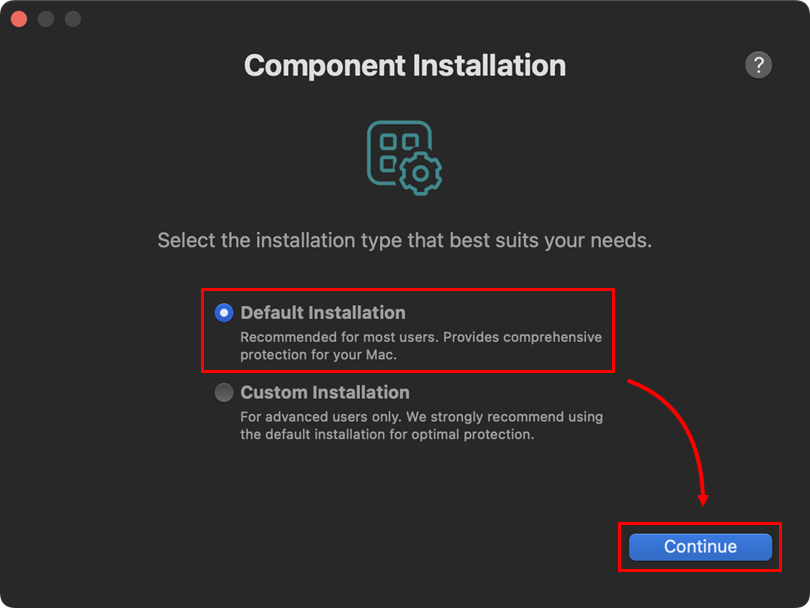
Figure 1-11 Manual activation via Activation key
If you are installing ESET Cyber Security using a .dmg installer, you need to activate your product manually using an Activation key.
-
Click Activate with an Activation Key.
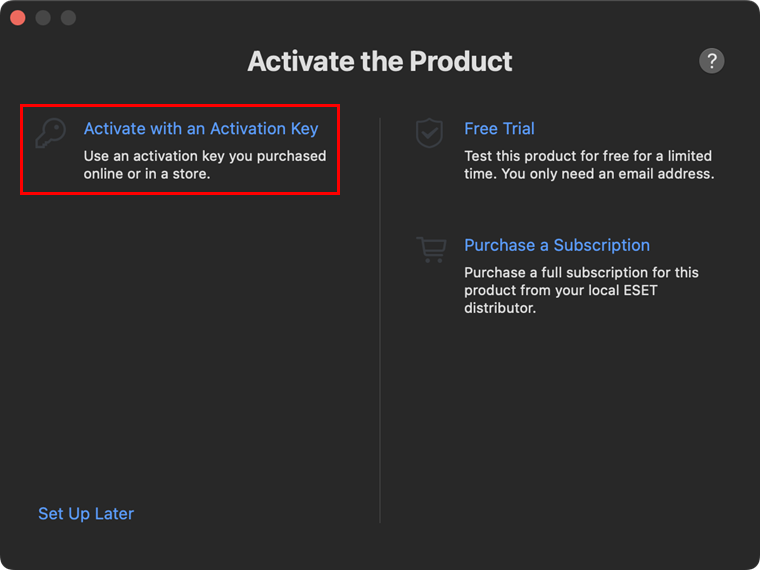
Figure 1-12 -
Type or copy/paste your Activation Key and click Continue.
If you do not have an Activation Key or did not receive an email with subscription information following your purchase, retrieve your subscription information.
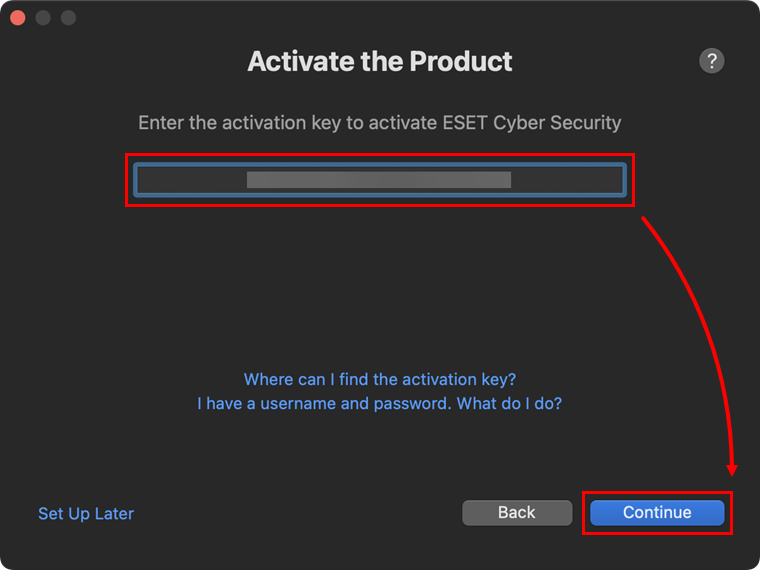
Figure 1-13
-
-
After the activation, you will receive "ESET Real-time File System Protection" would like to use a new network extension, "ESET Web and Email Protection" would like to use a new network extension, and ESET Network Access Protection would like to use a new network extension system notifications. Click Open System Settings in the respective windows and allow system extensions for your ESET product for Mac. When the system extensions are allowed, click Continue.
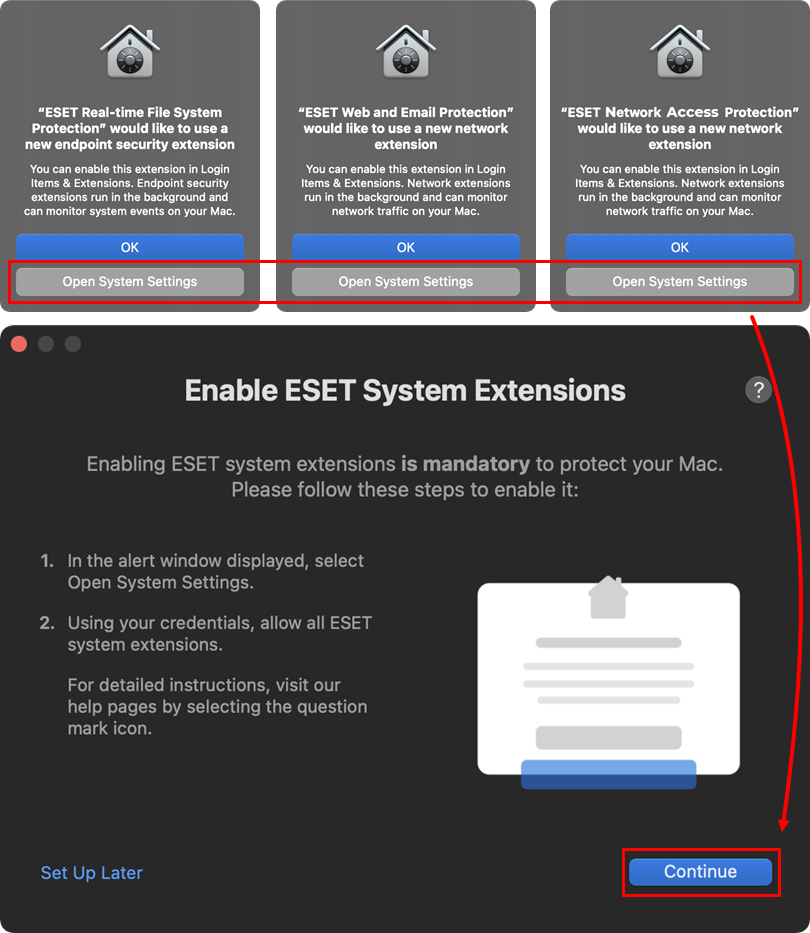
Figure 1-14 -
After allowing system extensions, you must allow your ESET product to add proxy configurations for ESET Web and Email Protection to work. Click Allow. When the system extensions are allowed, click Continue.
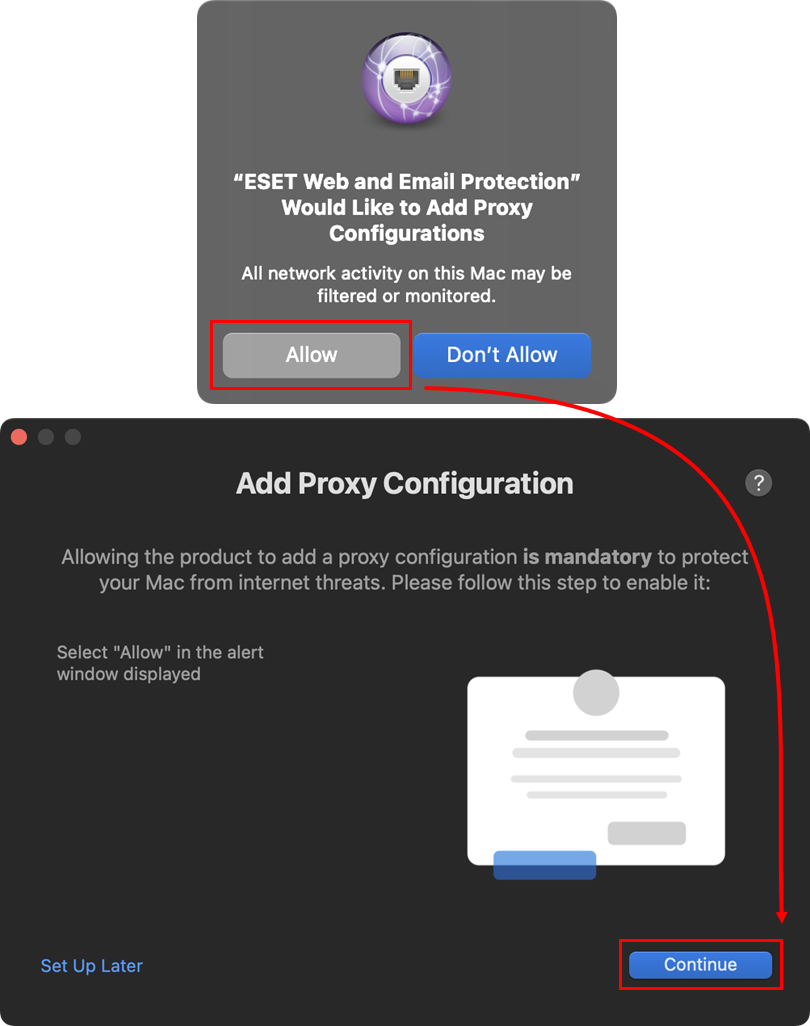
Figure 1-15 -
In the ESET Network Access Protection Would Like to Filter Network Content window, click Allow. When the system extensions are allowed, click Continue.
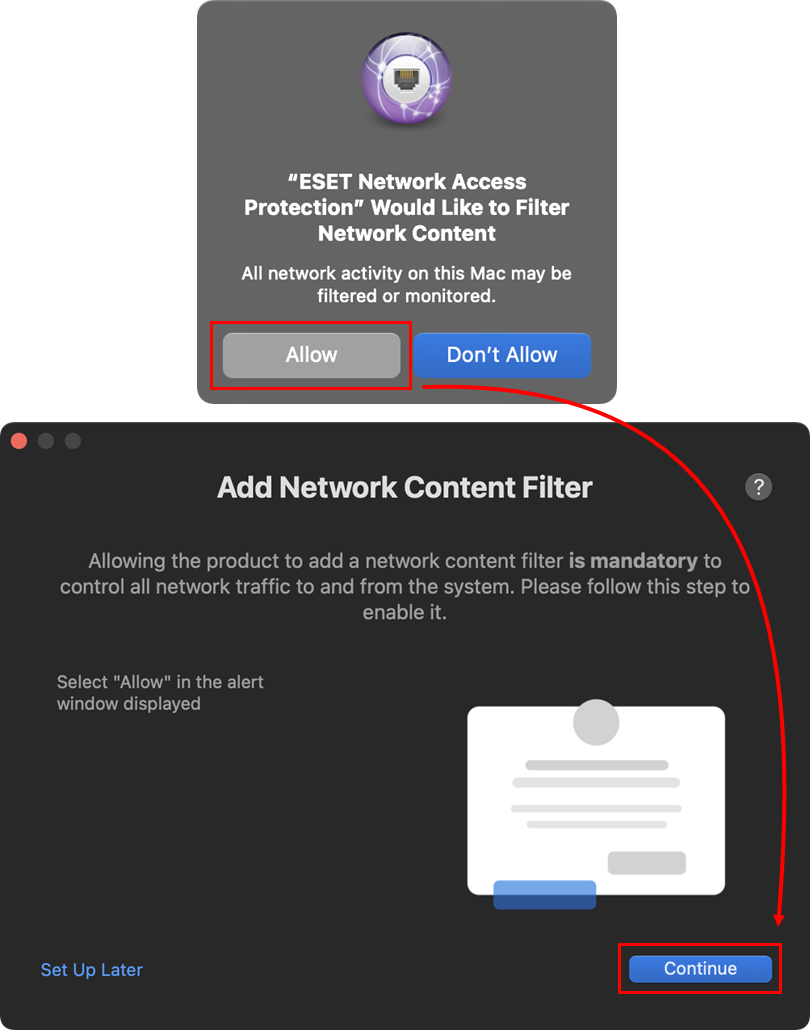
Figure 1-16 -
In the Onboarding window, type your Mac password, click Update Settings and then click Continue.
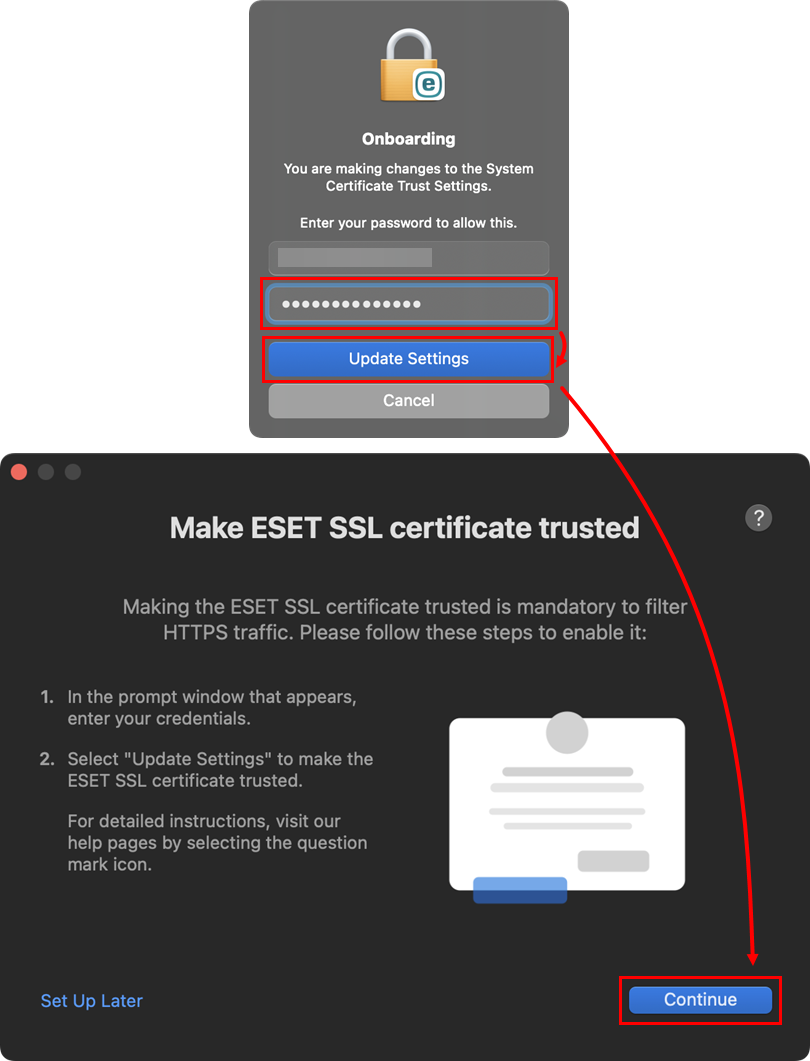
Figure 1-17 -
After adding proxy configurations, you must allow your ESET product access to user-protected data to receive full protection. Click the open System Preferences link and allow full disk access for your ESET product for macOS. When Full disk access is allowed, click Continue.
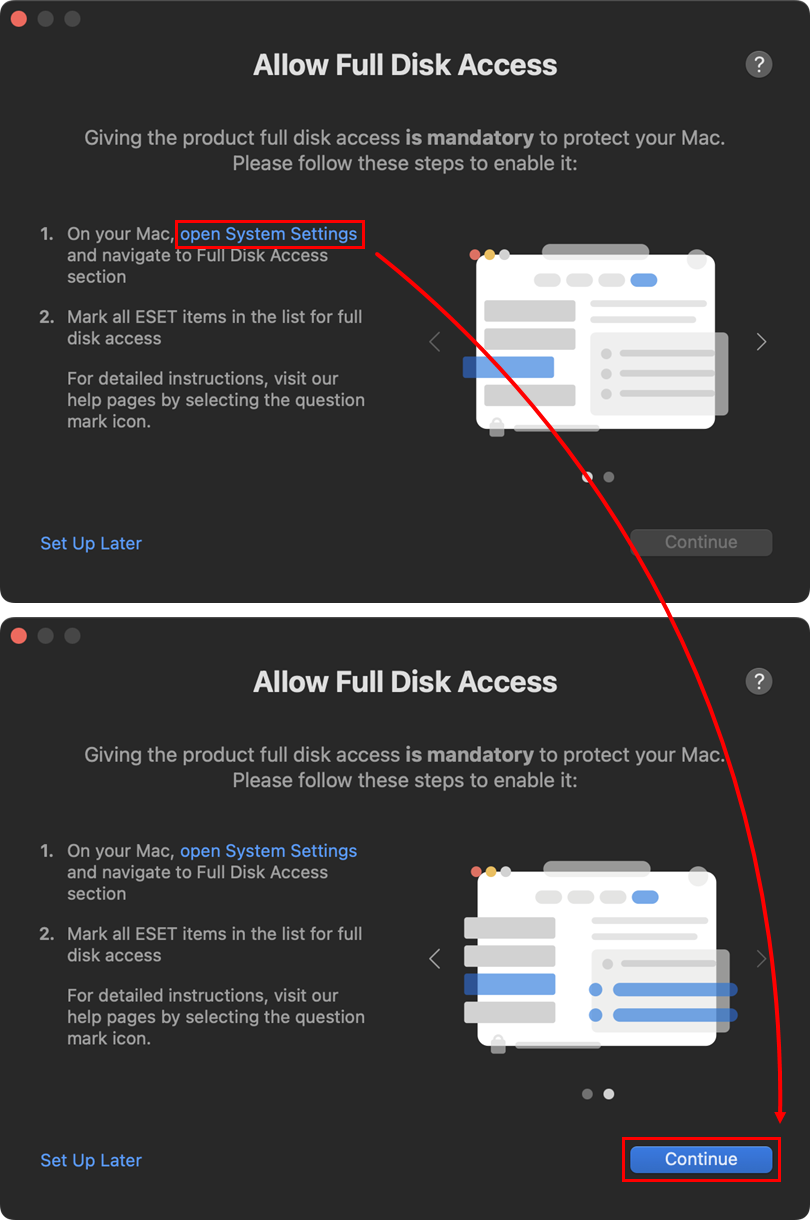
Figure 1-18 -
Follow these instructions if new network connection has been detected in ESET Cyber Security for macOS.
-
In the Allow Notification window, click Open System Preferences and click the Allow Notifications toggle to enable it. You can also allow notifications by clicking Allow on the system notification. When the notifications are allowed, click Continue.
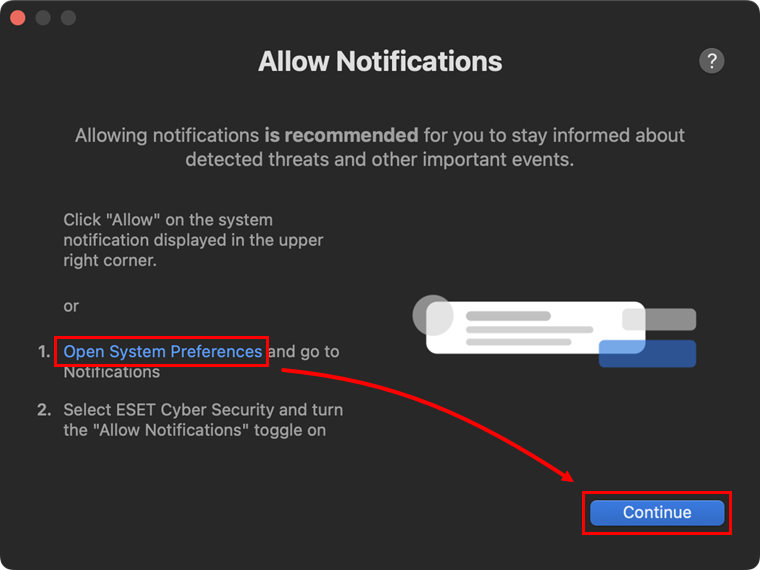
Figure 1-19 -
Click Done.

Figure 1-20 -
In the Dock menu of your Mac, click the ESET icon to view the ESET Cyber Security main program window. In the ESET Cyber Security main window, click enable Device control to enable this option. Also, restart your web browser to ensure HTTPS scanning works correctly.
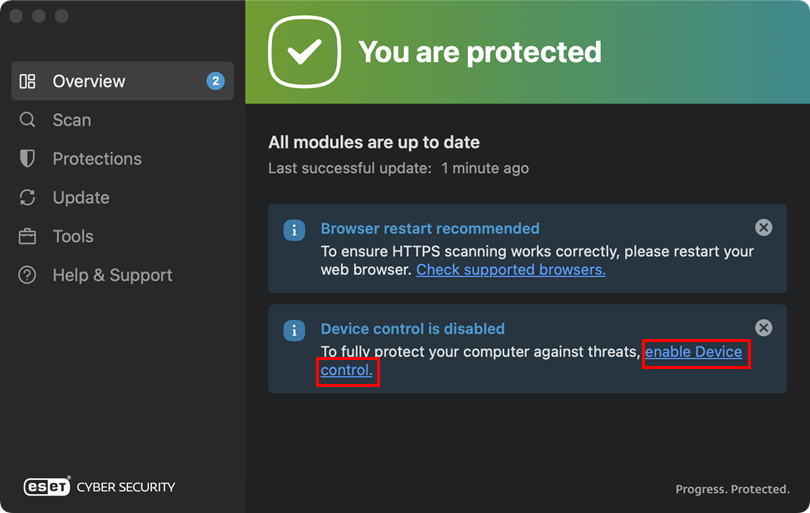
Figure 1-21