Podrobnosti
Citrix® XenApp™ Server version 6.5 provides secure remote access to internal corporate networks through native integration, and, with ESET Secure Authentication (ESA), through RADIUS (without requiring a separate RADIUS server to act as an intermediary).
Riešenie
autentifikácia autorizácia dvojfaktorová
Introduction
This article describes how to configure a Citrix® XenApp™ Server version 6.5 to authenticate users against an ESA Server. Before proceeding, verify that you've installed the RADIUS Server component of ESET Secure Authentication and can access the RADIUS service that allows external systems to authenticate users.
Before your Citrix® XenApp™ Server can use the ESA Server to authenticate users via RADIUS, it must be set up as a RADIUS client on the ESA Server. Next, your server running the ESA RADIUS service must be setup as a RADIUS Server on the Citrix® XenApp™ Server. Once these configurations have been specified, you can start logging into your Citrix® XenApp™ Server using ESA OTPs.
Step I - RADIUS client configuration
To allow the Citrix® XenApp™ Server to communicate with your ESA Server, you must configure the Citrix® XenApp™ server as a RADIUS client on your ESA Server:
- Launch the ESA Management Console (found under Administrative Tools).
- Navigate to RADIUS Servers and locate the hostname of the server running the ESA RADIUS service.
- Right-click the hostname and select Add Client from the context menu.
- Configure a RADIUS client (see Figure 1-1).

Figure 1-1
Note that the check box next to Mobile Application is selected. The warning may be safely ignored, since Citrix® XenApp™ will be authenticating users' AD passwords.
ESA has now been configured to communicate with the Citrix® XenApp™ Server. You must now configure the Citrix® XenApp™ Server to communicate with the ESA Server. First, create a Shared Secret for the RADIUS protocol and then specify a Network Access Client IP address for RADIUS. Finally, eable two-factor authentication using the Citrix® XenApp™ Management Console.
Step II - Create a Shared Secret for RADIUS
The Citrix Web Interface stores your Shared Secret in a text file on the local file system. The location of this file is given by the RADIUS_SECRET_PATH configuration value in the web.config file (normally in inetpubwwwrootCitrixXenApp for sites hosted on IIS) or web.xml file (for sites hosted on Java application servers). The location given is relative to the conf folder for sites hosted on IIS and relative to the /WEB_INF directory for sites hosted on Java application servers.
To create the shared secret, follow the steps below:
- Create a text (.txt) file called radius_secret.txt that contains the same Secret Key that you used in step 4 of the previous section (see Figure 1-1).
- Move this file to the location specified in the relevant configuration file. For example, web.config for sites hosted on IIS.
- Modify the file permissions for this file such that it can be accessed only by the appropriate users or processes.
Step III - Specify a Network Access Client IP Address for RADIUS
The RADIUS protocol requires that access requests to RADIUS servers include the IP address for the RADIUS client (for example, the Web Interface). In order to enable RADIUS authentication, you must provide the IP address of the Web server.
To provide the IP address of the RADIUS client, follow the steps below:
- Open the web.config file for sites hosted in IIS.
- Enter the IP address of the Web server (for example, the server hosting the IIS site) as the value for the RADIUS_NAS_IP_ADDRESS configuration parameter.
- Save the file.
Step IV - Enabling Two-Factor Authentication using the Citrix Web Interface Management Console
You must now enable two-factor authentication in the Web Interface so that users can access and display their resource set. This should be done via the Authentication Methods task in the Citrix Web Interface Management console. In addition to enabling two-factor authentication, you can specify one or more RADIUS server addresses (and, optionally, ports), the load balancing or failover behaviour of the servers, and the response time-out.
- Log into the Citrix Web Interface Management Console.
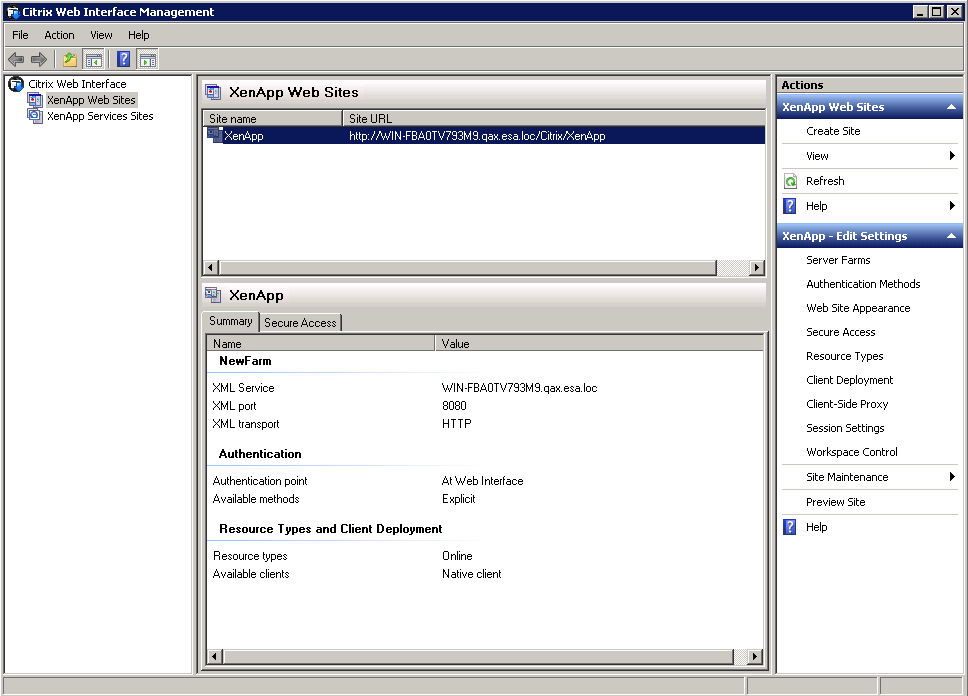
Figure 4-1
- Right-click the site name and choose Authentication Methods, the following window will be displayed:
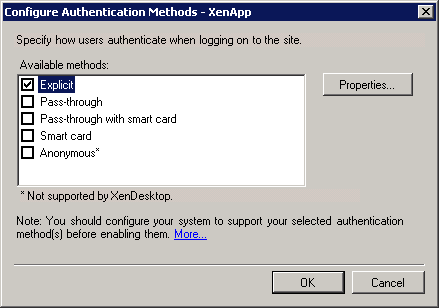
Figure 4-2
- Select the Explicit option and click Properties.... The Properties window will appear:
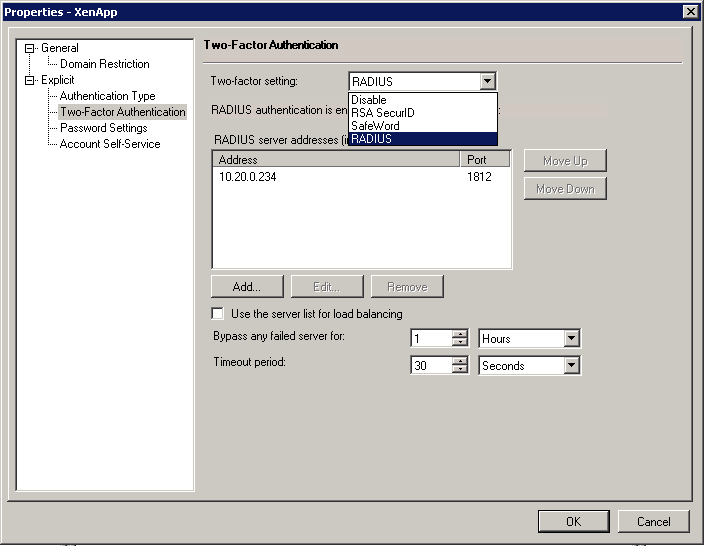
Figure 4-3
- Select Two-Factor Authentication, choose RADIUS from the Two-factor setting dropdown box, and click on the Add... button. The following popup window will appear:
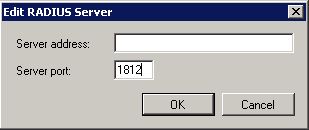
Figure 4-4
- Enter the IP address of the ESA RADIUS Server in the Server Address field, enter 1812 as the Server Port and click OK.
- You will be returned to the Properties window. Click OK to save your changes.
- You will be returned to the Configure Authentication Methods window. Click OK to save your changes.
- Test the setup by navigating to the Citrix® XenApp™ Web Interface from a client browser. The login screen should now display a PASSCODE field, in which the ESA OTP can be entered during the logon process.You are now ready to authenticate your Citrix® XenApp™ users against ESET Secure Authentication.

Figure 4-5