Issue
- You are using ESMC 7.0 with MS SQL 2008 R2 Express (64-bit) and want to upgrade to the latest version of ESET PROTECT On-Prem
- In ESMC version 7.1 and later, MS SQL 2008 R2 is no longer supported, so you need to upgrade your database to a supported version
- Installing MS SQL Server 2008 R2 SP3
- Upgrading the database to SQL Server 2017 Express
- Upgrade from version 2017 to the MS SQL Server 2019 Express (optional)
Details
Click to expand
- If you are using MS SQL 2008 R2 Express (64-bit), which was distributed with ERA 6.x, install MS SQL Server 2008 R2 Express SP3 first. Afterward, you can directly upgrade the database up to the MS SQL 2017 version.
- SQL Server 2017 (14.x) is only available for 64-bit platforms, and cross-platform (32-bit to 64-bit) upgrade is not supported.
Solution
Installing MS SQL Server 2008 R2 SP3
Download the Microsoft SQL Server 2008 R2 Service Pack 3 installer.
Run the installer.
The SQL installer checks your installation first. When it is completed, click Next.

Figure 1-1
To continue the installation, click I accept the license terms and click Next.
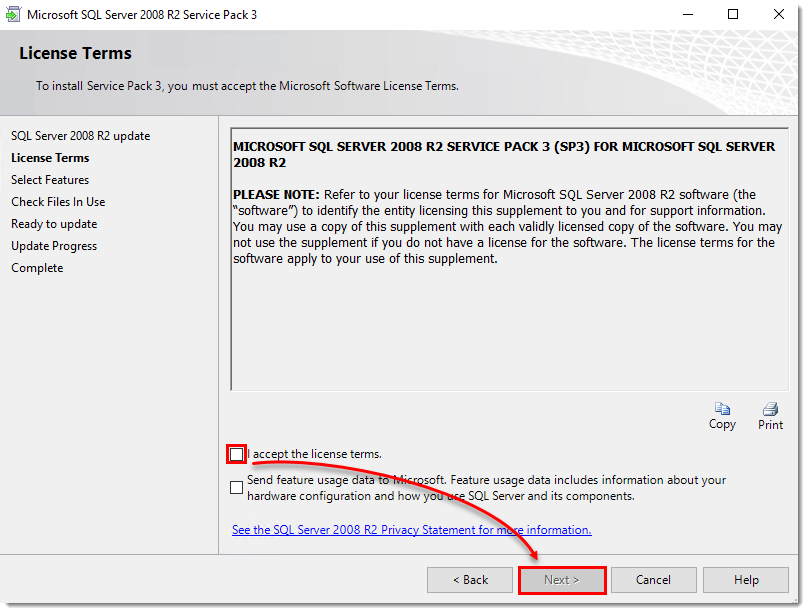
Figure 1-2
In the Select Features window, click Next.
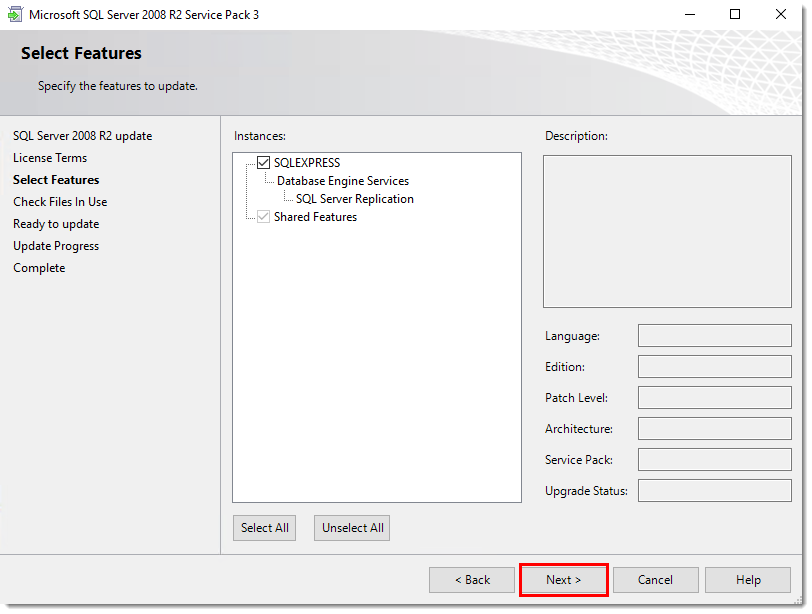
Figure 1-3
In the Check Files in Use window, click Next.
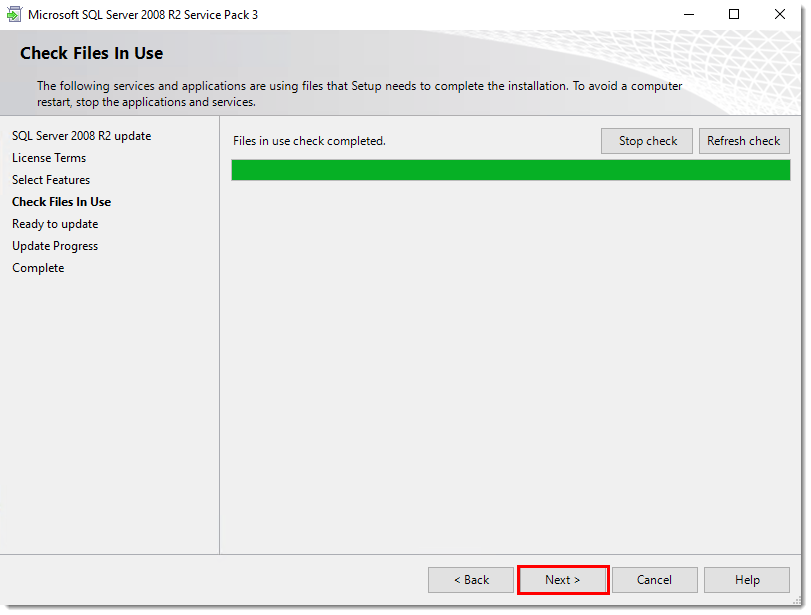
Figure 1-4
Click Update to install Service Pack 3.
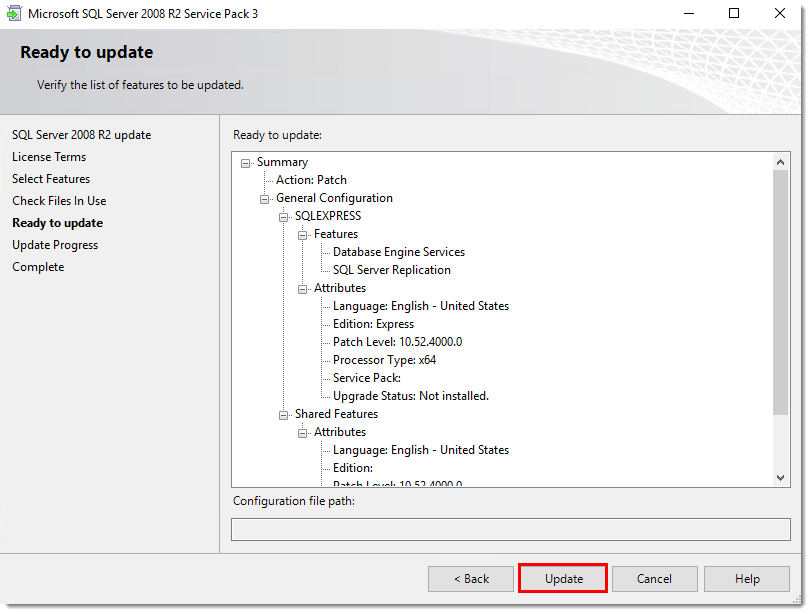
Figure 1-5
After the successful update, click Close.
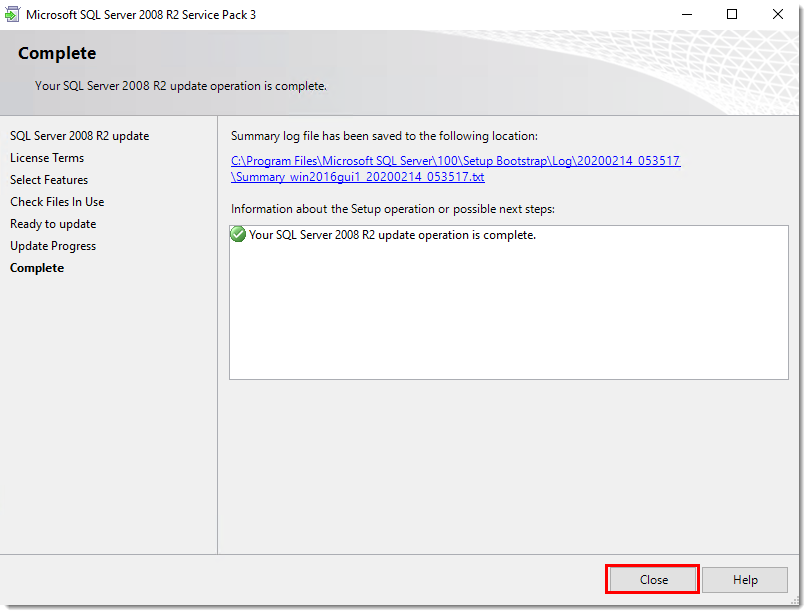
Figure 1-6
Upgrading the database to SQL Server 2017 Express
Download the SQL Server 2017 Express net installer.
Run the installer.
Select Basic and wait until the full installer downloads.
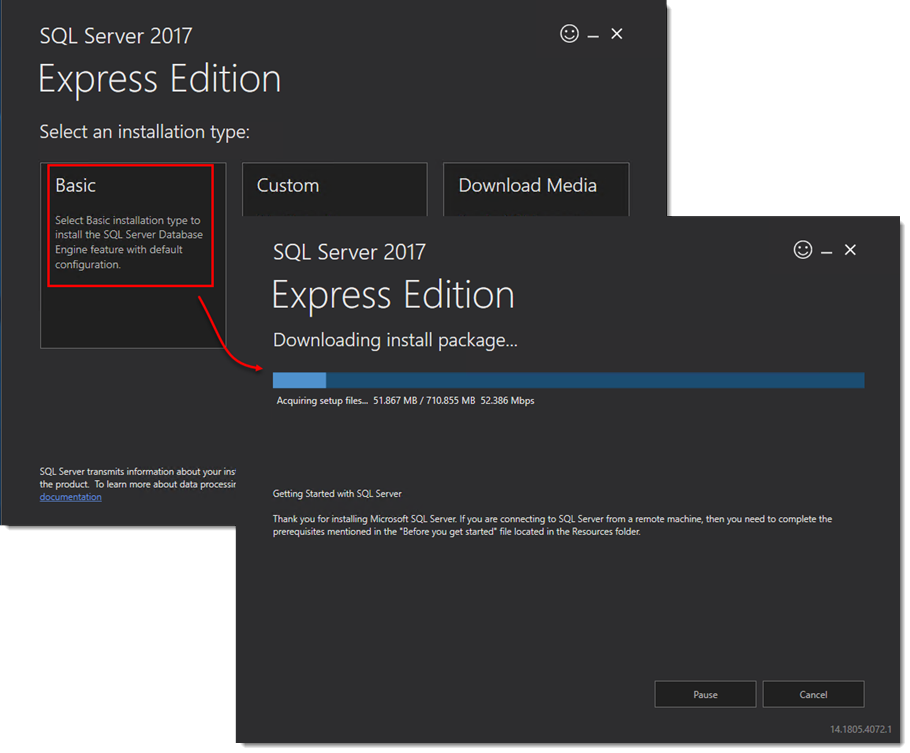
Figure 2-1
Select Upgrade from a previous version of SQL Server.

Figure 2-2
To continue the installation, click I accept the license terms and click Next.
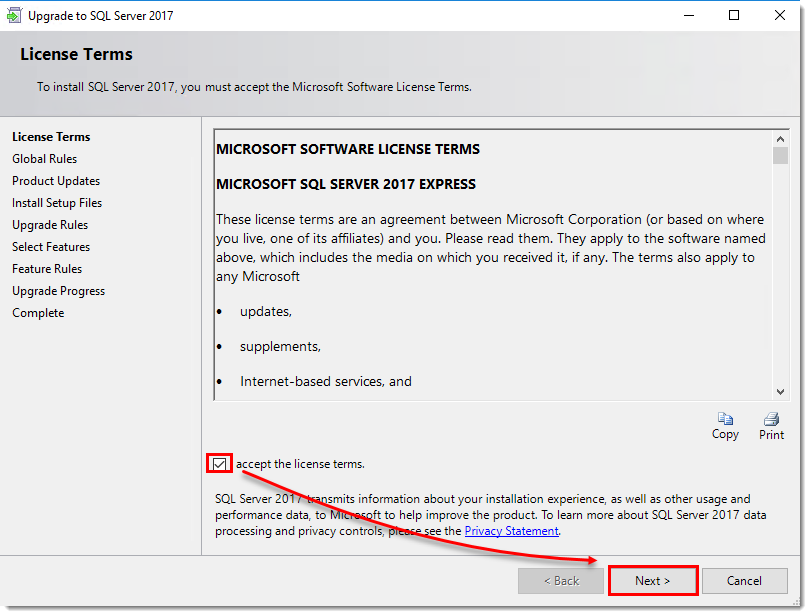
Figure 2-3
In the Upgrade Rules window, click Next.
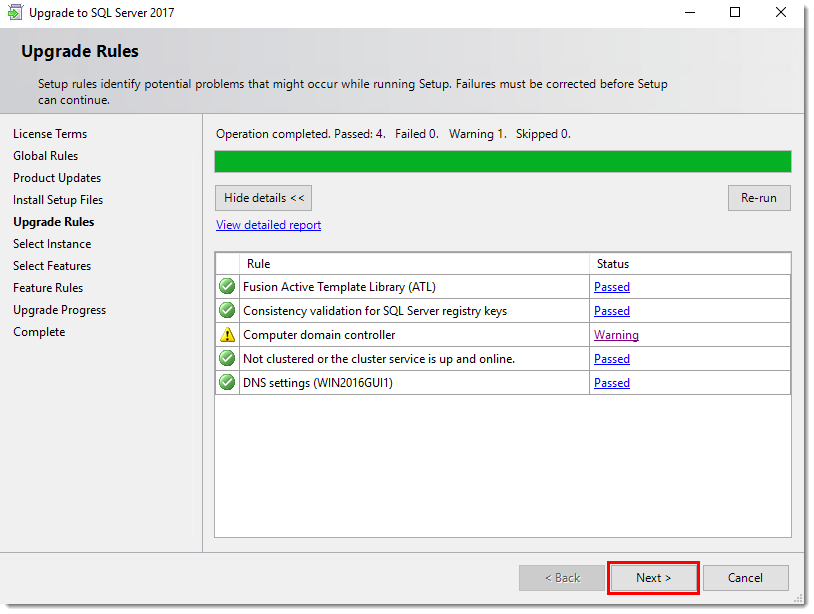
Figure 2-4
In the Select Instance window, click Next.

Figure 2-5
Service Pack error
If you did not install Service Pack 3, the installer will display the following error:
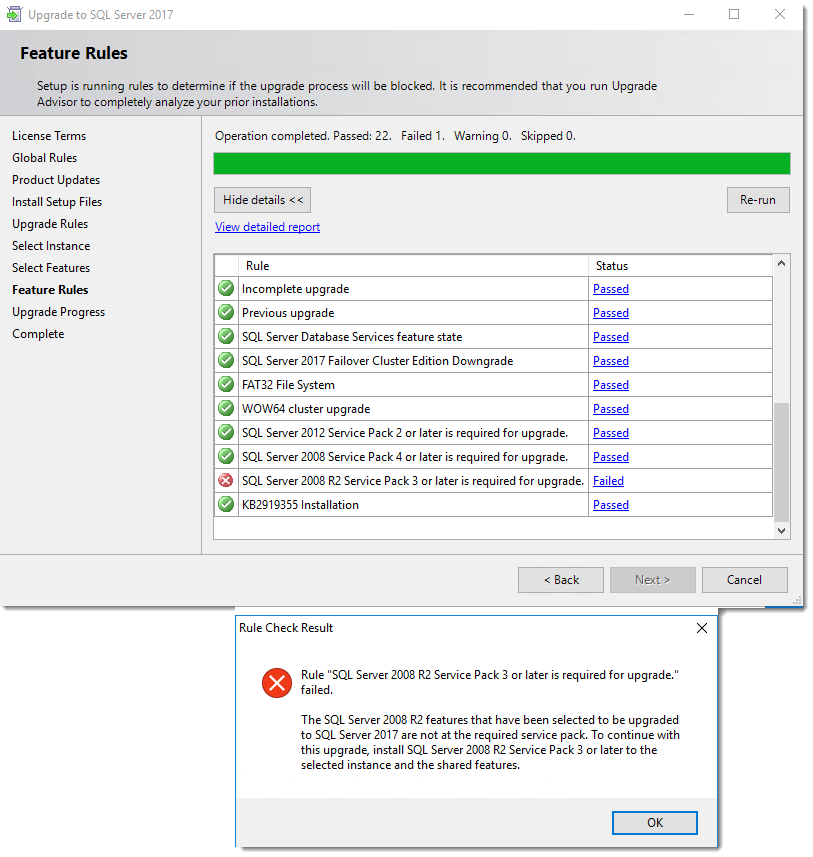
Figure 2-6
To fix the error, install MS SQL 2008 R2 SP3 and run the MS SQL 2017 installer again.
After the successful update, click Close.
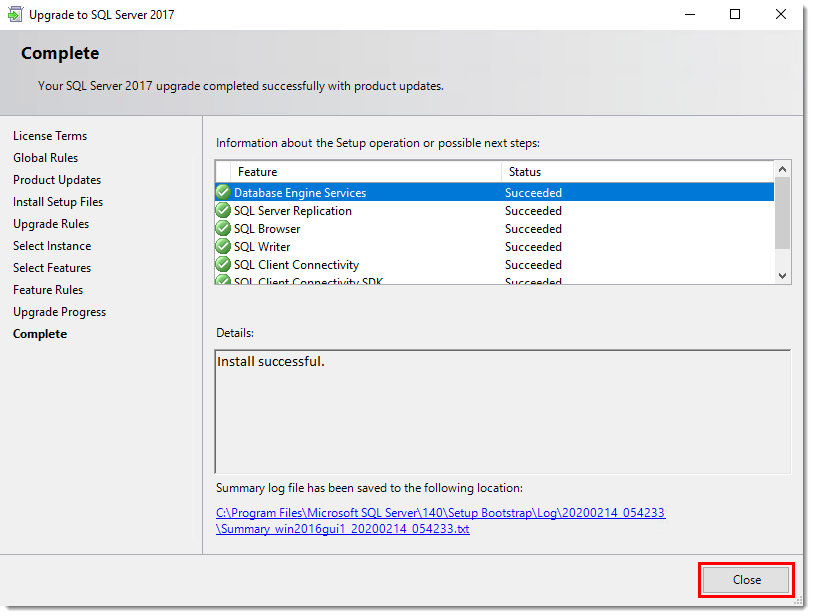
Figure 2-7
Upgrade from version 2017 to the MS SQL Server 2019 Express (optional)
After the upgrade to version 2017, you can upgrade to version 2019. This upgrade is optional and is not necessary to be compatible with ESET PROTECT On-Prem.
Download the SQL Server 2019 Express net installer.
Run the installer.
Select Basic and wait until the full installer downloads. When downloaded, Accept the License Terms.
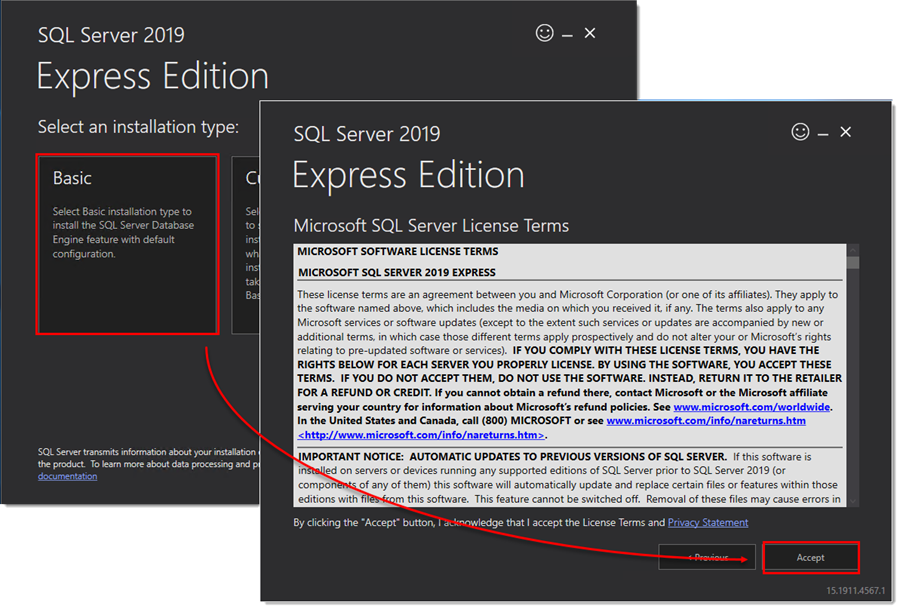
Figure 3-1
Click Install to start the upgrade.
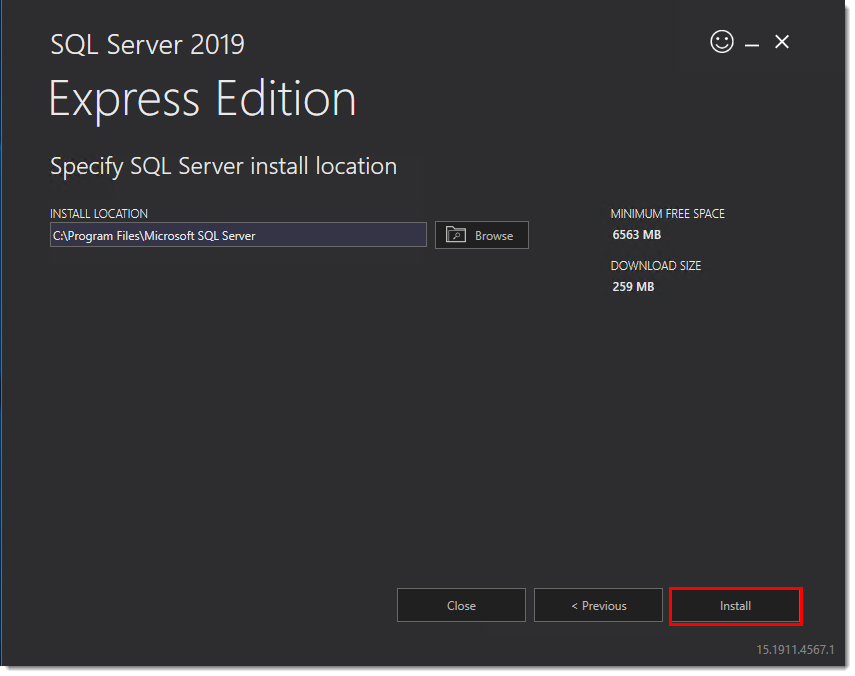
Figure 3-2
When the upgrade is finished, restart your computer.
After the restart, make sure that ESET Security Management Center is still working correctly and you can upgrade ESET Security Management Center 7.x to the latest version of ESET PROTECT On-Prem using the All-in-one installer (Windows).