Problema
The current build of ESET Linux Server products can connect to ESET Remote Administrator (ERA) 6 but cannot accept configuration changes from ERA 6. See the options below to RDP or access the server locally to make configuration changes.
NOTE: From ERA 6, you can connect the endpoint, get system status information, run tasks and see logs for ESET Linux server products when ERA Agent is installed on the Linux Server.
Solución
Method 1: Use the ESET web interface to directly edit configurations
Method 2: Use a built-in remote sharing application
Method 3: Use a third-party program to access your Linux Server
Method 4: Use the command line to edit configurations
Method 1
If you are on the same network or have network access to the Linux server, you can use the ESET web interface to access your ESET product configurations.
-
On a system that is on the same network or with network access to the Linux server, open a web browser and enter the URL for the webconsole (https://servername:portnumber). If you receive a certificate warning, accept it.
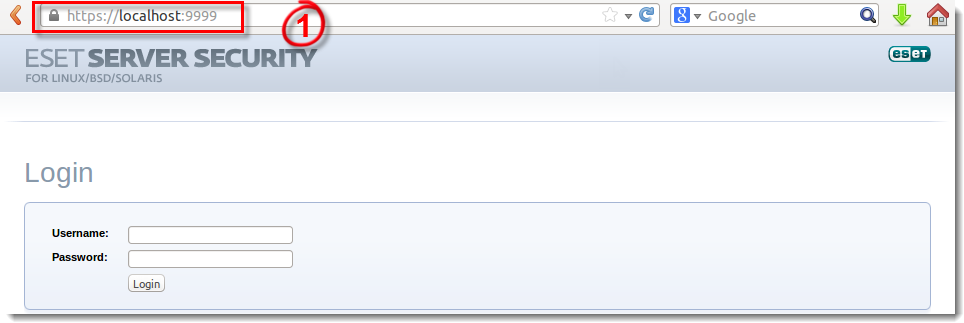
Figure 1-1
-
Enter your ESET-issued Username and Password to access the web console and edit configurations directly.
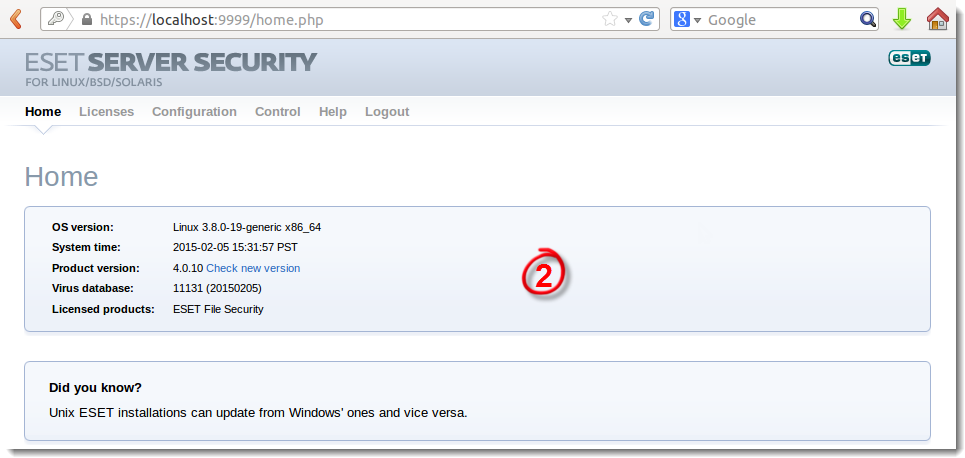
Figure 1-2
Method 2
If your Linux server is set up for remote access, you can use a built-in remote sharing application (for example, desktop sharing on Ubuntu) or use another remote desktop application (for example, TightVNC, VNC Server, etc). Most remote desktop appliances are available for all Operating Systems. (The example below uses Ubuntu desktop sharing with TightVNC on a Windows OS.)
-
On the system that you remote into (Ubuntu in this example), open Settings → Preferences → Remote Desktop or search for Remote Desktop.
-
Double-click Desktop Sharing and select the check boxes next to Allow other users to view your desktop and Allow other users to control your desktop. Under Security, type a password into the Require the user to enter this password field to protect your settings.
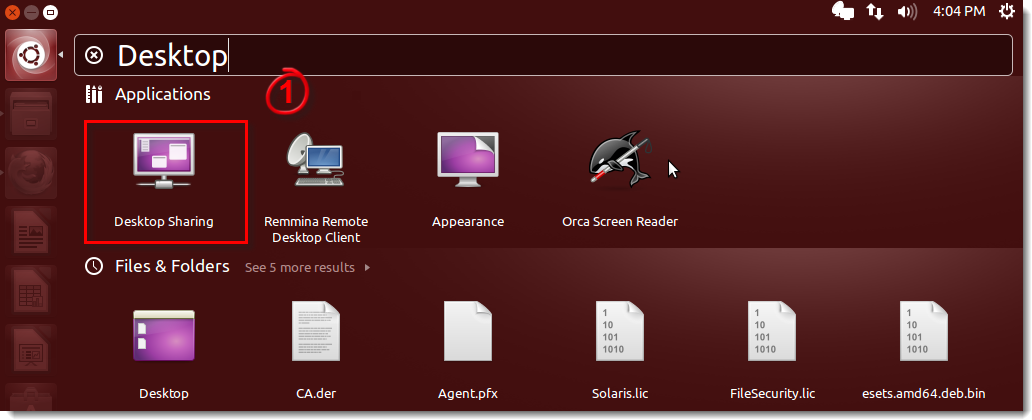
Figure 2-1
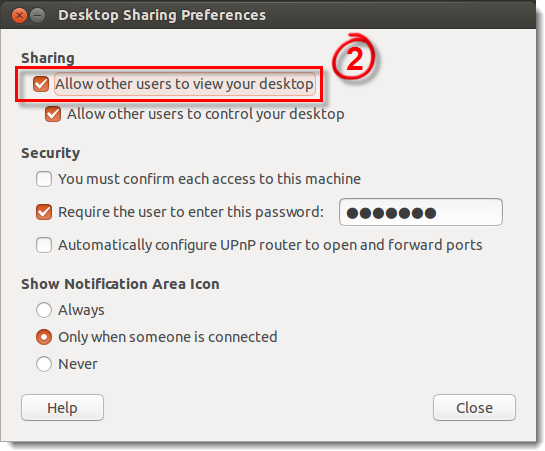
Figure 2-2
-
On a different system (can be any Operating System), download TightVNC viewer. Run the installer and launch the program from the Start Menu.
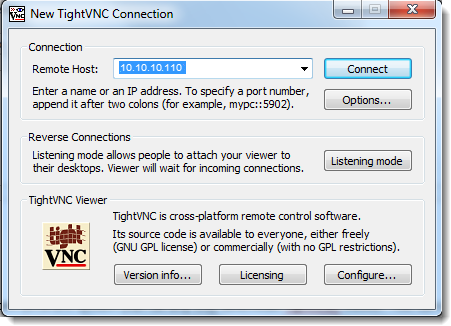
Figure 2-3
-
Enter information for the remote host and select Connect.
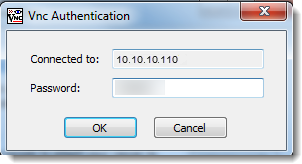
Figure 2-4
- Enter the password that you set in the Desktop Sharing Preferences window of the remote host.
Method 3
If your Linux server does not have a built-in remote access program, you can use a third-party program that will allow you access to your Linux server (TightVNC, RealVNC, etc). (The example below uses RealVNC.)
-
Download the Real VNC installer from the RealVNC Download Page or select your preferred remote access program and install it.
-
Extract the package and give it permission to run as a program.
-
Run the following command to install VNC server:
dpkg -i.deb
-
Add your license to the VNC server. Search for the VNC server and launch the Enter VNC Server license key application. Log in or enter your license key and continue with the Setup Wizard to add your license.
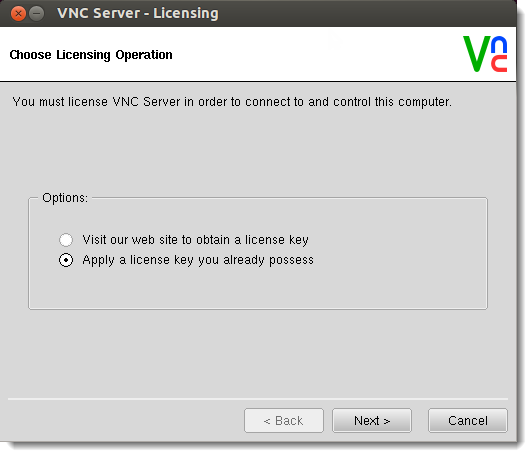
Figure 3-1
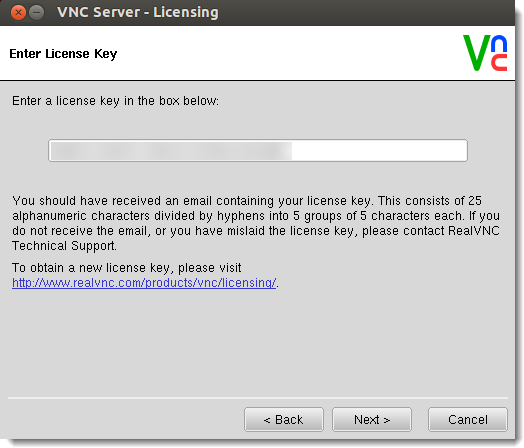
Figure 3-2
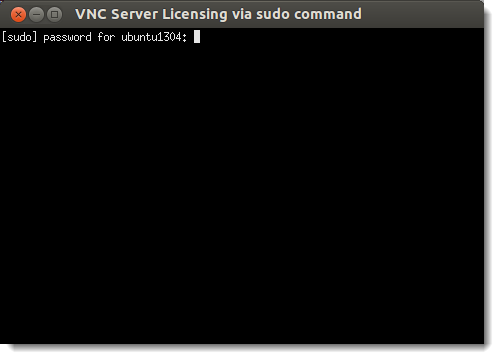
Figure 3-3
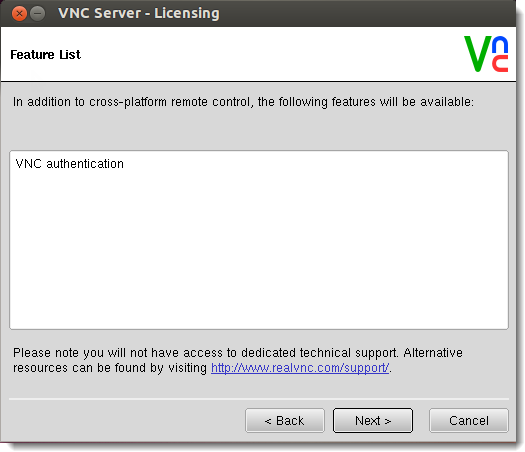
Figure 3-4
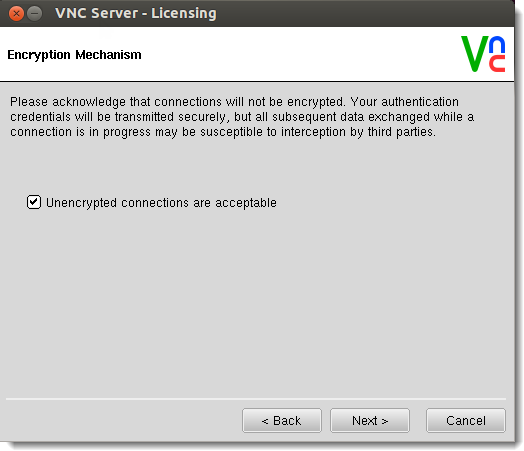
Figure 3-5
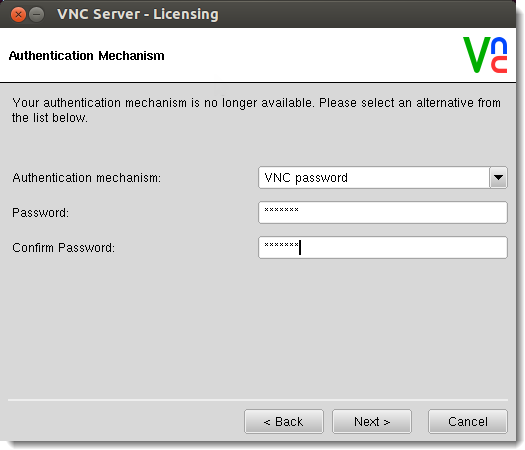
Figure 3-6
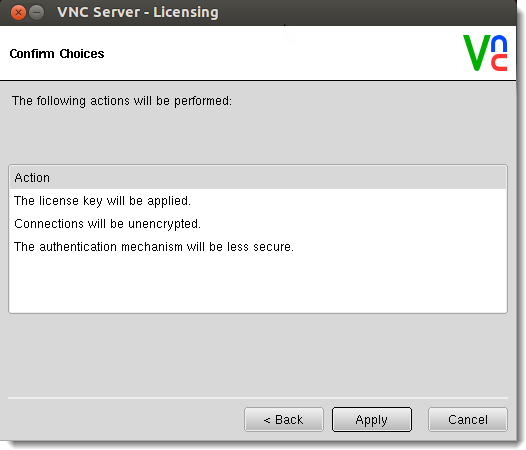
Figure 3-7
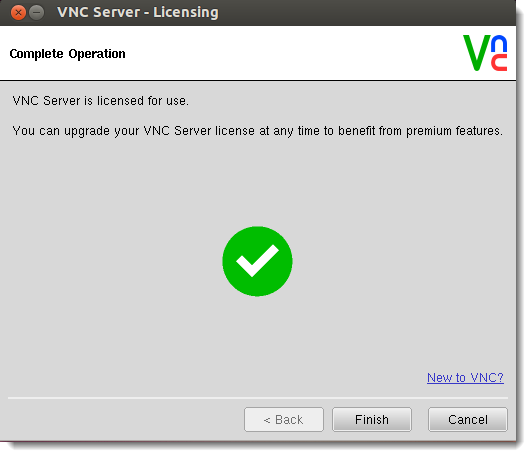
Figure 3-8
-
Download VNC viewer. Open VNC viewer and enter the IP Address and password of the host to log in.
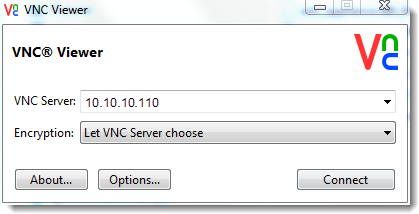
Figure 3-9
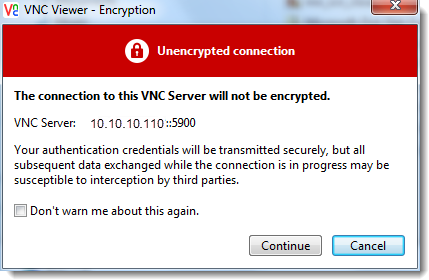
Figure 3-10
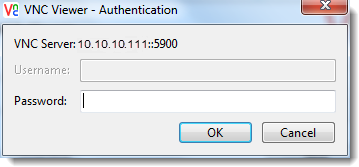
Figure 3-11
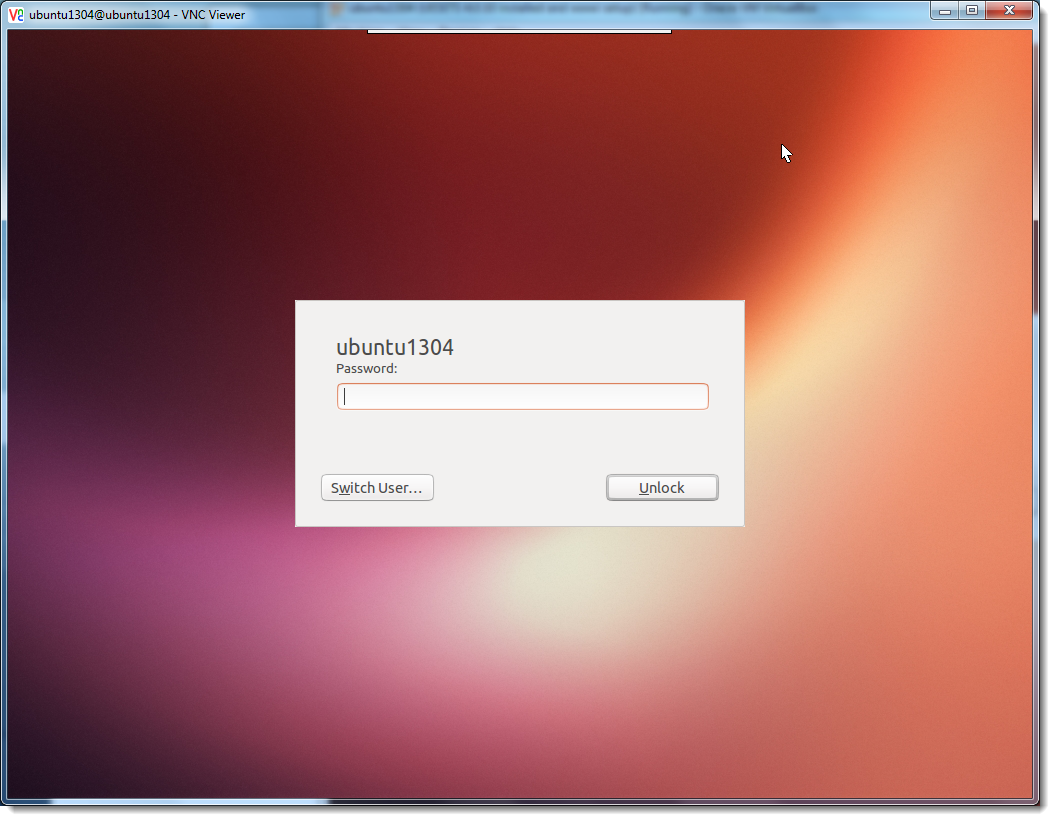
Figure 3-12
Method 4
You can use the command line to make changes to the configuration by using Putty to SSH into the Linux server and modify your Linux server configurations.-
Install OpenSSH server on the Linux server with the following command (Reference: https://help.ubuntu.com/10.04/serverguide/openssh-server.html):
- Sudo apt-get install openssh-server
- Configure the user access
-
From the workstation you are accessing the Linux server, install SSH client (for example, Putty). Enter the IP address/hostname of the server and enter the ESET-issued Username and Password to log into your Linux server.
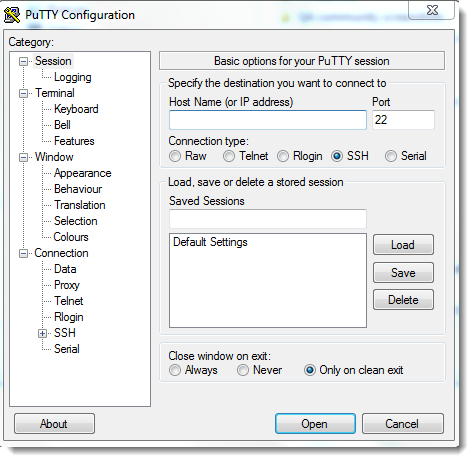
Figure 4-1
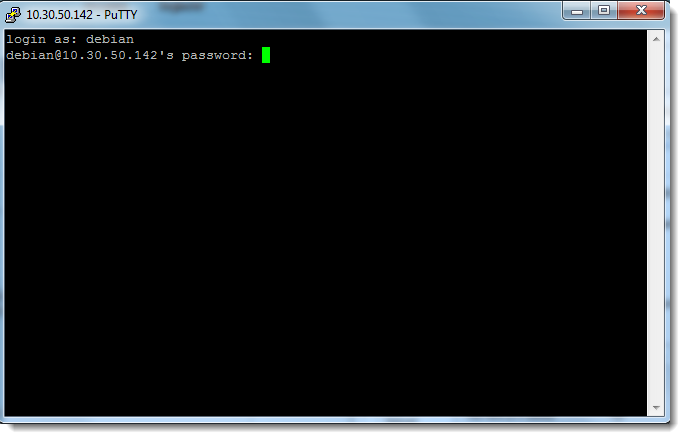
Figure 4-2
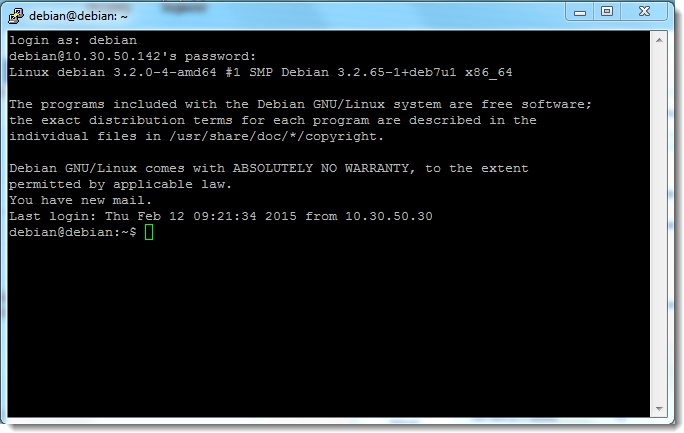
Figure 4-3
-
You can navigate to the configuration of the ESET Linux server product and make changes (ensure you have root access or use sudo).
-
Navigate to etcoptesetesets
-
Run the command
Sudo nano eset.cfg
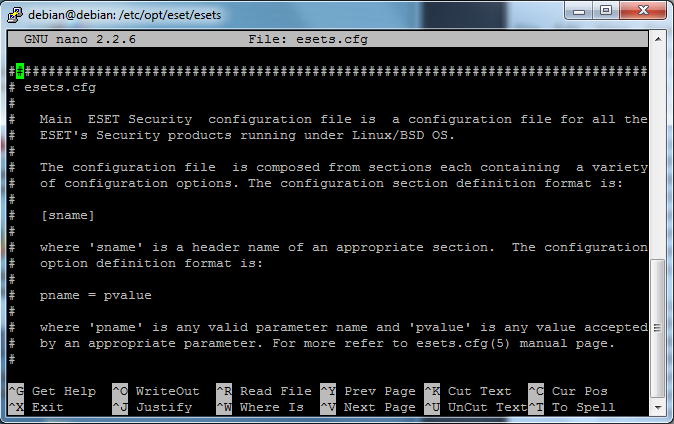
Figure 4-4
-
Navigate to etcoptesetesets