Issue
- Open the ESET Inspect Web Console
- Open the ESET Inspect On-Prem Web Console
- Open the ESET Inspect On-Prem Web Console from ESET PROTECT On-Prem
- Understand detection rules and rule sets in ESET Inspect On-Prem
- Understand the rule learning mode
Open the ESET Inspect Web Console
-
Open a compatible web browser.
-
Log in to your ESET PROTECT Hub or ESET Business Account.
-
Click ESET Inspect or ESET INSPECT.
-
ESET PROTECT Hub:
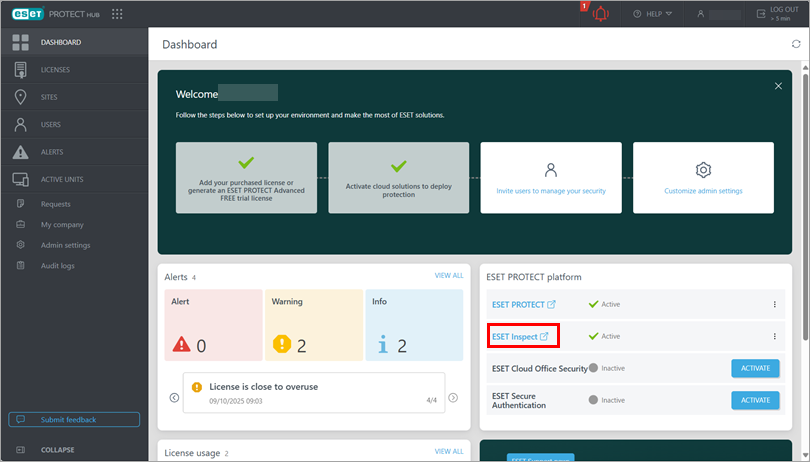
Figure 1-1 -
ESET Business Account:
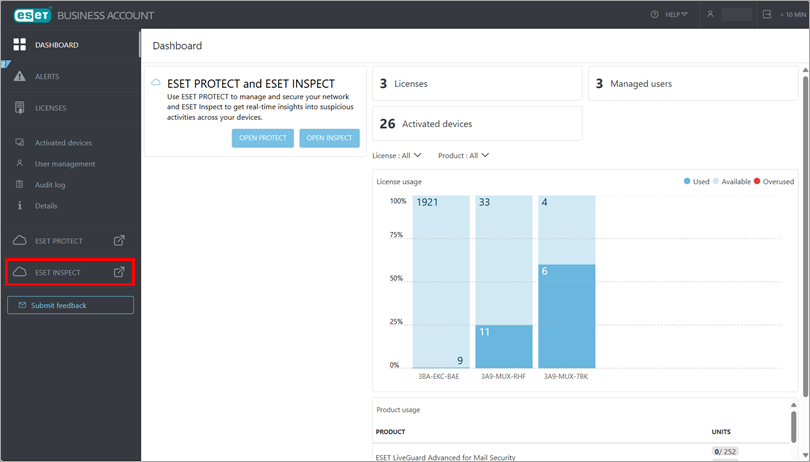
Figure 1-2
-
Open the ESET Inspect On-Prem Web Console
Open the ESET Inspect On-Prem Web Console on your local ESET Inspect server
-
Open a compatible web browser.
-
In the browser address bar, type or copy/paste
https://localhost/login. -
Type your username and password and click Log in.
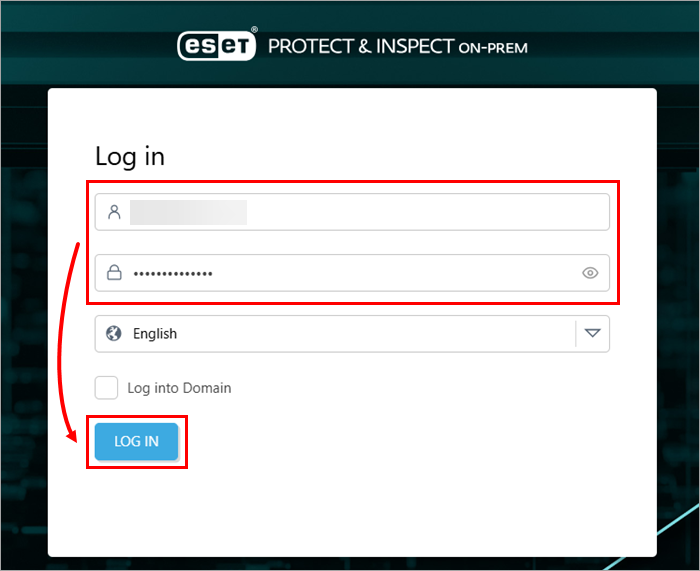
Figure 2-1
Open the ESET Inspect On-Prem Web Console from an external computer
If your ESET Inspect Server is accessible to external connections, you can access the ESET Inspect On-Prem Web Console from any computer by following the steps below:
-
Open a compatible web browser.
-
In the browser address bar, type or copy/paste
https://{your_server_name}/login, replacing{your_server_name}with the IP address or hostname of the web server with ESET Inspect On-Prem installed (for examplehttps://10.1.30.30/login). -
Type your username and password and click Log in.
Figure 3-1
Open the ESET Inspect On-Prem Web Console from ESET PROTECT On-Prem
Open the ESET Inspect On-Prem Web Console from the ESET PROTECT On-Prem app launcher menu
-
Click the app launcher icon (the grid of dots) in the top left corner.
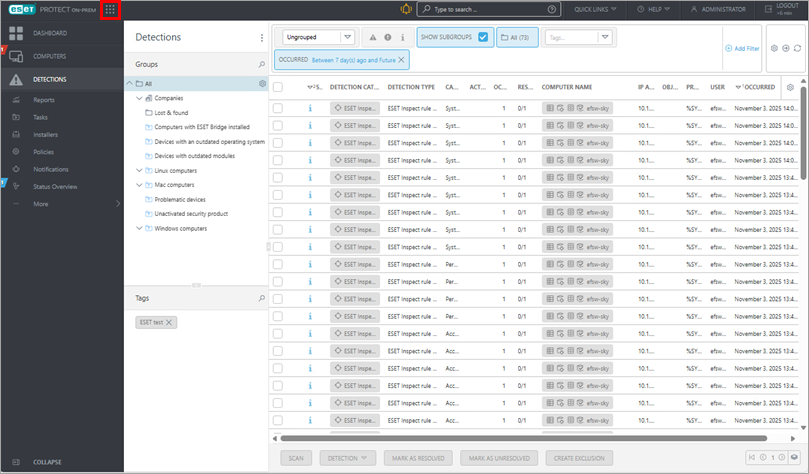
Figure 4-1 -
Click PROTECT & Inspect.
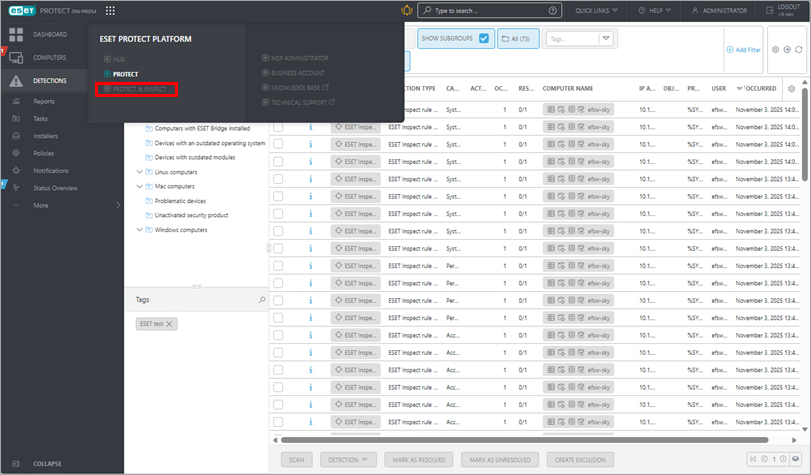
Figure 4-2
Open the ESET Inspect On-Prem Web Console from the ESET PROTECT On-Prem Detections view
-
In the navigation panel, click Detections.
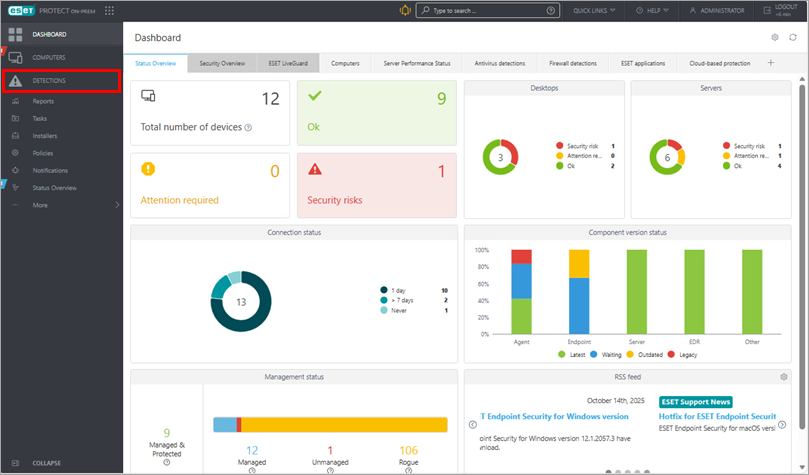
Figure 5-1 -
Click a detection name and click Investigate (Inspect).
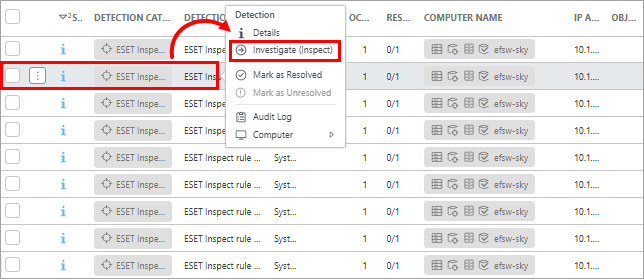
Figure 5-2
Understand detection rules and rule sets in ESET Inspect On-Prem
Detection rules are pre-defined logic-based conditions that determine how ESET Inspect On-Prem monitors your computers and servers. Detection rules are primarily grouped by severity into the following categories (also referred to as rule sets): Info, Warning, Threat.
During the ESET Inspect On-Prem installation, you can determine which rule sets to enable by selecting one of the following options:
- Enable detection rules with Threat, Warning, and Information severity—recommended for advanced users who prefer full visibility and detailed customization.
- Enable detection rules with Threat and Warning severity—recommended for advanced users who want to perform threat hunting without reviewing informational detections.
- Enable only detection rules with Threat severity—recommended for new users who want to focus on confirmed threats only.
- Disable all detection rules—recommended for new users with no experience using Endpoint Detection and Response (EDR) solutions who prefer to rely on the ESET Endpoint product for threat analysis.
You can always change which rule sets are enabled for your ESET Inspect On-Prem.
Enable or disable all rules of a specific severity in ESET Inspect On-Prem
-
In the navigation panel, click More.
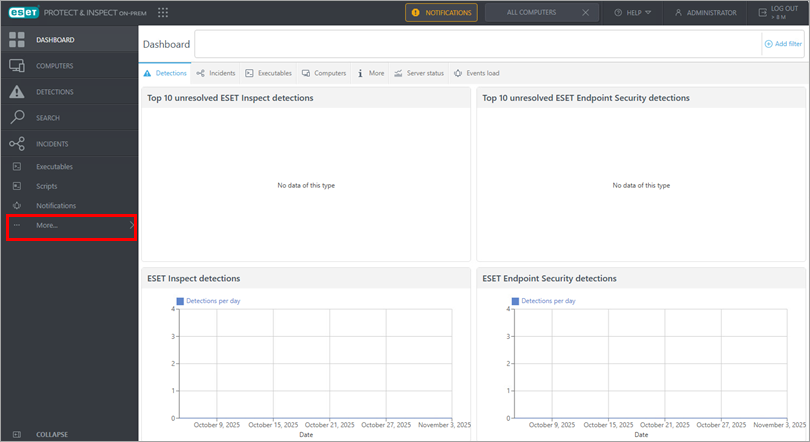
Figure 6-1 -
Click Rules.
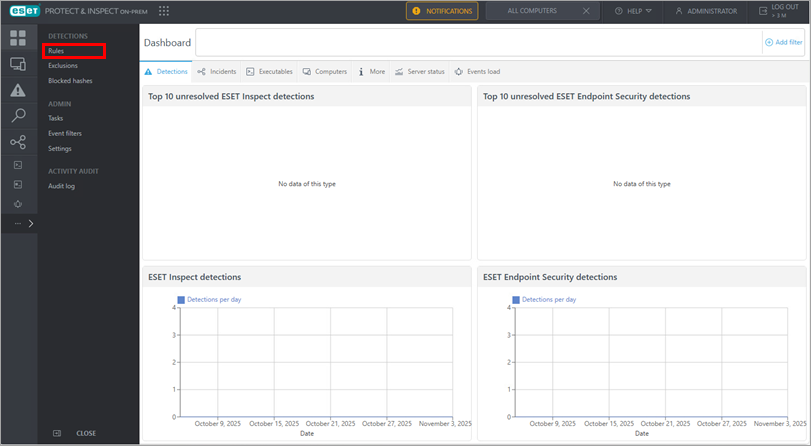
Figure 6-2 -
Next to Detection rules, select the severity corresponding to the rule set that you want to enable or disable.
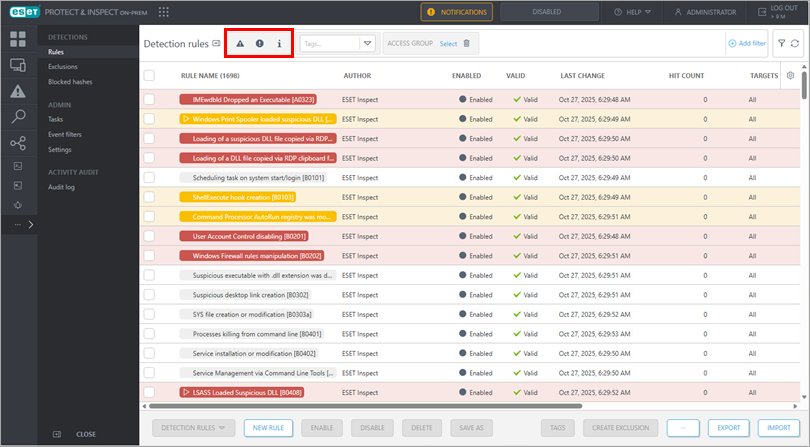
Figure 6-3 -
Select the check box at the top of the detection list to select all detection rules of the selected severity.
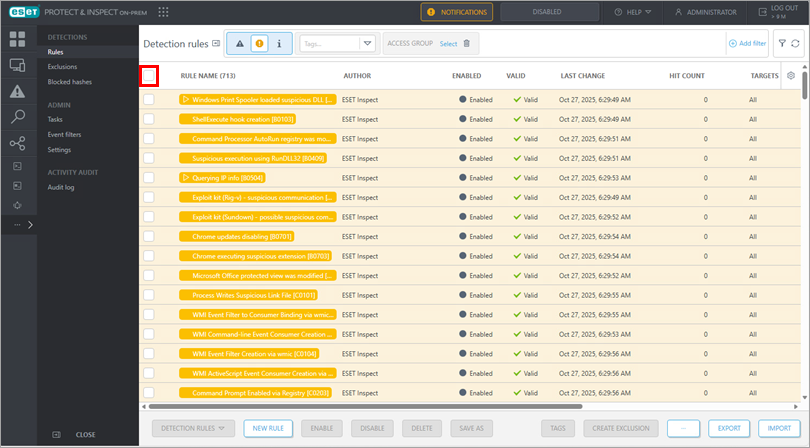
Figure 6-4 -
Click Enable or Disable.
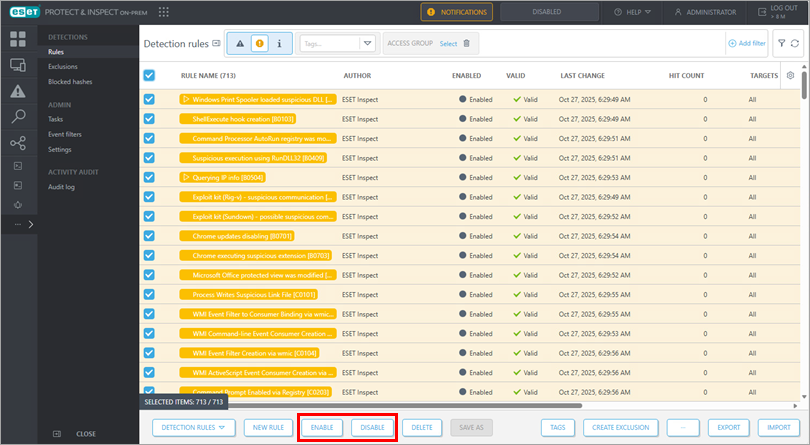
Figure 6-5
Understand the rule learning mode
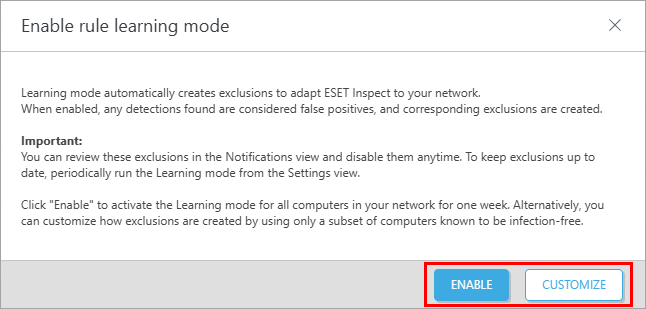
Rule learning mode is a feature that enables ESET Inspect or ESET Inspect On-Prem to adapt to your network by observing the behavior of safe computers over a one-week learning period. During the learning period, the product treats any detections as false positives and automatically creates corresponding exclusions—rules that instruct the product to ignore specific behaviors or detections.
After the learning period, the created exclusions are added to the list of all exclusions: Main Menu → More → Exclusions. To view only the exclusions that were created during the rule learning mode and decide whether to keep them, go to Main Menu → Notifications, where a summary notification appears with links to review and manage the created exclusions.
You can enable the rule learning mode in the Enable rule learning mode dialog box, which appears when you first log in to the ESET Inspect On-Prem Web Console. The dialog box can be accessed later if needed from Main menu → Settings → Rule learning mode.
You can enable the rule learning mode in the following ways:
- Enable on all computers in your network: in the dialog box, click Enable.
- Enable only on selected computers: in the dialog box, click Customize, select the computers where you want to enable the rule learning mode and click Enable.