Issue
- You are unable to connect to another computer or device, such as a printer on your network
- Add devices to the trusted range of IP addresses defined on the computer you are trying to connect from
Solution
-
Click Policies → New Policy.
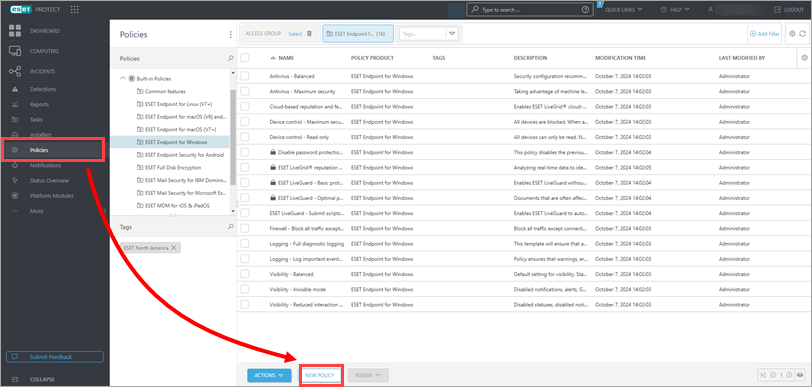
Figure 1-1 -
Type a Name for your policy.
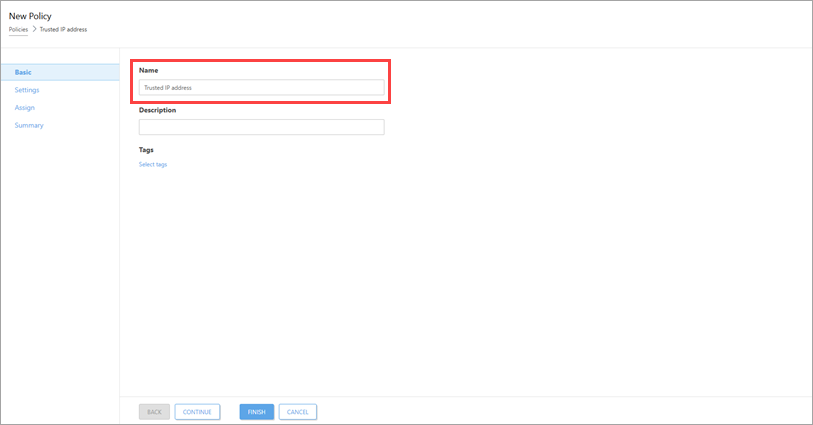
Figure 1-2 -
Click Settings and select ESET Endpoint for Windows from the product drop-down menu.

Figure 1-3 -
Click Protections → Network Protection and expand Firewall. From the Filtering mode drop-down menu, select Automatic.
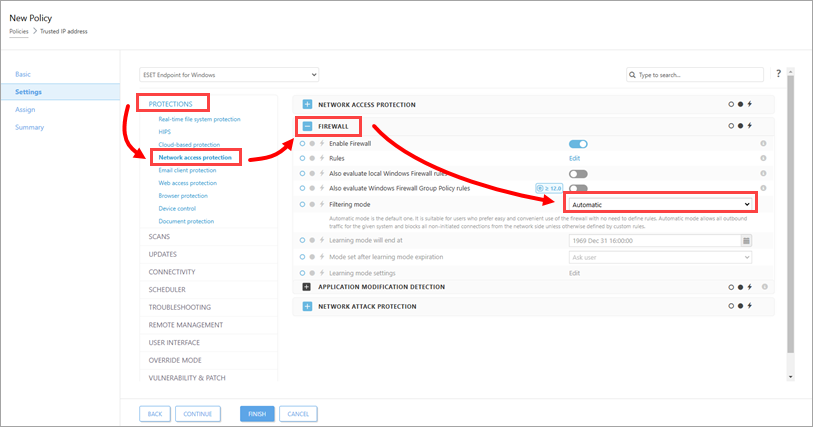
Figure 1-4 -
Click Network Access Protection and click Edit next to IP sets.
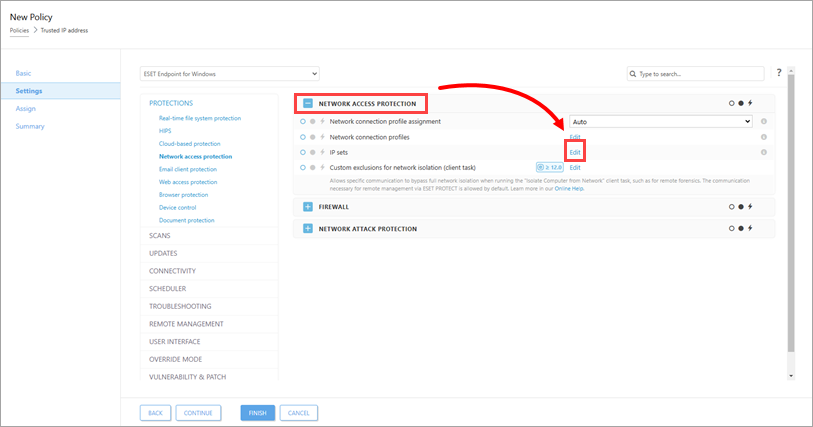
Figure 1-5 -
Select Trusted zone and click Edit.
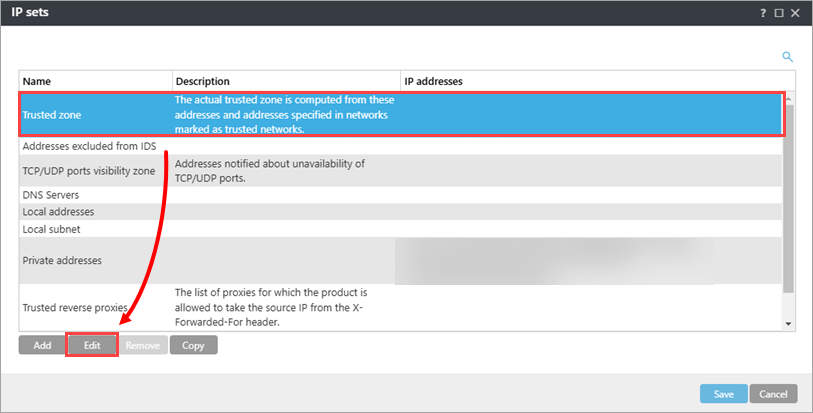
Figure 1-6 -
Type the trusted IP addresses in the Remote computer address field and click OK. The IP addresses used below are examples; you must type the actual IP address of the computer or device you are connecting to.
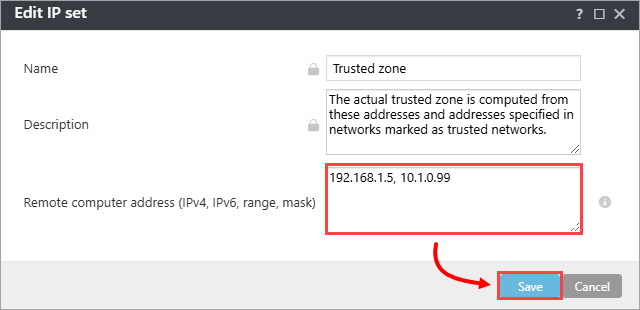
Figure 1-7
-
Click Save.
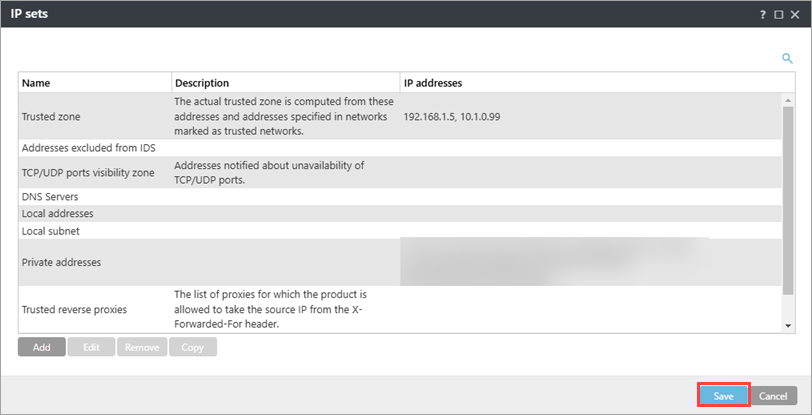
Figure 1-8 -
Click Assign → Assign.
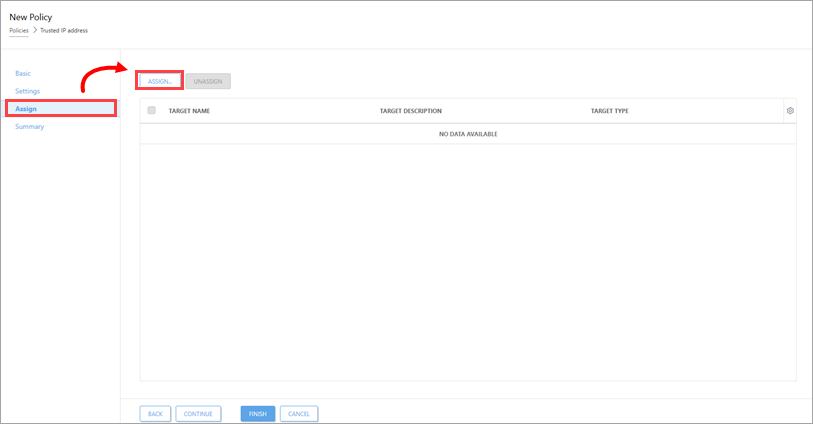
Figure 1-9 -
Select the check box next to the target group or computer and click OK.
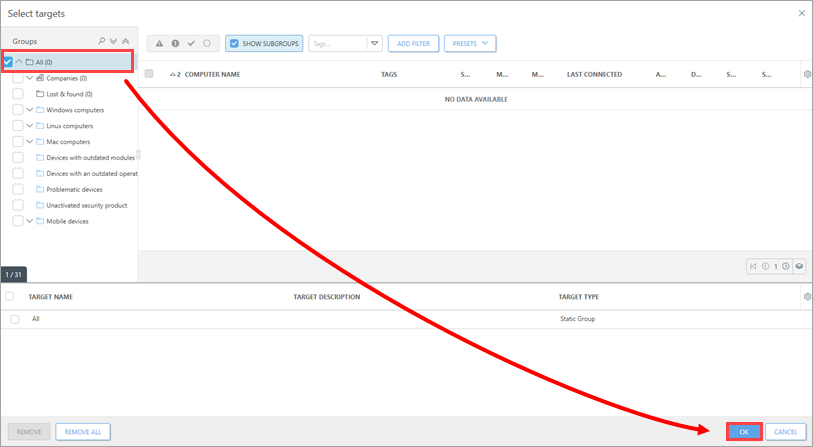
Figure 1-10 -
Click Finish.