Issue
- Resolve the "Cannot access page" message
- Resolve the "Web Console 404" error
- Reinstall Apache Tomcat
Solution
If the ESET PROTECT On-Prem Web Console does not start or the login screen keeps loading, follow the instructions below. Start with step I and continue with the next steps only if the issue persists.
- Restart the services for ESET PROTECT Server and Apache Tomcat
- Check for port conflicts
- Reinstall Apache Tomcat and the ESET PROTECT On-Prem Web Console
I. Restart the services for ESET PROTECT Server and Apache Tomcat
-
Make sure you are using a supported web browser to access ESET PROTECT Web Console.
If you still cannot access the ESET PROTECT Web Console, continue to step II.
II. Check for port conflicts
-
Open Command Prompt: press the Windows key + R, type
cmdand click OK. -
Run the following command:
netstat -aobn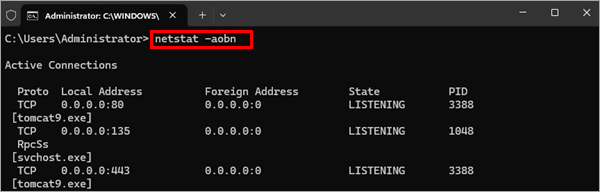
-
Verify that
tomcat9.exeis listening on port 443 or 8443. If needed, change the port used by the ESET PROTECT Web Console.
If you still cannot access the ESET PROTECT Web Console, continue to step III.
III. Reinstall Apache Tomcat and the ESET PROTECT On-Prem Web Console
-
Back up the following files from the Apache Tomcat installation folder (the path to the folder may differ based on your Apache Tomcat installation):
C:\Program Files\Apache Software Foundation\apache-tomcat-9.0.40\.keystore- C:\Program Files\Apache Software Foundation\apache-tomcat-9.0.40\conf\server.xml
- C:\Program Files\Apache Software Foundation\apache-tomcat-9.0.40\webapps\era\WEB-INF\classes\sk\eset\era\g2webconsole\server\modules\config\EraWebServerConfig.properties
If you are using a custom SSL certificate store in the Apache Tomcat installation folder, back up that certificate too.
-
Download the ESET PROTECT On-Prem All-in-one installer.
-
Extract the downloaded folder. In the extracted folder, double-click
Setup.exe.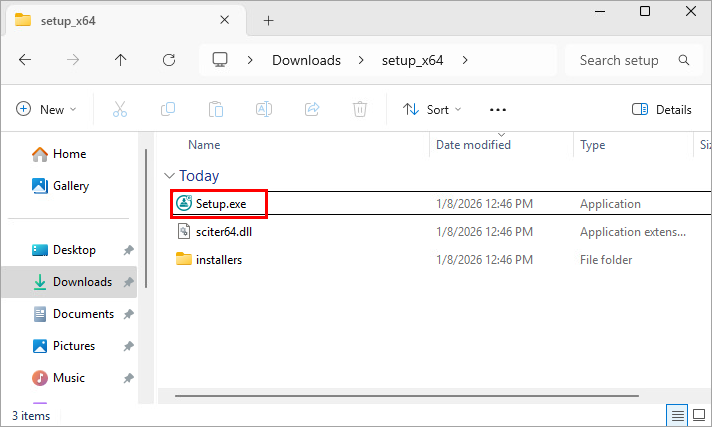
-
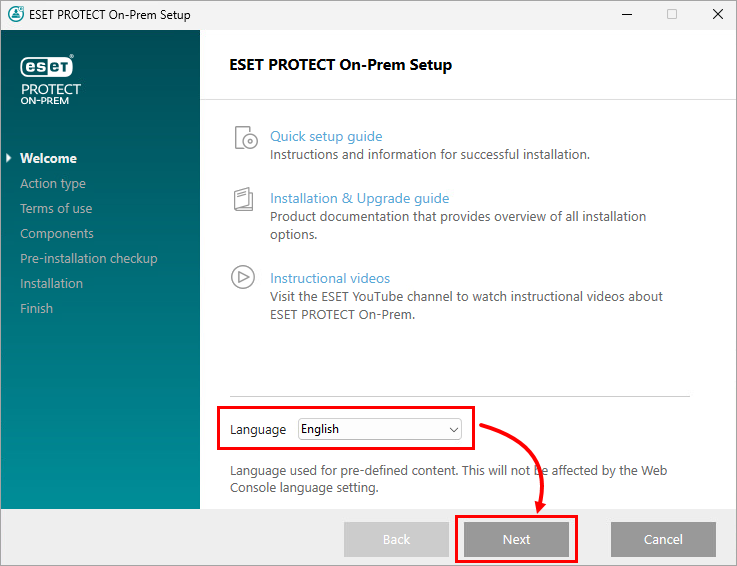
In the Language drop-down menu, select the installation language and click Next.
-
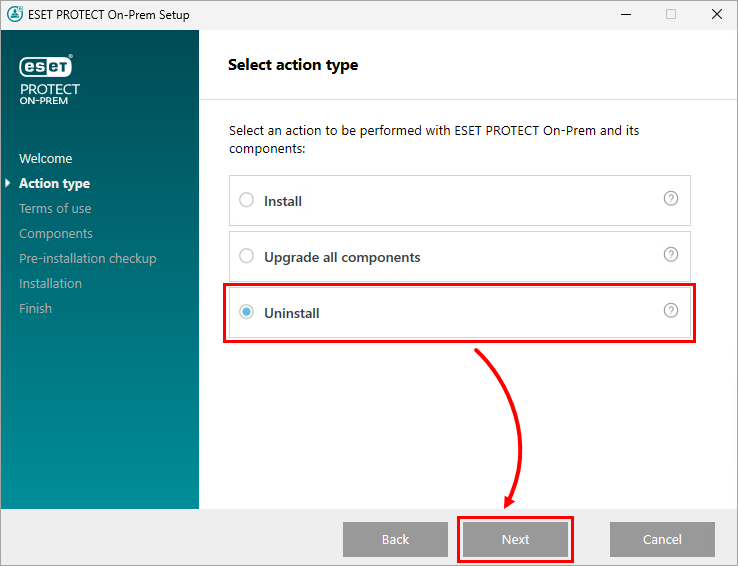
Select Uninstall and click Next.
-
Accept the End User License Agreement and click Next.

-
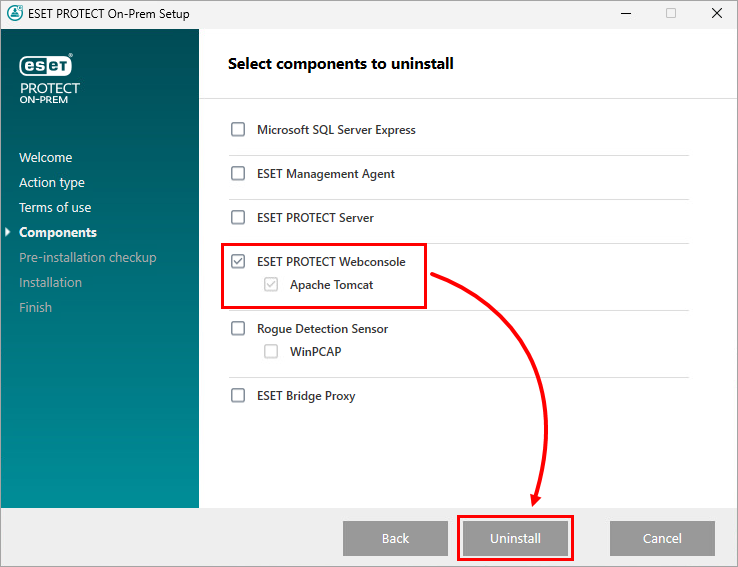
Deselect all components except ESET PROTECT Webconsole and Apache Tomcat and click Uninstall.
-
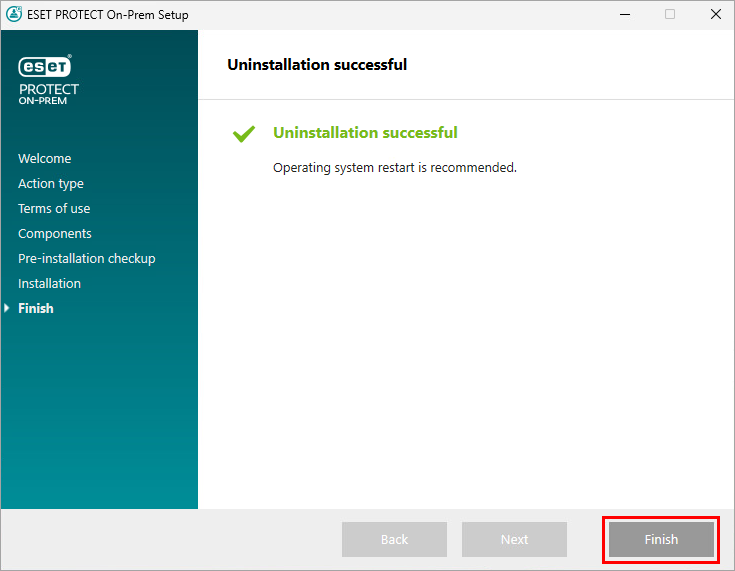
When the uninstallation is complete, click Finish.
-
Run
Setup.exeagain. -
In the Language drop-down menu, select the installation language and click Next.
-
Select Install and click Next.
-
Accept the End User License Agreement and click Next.
-
Select only ESET PROTECT Webconsole and Apache Tomcat and click Next.

-
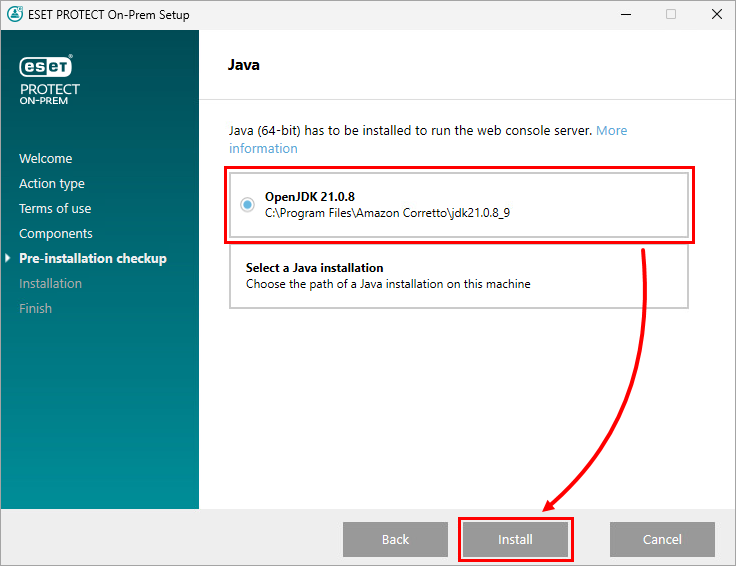
Select a JDK to use and click Install.
-
When the installation is complete, click Finish.
-
Restore the files you backed up in step 1 to their original locations.
-
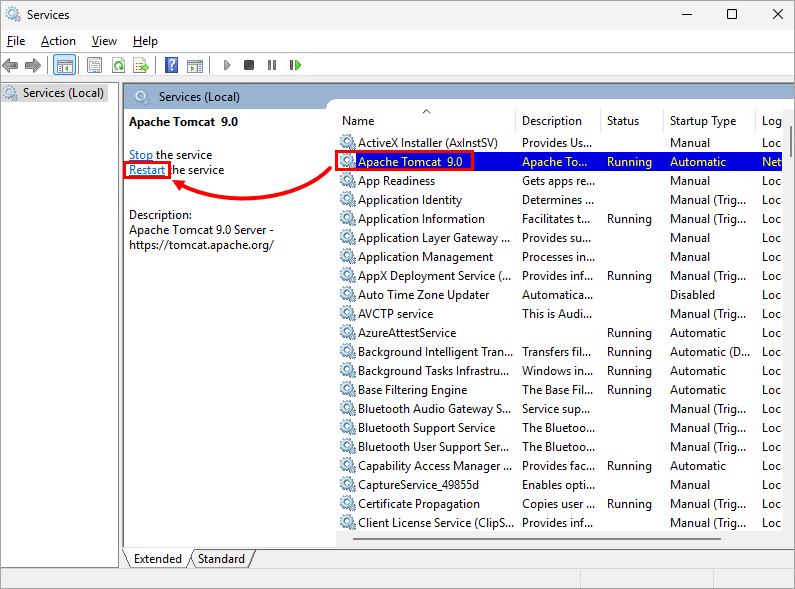
Run the Services application: press the Windows key, type
servicesand click Services.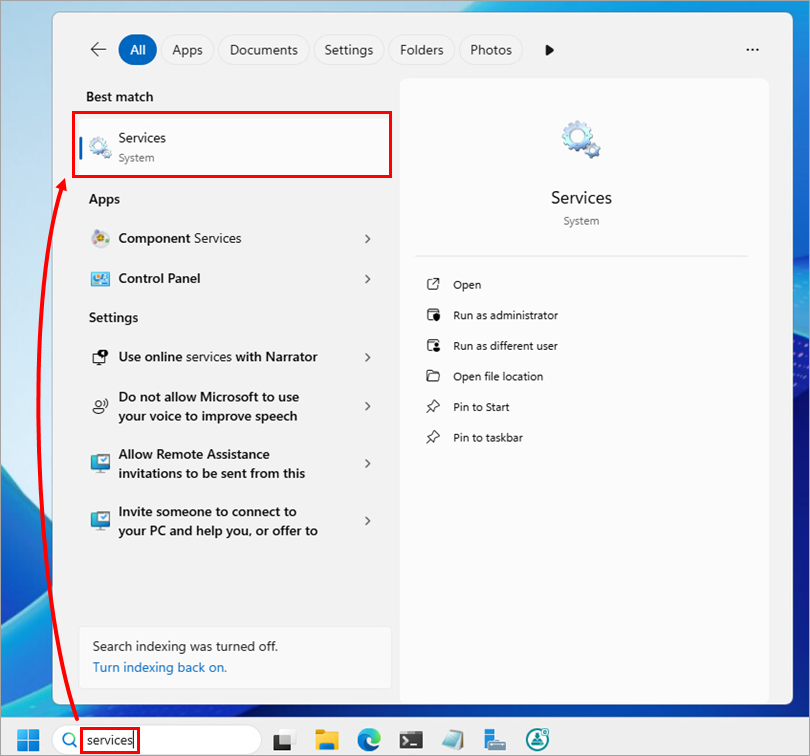
-
In the list of services, click Apache Tomcat and click Restart.
If you still cannot access the ESET PROTECT On-Prem Web Console, refer to the related articles or contact ESET Technical Support.
Create a new Apache Tomcat HTTPS configuration (.keystore and server.xml)
-
Open Command Prompt and change the directory to the
binfolder of your JDK installation. In Command Prompt, run:cd C:\Program Files\Amazon Corretto\jdk11.0.10_9\bin\Replace
C:\Program Files\Amazon Corretto\jdk11.0.10_9\bin\with the path to thebinfolder of your JDK installation. -
Generate a new keystore. In Command Prompt, run:
keytool.exe -genkey -alias "tomcat" -keyalg RSA -keysize 4096 -validity 3650 -keystore "C:\Program Files\Apache Software Foundation\apache-tomcat-9.0.40\.keystore" -storepass "password" -keypass "password" -dname "CN=your.host.name, OU=IT, O=Your Company, L=Your City, ST=Your State, C=SK"Replace the placeholders values as needed:
-
Passwords: for
-storepassand-keypassreplacepasswordwith the password that you want to use for the.keystorefile and the private key entry protection. -
Certificate information:
- For
CN: replaceyour.host.namewith the server hostname or IP address. - For
OU: replaceITwith your organizational unit. - For
O: replaceYour Companywith the organization name. - For
L: replaceYour Citywith the city of the organization. - For
ST: replaceYour Statewith the state of the organization. - For
C: replaceSKwith the country code of the organization.
- For
-
-
In a text editor, open the
server.xmlfile. The file is located in theconffolder of your Apache Tomcat installation folder (for example,C:\Program Files\Apache Software Foundation\apache-tomcat-9.0.40\conf\server.xml). -
In
server.xml, scroll to the bottom and updateConnectorattributes as follows:<Connector port="80" protocol="HTTP/1.1" redirectPort="443" server="EraServer" /> <Connector server="OtherWebServer" port="443" protocol="org.apache.coyote.http11.Http11NioProtocol" SSLEnabled="true" maxThreads="150" scheme="https" secure="true" clientAuth="false" sslProtocol="TLS" keystoreFile="C:\Program Files\Apache Software Foundation\apache-tomcat-9.0.40\.keystore" keystorePass="password" keyAlias="tomcat" sslEnabledProtocols="TLSv1.2,TLSv1.3" ciphers="TLS_AES_256_GCM_SHA384, TLS_CHACHA20_POLY1305_SHA256, TLS_AES_128_GCM_SHA256, TLS_ECDHE_RSA_WITH_AES_128_CBC_SHA256, TLS_ECDHE_RSA_WITH_AES_128_GCM_SHA256, TLS_ECDHE_RSA_WITH_AES_128_CBC_SHA, TLS_ECDHE_RSA_WITH_AES_256_CBC_SHA384, TLS_ECDHE_RSA_WITH_AES_256_GCM_SHA384, TLS_ECDHE_RSA_WITH_AES_256_CBC_SHA, TLS_RSA_WITH_AES_128_CBC_SHA256, TLS_RSA_WITH_AES_128_GCM_SHA256, TLS_RSA_WITH_AES_128_CBC_SHA, TLS_RSA_WITH_AES_256_CBC_SHA256, TLS_RSA_WITH_AES_256_GCM_SHA384, TLS_RSA_WITH_AES_256_CBC_SHA" />For
keystorePass, replacepasswordwith the password that you set during the keystore generation.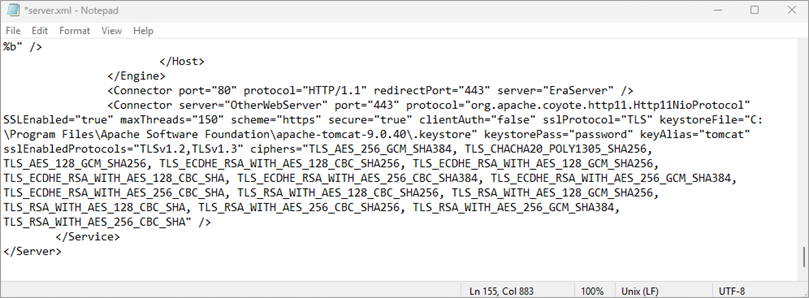
-
Navigate to the
webappsfolder of your Apache Tomcat installation folder (for example,C:\Program Files\Apache Software Foundation\apache-tomcat-9.0.40\webapps) and create a folder namedera. -
Navigate to the
installersfolder of the extracted ESET PROTECT On-Prem installer folder (for example,C:\Users\Administrator\Downloads\setup_x64\installers). Locate theera.warfile and change its name toera.zip. -
Extract the
era.zipfile to theerafolder you created within thewebappsfolder of your Apache Tomcat installation folder (for example,C:\Program Files\Apache Software Foundation\apache-tomcat-9.0.40\webapps). -
Set the Apache Tomcat startup type to Automatic: press the Windows key, type
servicesand click Services. In the list of services, right-click Apache Tomcat and select Properties. In the Startup type drop-down menu, select Automatic and click OK. -
Restart the Apache Tomcat service: in the list of services in the Services application, click Apache Tomcat and click Restart.