Issue
I don't know how to use virtual disks.
Solution
Virtual disks are encrypted containers which provide access through a mapped drive letter to the files contained within. You must specify a maximum size for the encrypted container when it is created.
Creating a new Virtual Disk
- Ensure you are logged in to ESET Endpoint Encryption (EEE).
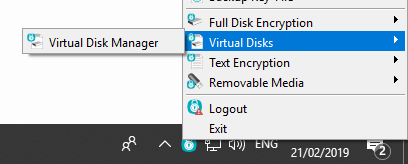
- Right click on the EEE icon in the notification area.
- Select Virtual Disks\Virtual Disk Manager.
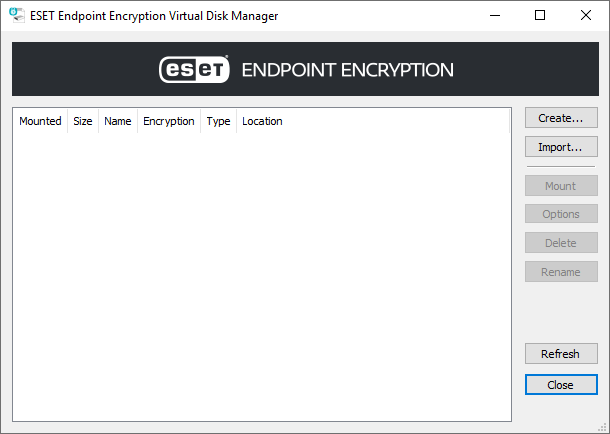
- Click the Create button.
- Select the style of Virtual Disk to use, either enhanced or compatible.
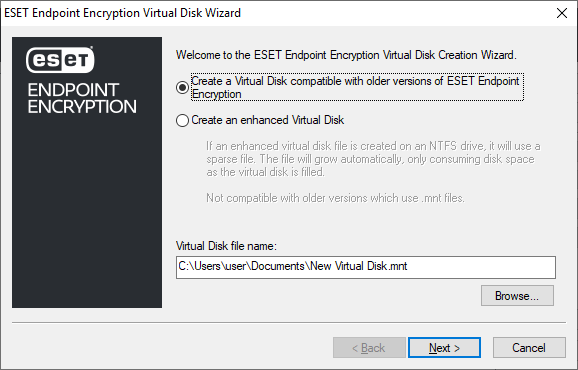
- Click Browse and select the destination path to save the newly created virtual disk.
- Click Next.
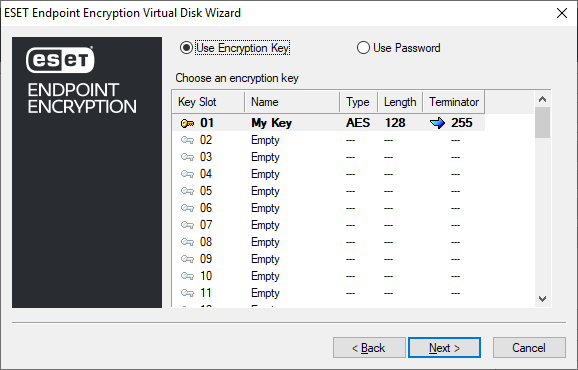
- Select either an Encryption Key or Password to use for encryption then click Next
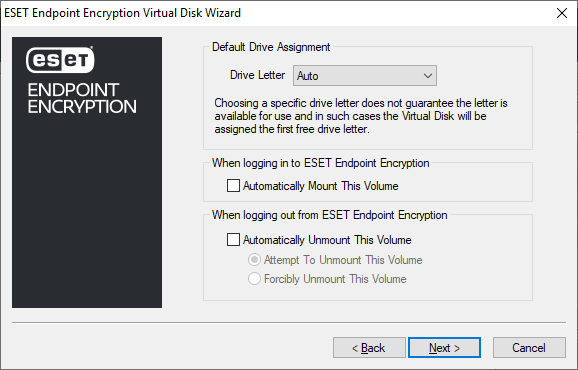
- Drives can be automatically set to mount or unmount as you login/logout of EEE, configure the options as required then click Next.
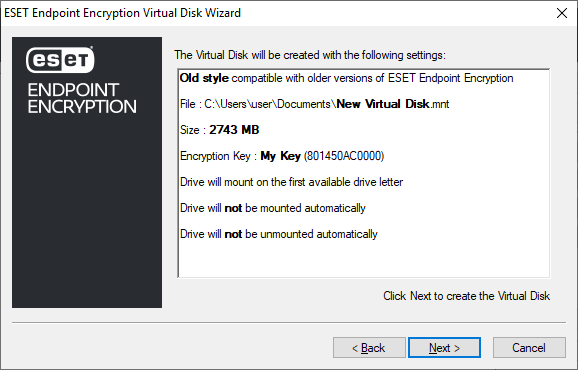
- An overview of the selected choices will be displayed, click Next to create the Virtual Disk
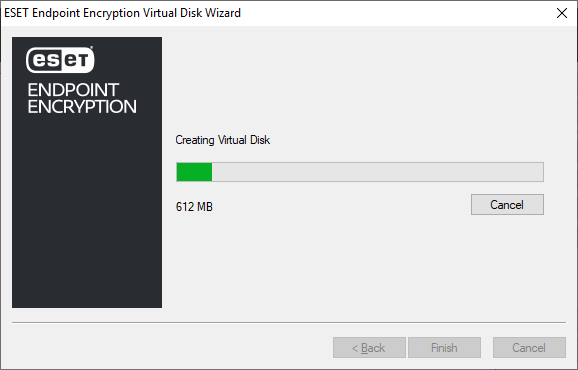
- A bar will display the progress of the creation process.
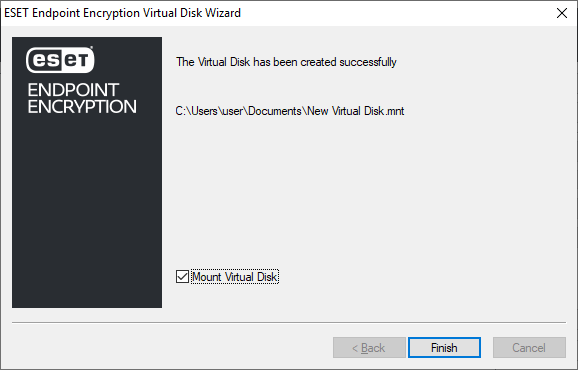
- Once the process has completed leave the check box Mount Virtual Disk checked if you wish to access the new Virtual Disk straight away, then click Finish.
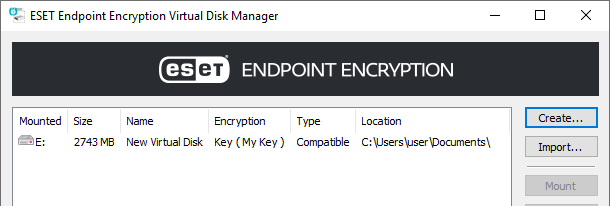
- The drive letter used to access the container is displayed within the Virtual Disk Manager interface, in our example Windows has assigned the letter E: for access.
- You will see the mapped drive letter with a EEE icon within Windows Explorer.
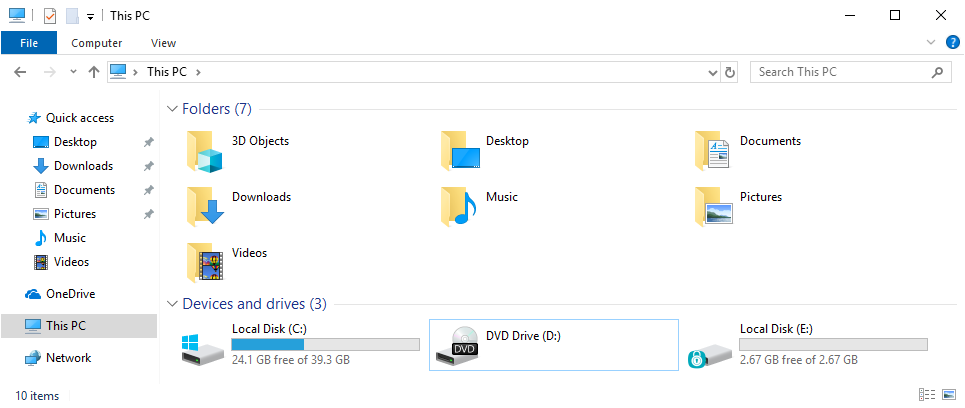
- All data written into the mapped drive letter is encrypted.
Mount/Unmount Operations
There are two methods to mount / unmount a virtual disk.
1. Open the Virtual Disk Manager, select the Virtual Disk in question in the Virtual Disk Manager list, then click the Mount or Unmount button as appropriate.
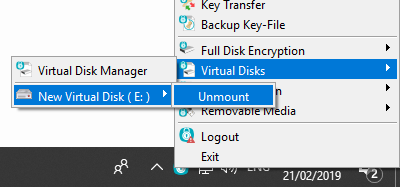
2. Use the pop out menu from the EEE icon in the notification area to select the Mount or Unmount option as appropriate without needing to load the Virtual Disk Manager interface.
Specifying Options
Each virtual disk has configurable options to mount to a preferred drive letter and mount/unmount automatically as required as you login/logout of EEE.
If you wish to change these settings after a Virtual Disk has been created, simply select the Virtual Disk in question in the Virtual Disk Manager then click the Options button.
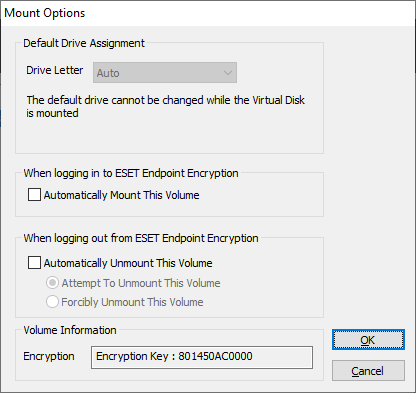
Edit the options as required then click OK.
Importing Virtual Disks
If you have removed a Virtual Disk from the Virtual Disk Manager or if you have introduced a Virtual Disk file from another system there are two methods to add the Virtual Disk to the Virtual Disk Manager list of virtual disks.
1. Double click on the .mnt or .dlpvdisk extension file.
2. Open the Virtual Disk Manager, click Import, select the file in question then click Open.
Using Virtual Disks in a Network Folder
You can use a Virtual Disk container within a Network Folder. The limitation of a Virtual Disk in shared environments is that only the first user to mount the Virtual Disk gets read/write access, subsequent users get read access until all users have un-mounted the disk.