Issue
- You want to create a failover cluster in ESET PROTECT On-Prem
Solution
- Install Microsoft SQL to a node server
- Enable the iSCSI role
- Create an iSCSI disk
- Enable the failover cluster on each node
- Set up the failover cluster
- Install ESET PROTECT Server on the first node
- Install ESET PROTECT Server on the second node
- Configure the role on the failover cluster
- Install the ESET PROTECT Web Console
- Install the ESET Management Agent on each node
I. Install Microsoft SQL to a node server
Install Microsoft SQL to one of your node servers (not a server in the High Availability cluster) that will hold the data.
-
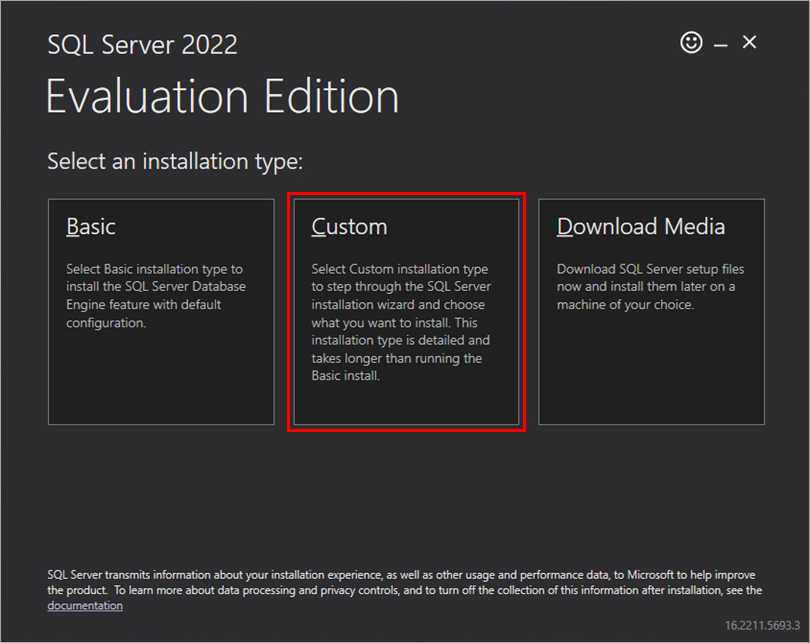
Select the custom installation type.
-
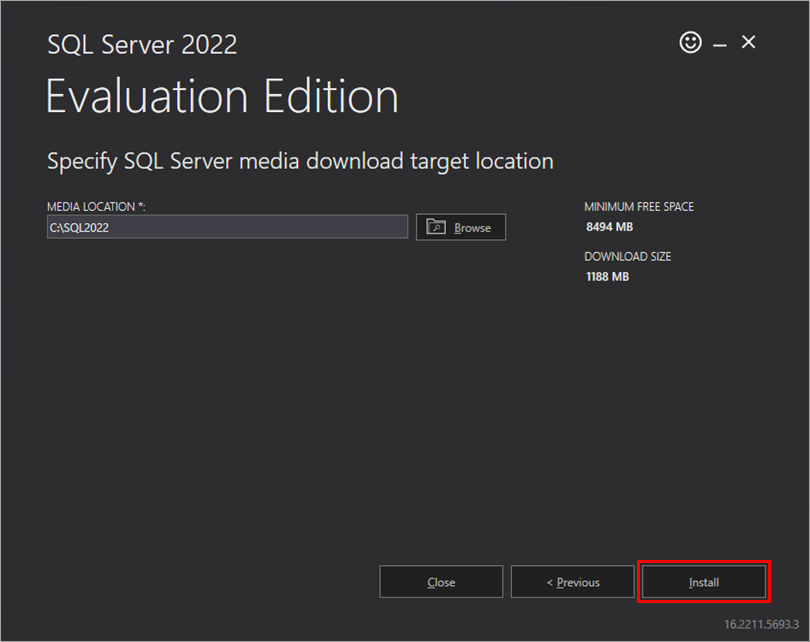
Click Install.
-
Click Installation → New SQL Server standalone installation or add features to an existing installation.

-
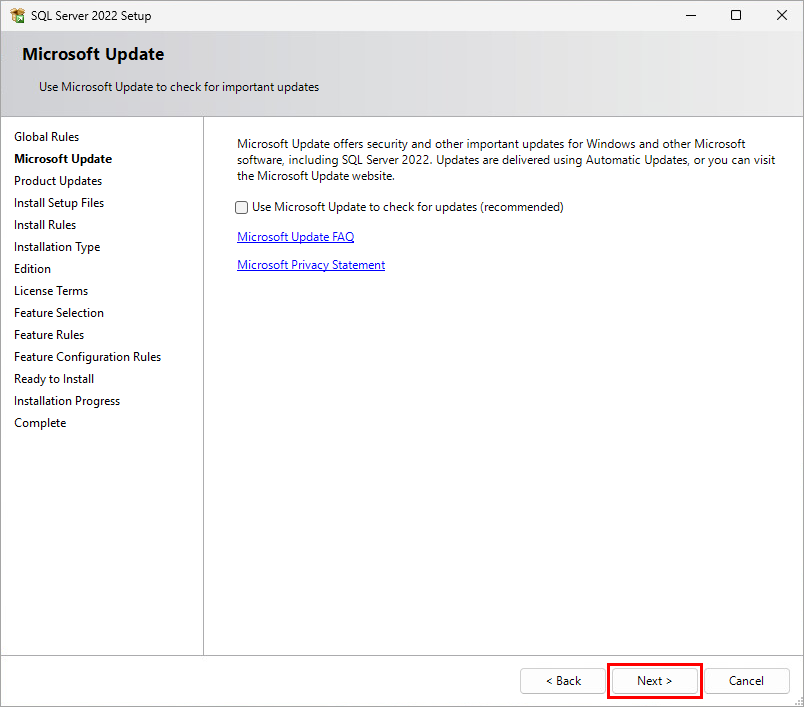
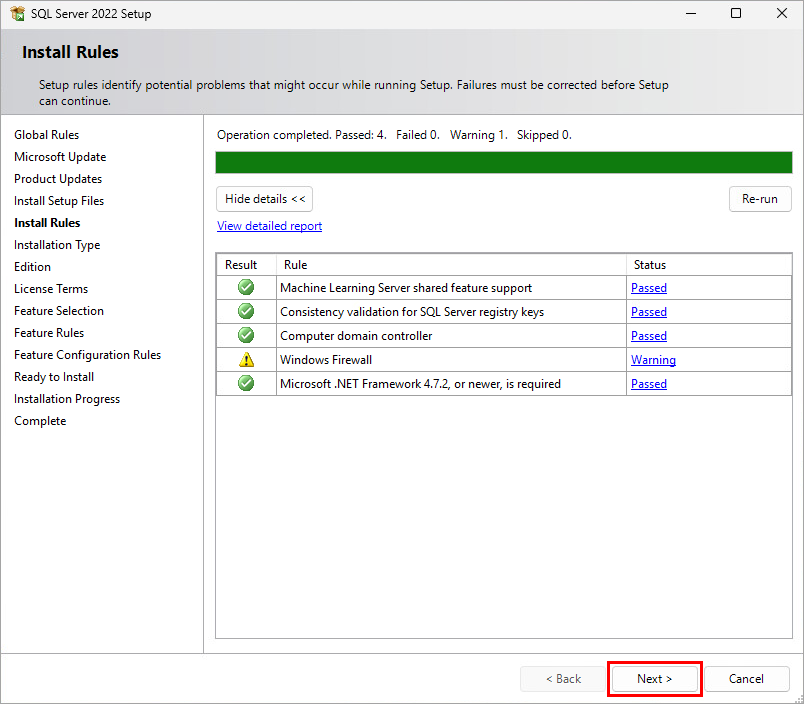
Click Next.
-
Click Next.
-
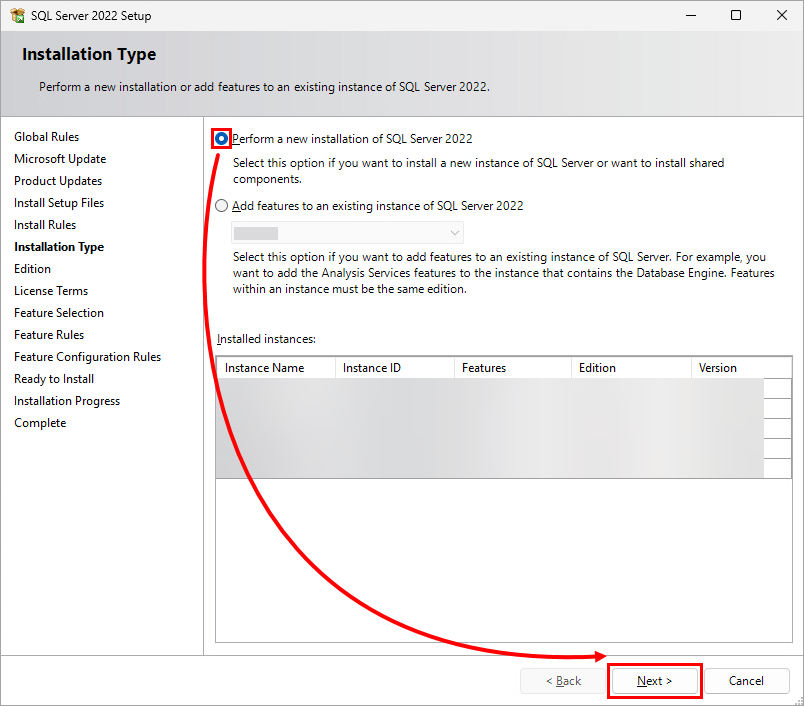
Click Perform a new installation of SQL Server 2022 → Next.
-
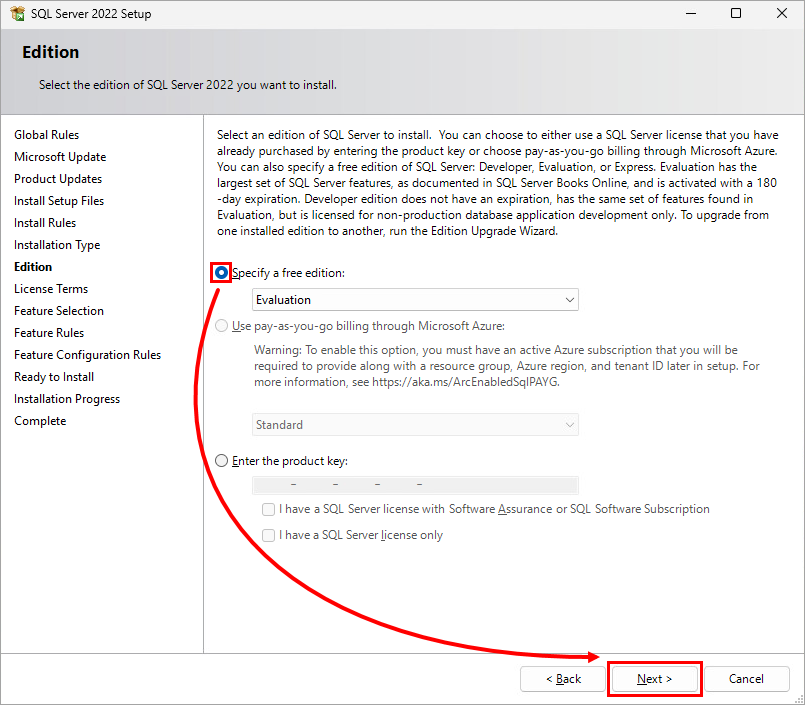
Click Specify a free edition → Next.
-
Click I accept the license terms and Privacy Statement → Next.

-
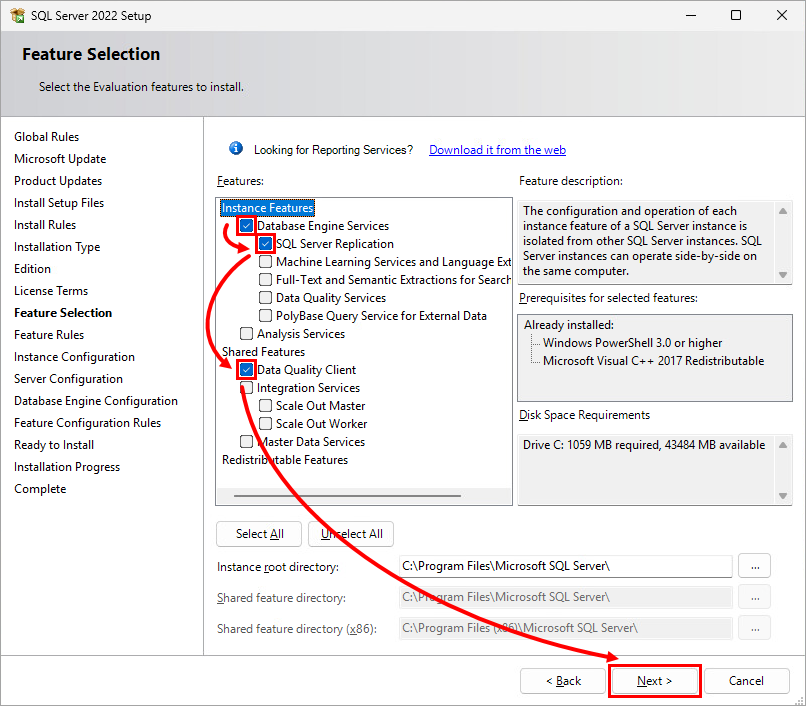
Select the following features: Database Engine Services, SQL Server Replication, and Data Quality Client. Click Next.
-
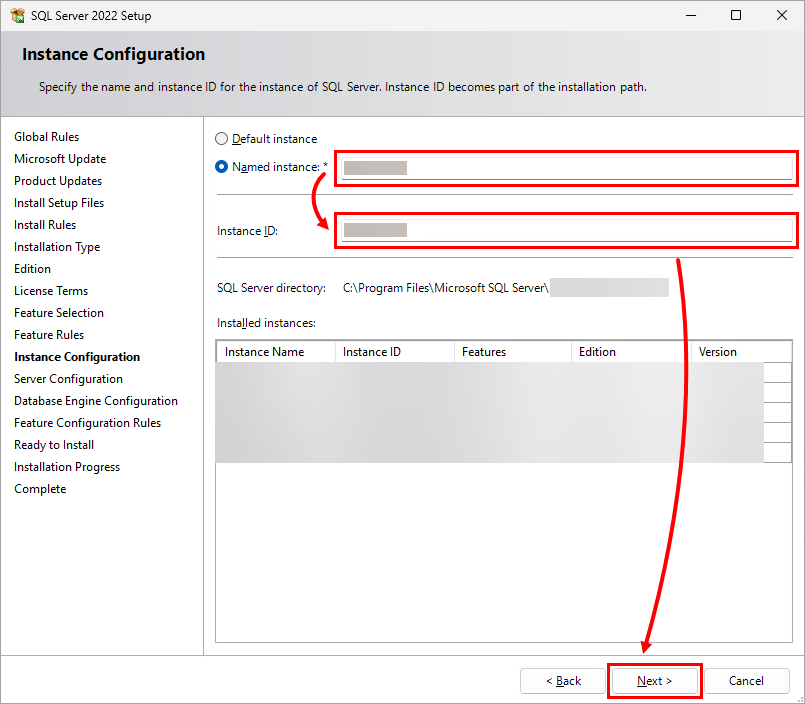
Specify a name for the instance and Instance ID, then click Next.
-
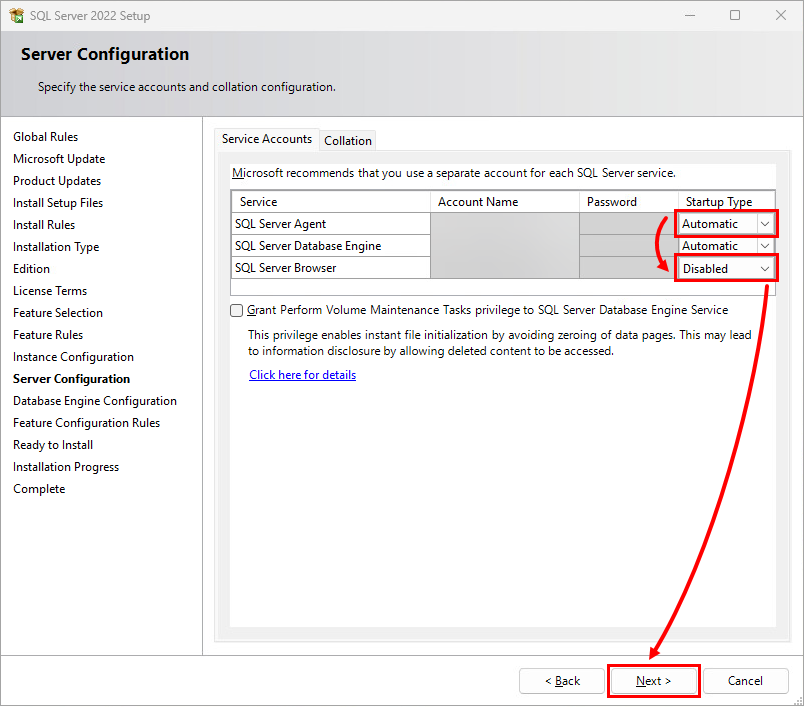
Select the following Startup Types: Automatic for SQL Server Agent and Disabled for SQL Server Browser. Click Next.
-
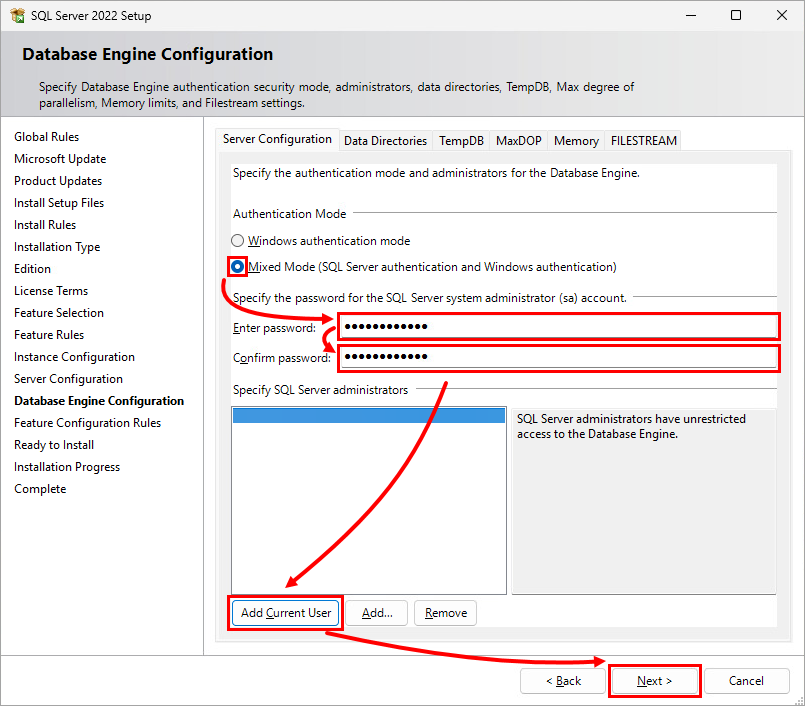
Select Mixed Mode (SQL Server authentication and Windows authentication), specify the password, click Add Current User → Next.
-
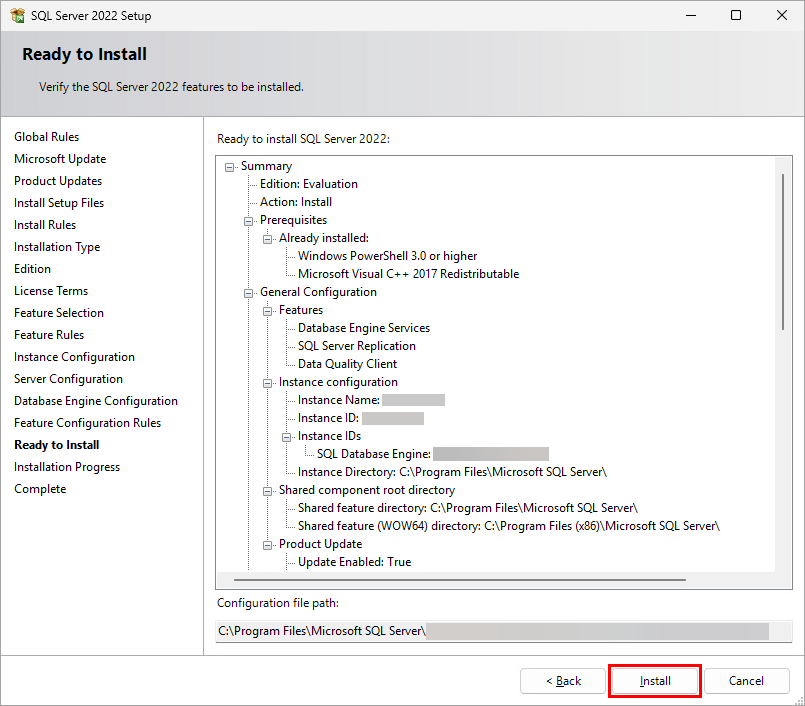
Click Install.
-
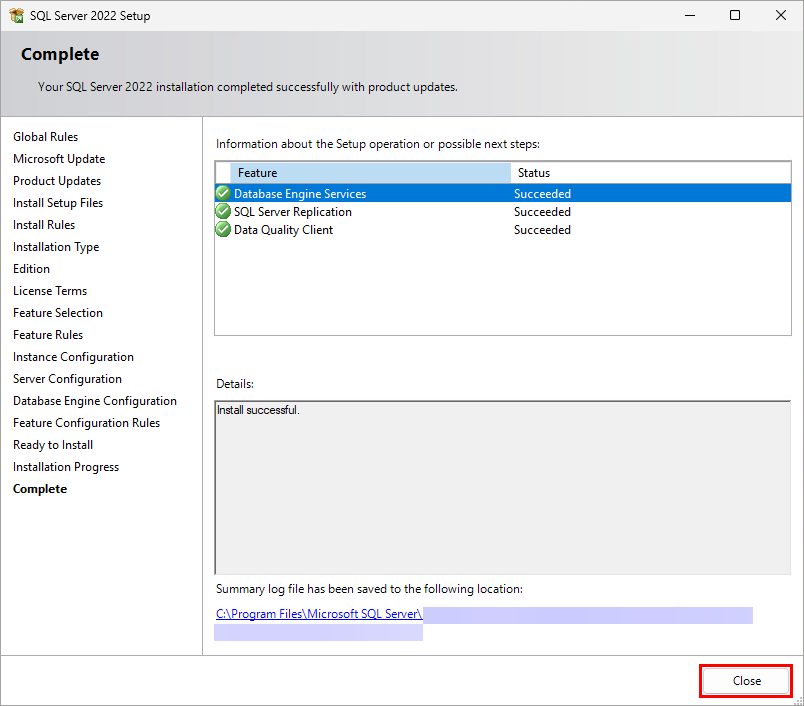
Click Close.
-
Click Start, type
SQL Server 2022 Configuration Managerand click SQL Server 2022 Configuration Manager.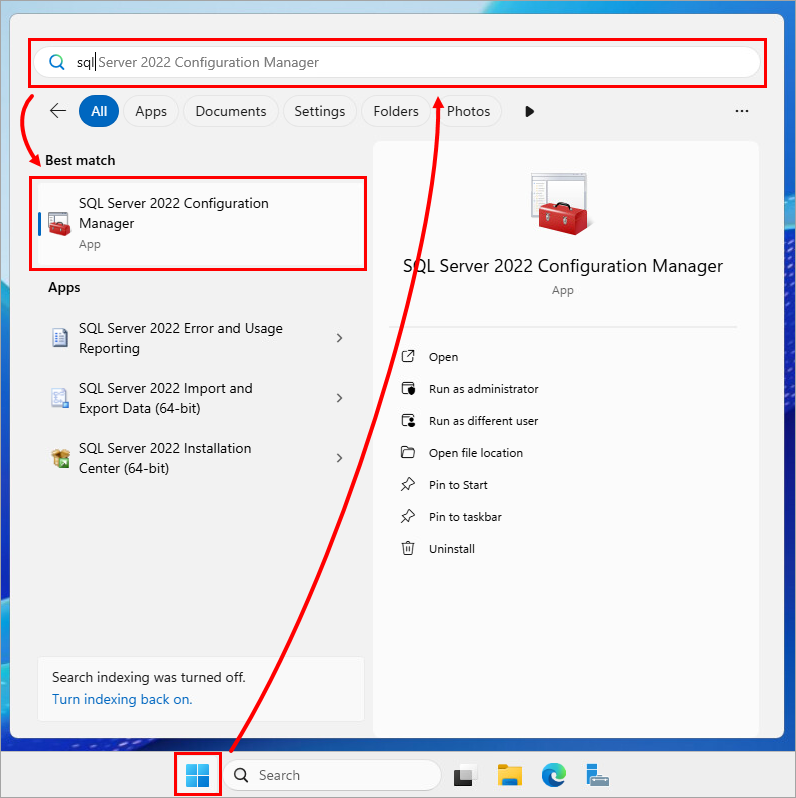
-
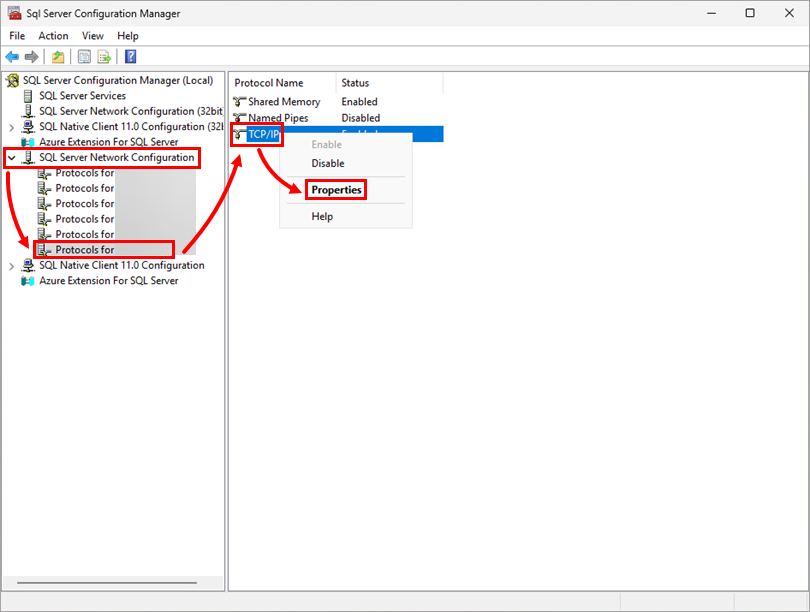
Click SQL Server Network Configuration, select Protocols for your server, then click TCP/IP → Properties.
-
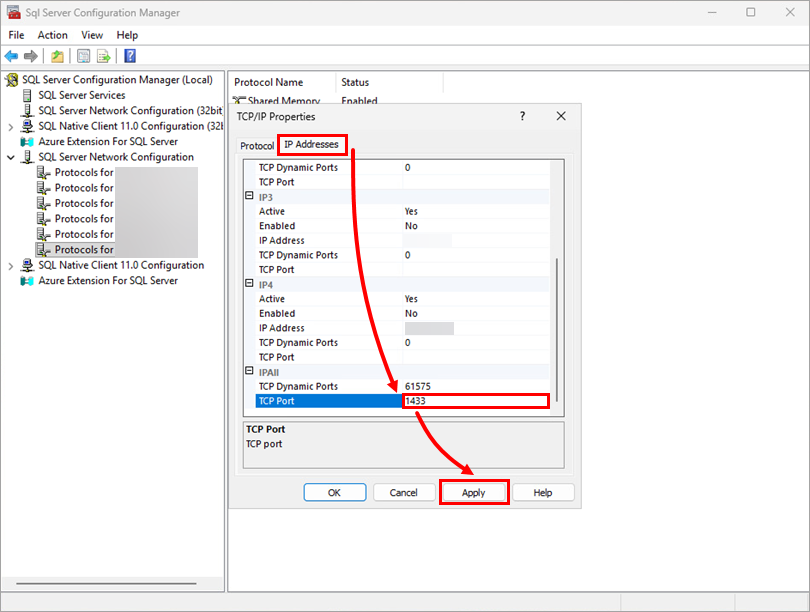
Click IP Addresses, type your TCP Port, then click Apply.
-
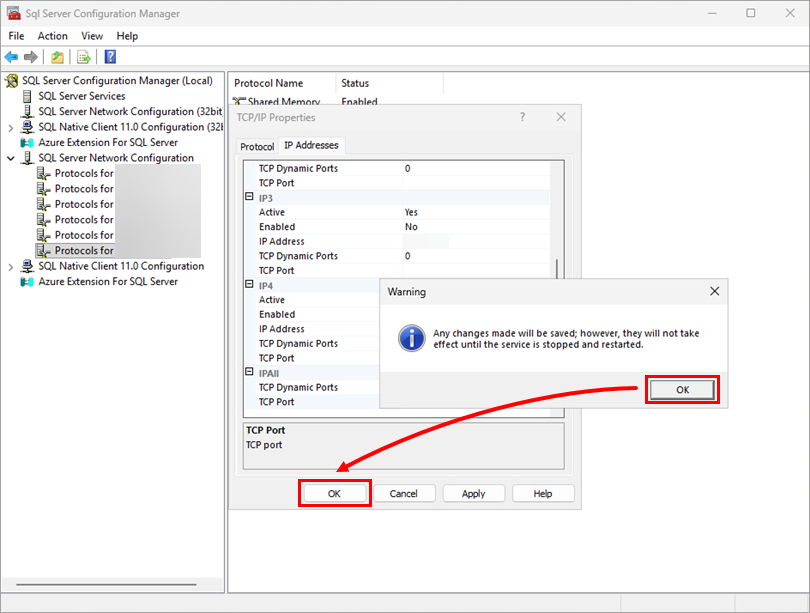
Click OK → OK.
-
Click Start, type
Servicesand click Services.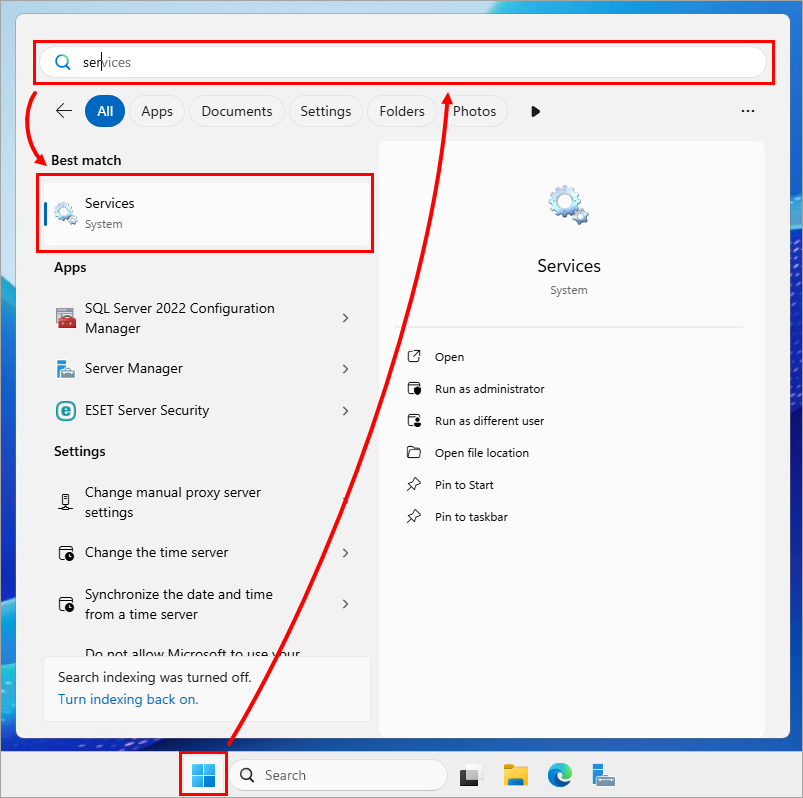
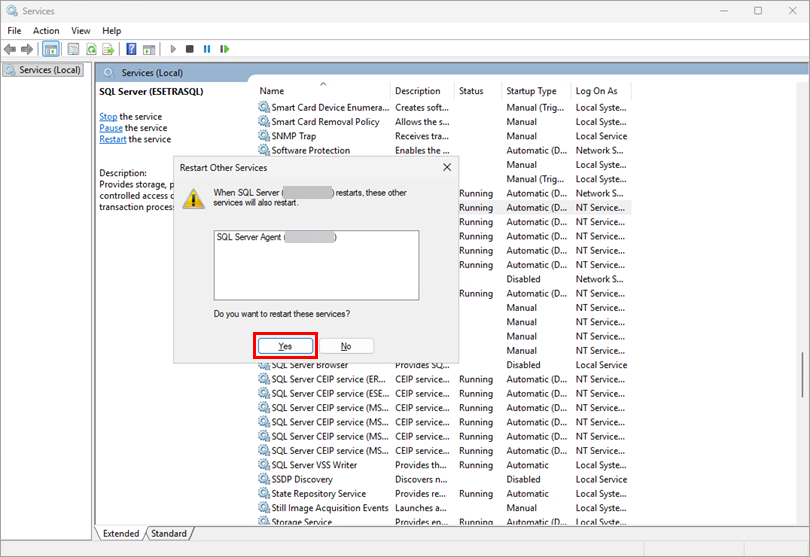
-
Right-click your SQL Server and select Restart.

-
Click Yes to restart.
II. Enable the iSCSI role
Enable the iSCSI role on the server to provide a shared disk for the failover cluster.
-
Click Start, type
Server Managerand click Server Manager.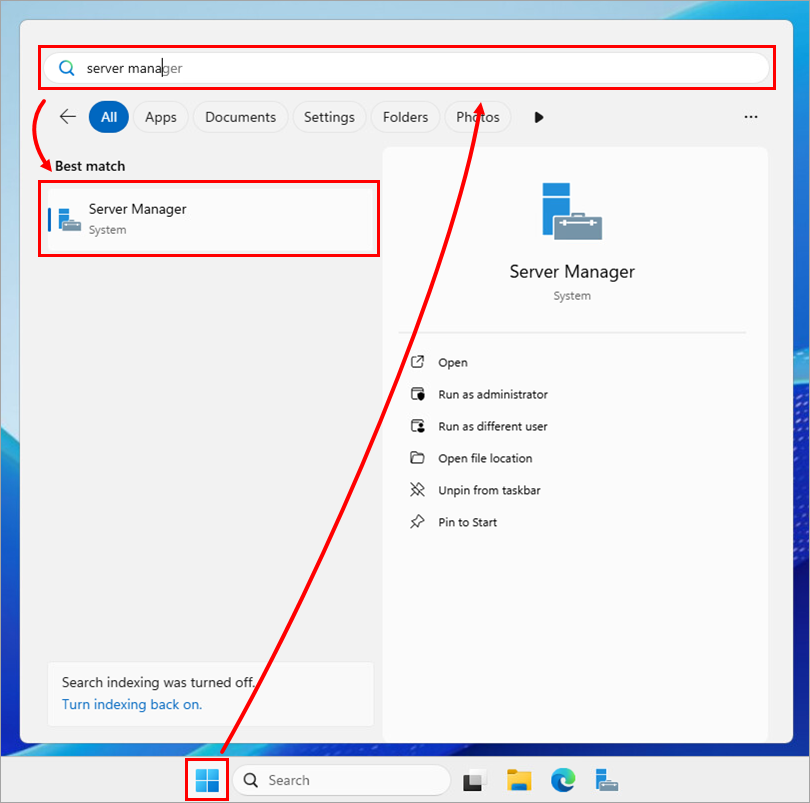
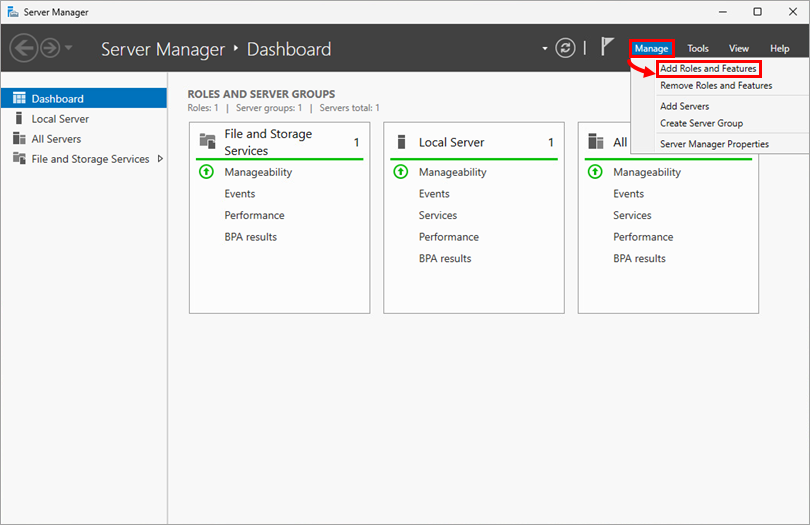
-
Click Manage → Add Roles and Features.
-
Click Next.
-
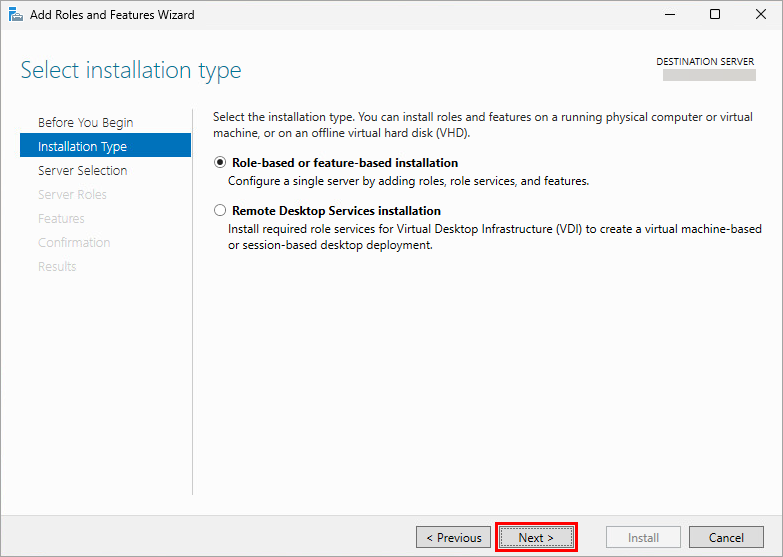
Click Next.
-
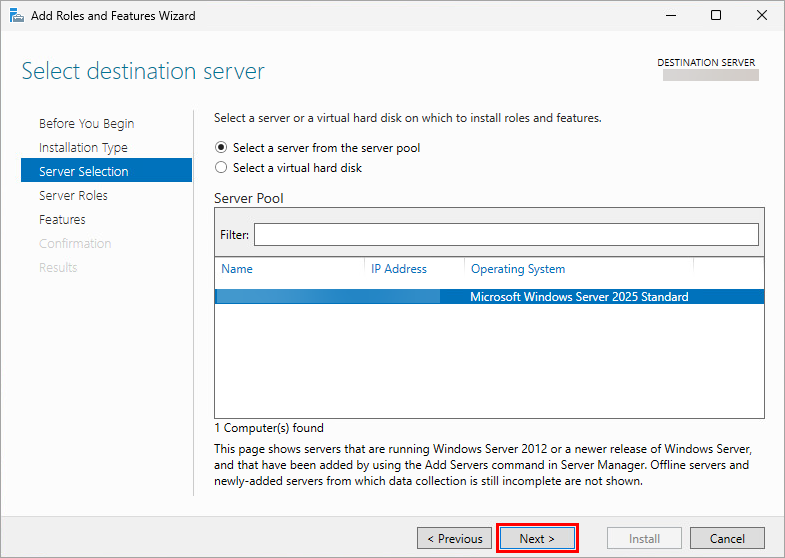
Click Next.
-
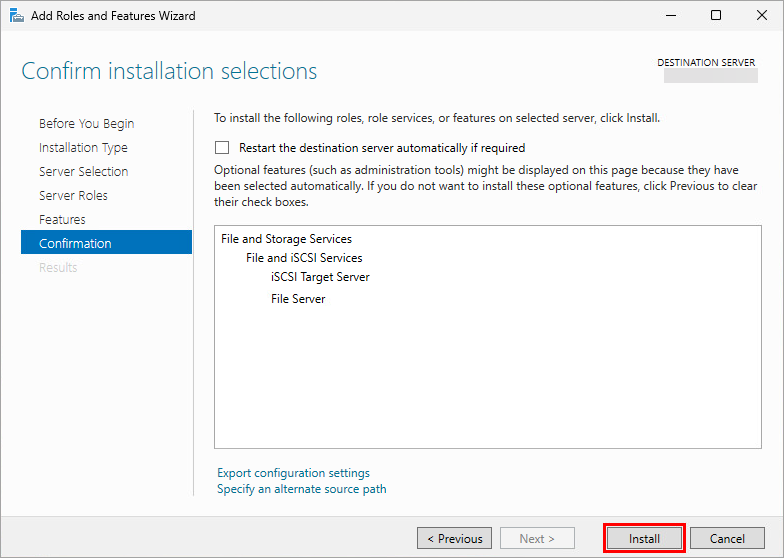
Select the following roles: File and Storage Services → File and iSCSI Services → File Server and iSCSI Target Server. Click Next.

-
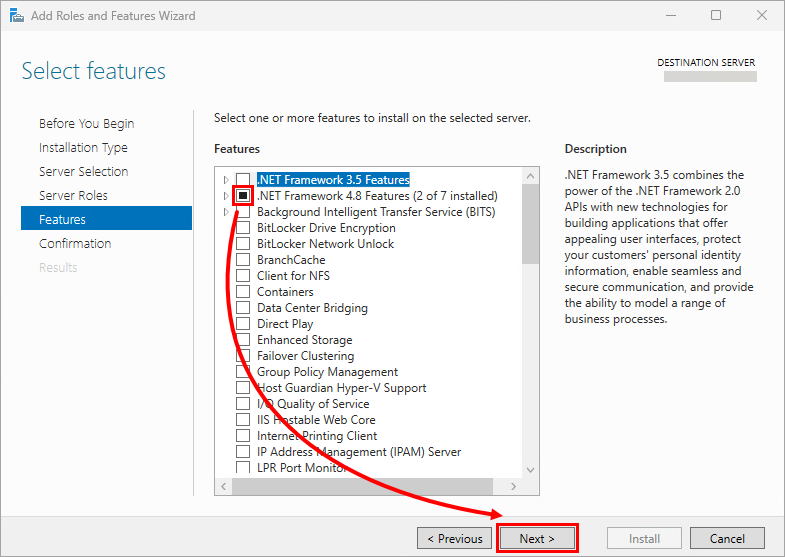
Select .NET Framework 4.8 Features. Click Next.
-
Click Install.
-
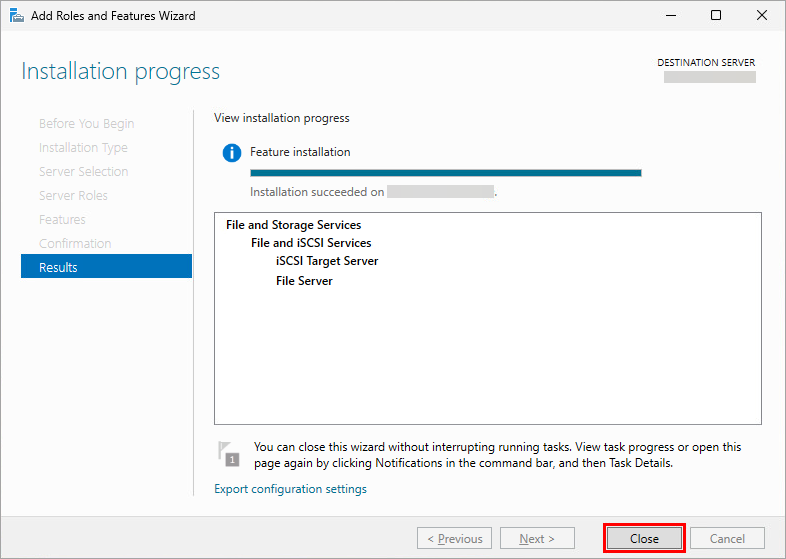
Click Close.
III. Create an iSCSI disk
-
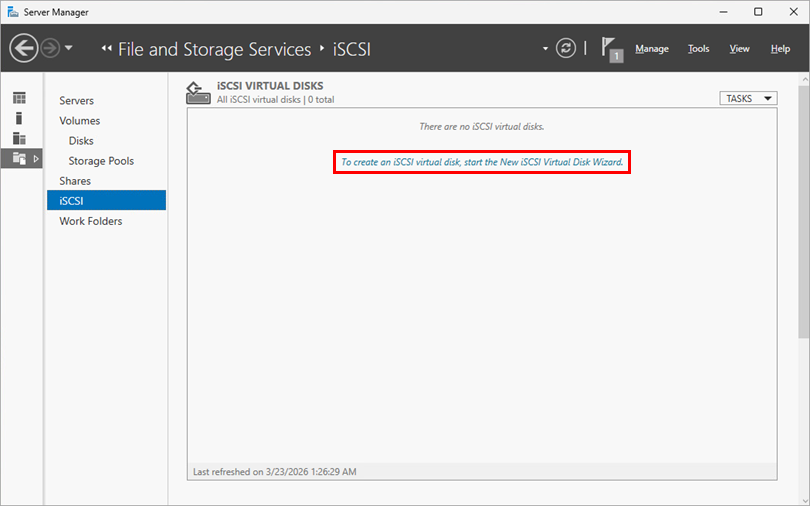
In Server Manager → iSCSI, click To create an iSCSI virtual disk, start the New iSCSI Virtual Disk Wizard.
-
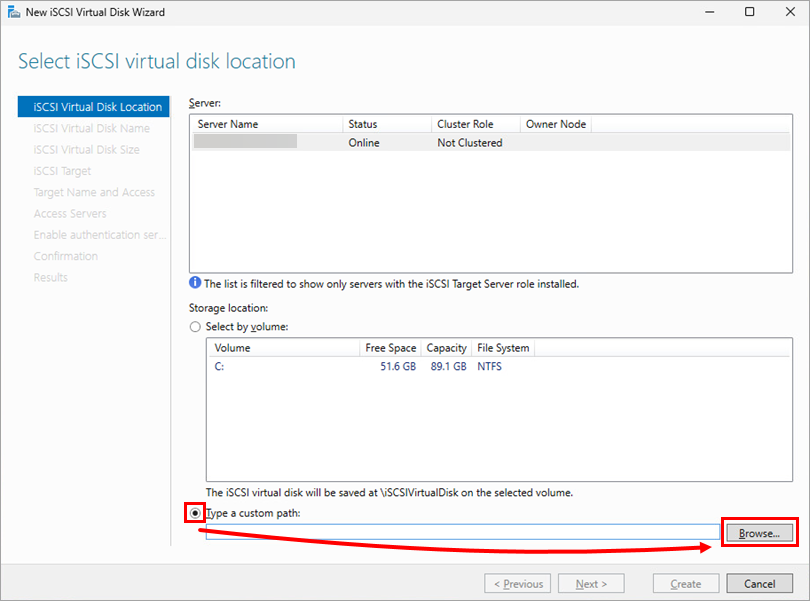
Select Type a custom path and click Browse.
-
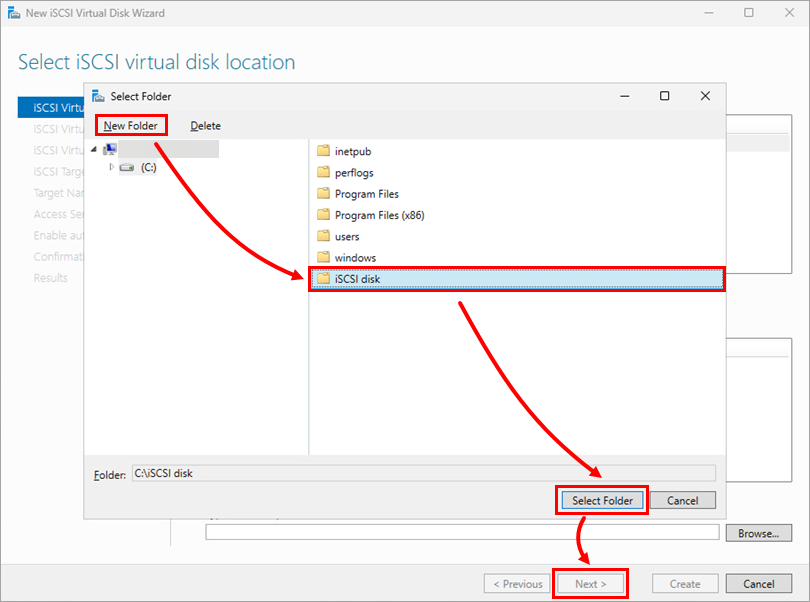
Click New folder, choose a folder and click Select Folder → Next.
-
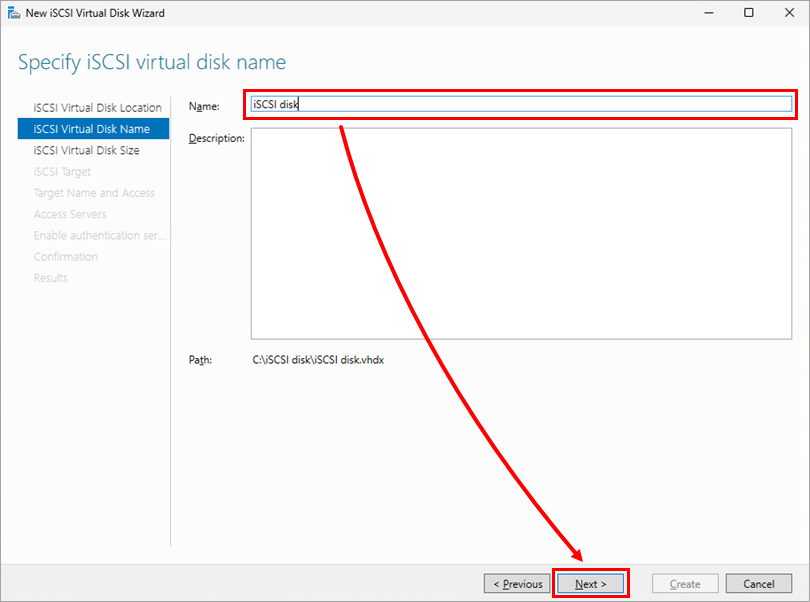
Specify the disk name and click Next.
-
Set the size (for example, to 10 GB), select Fixed size, and click Next.

-
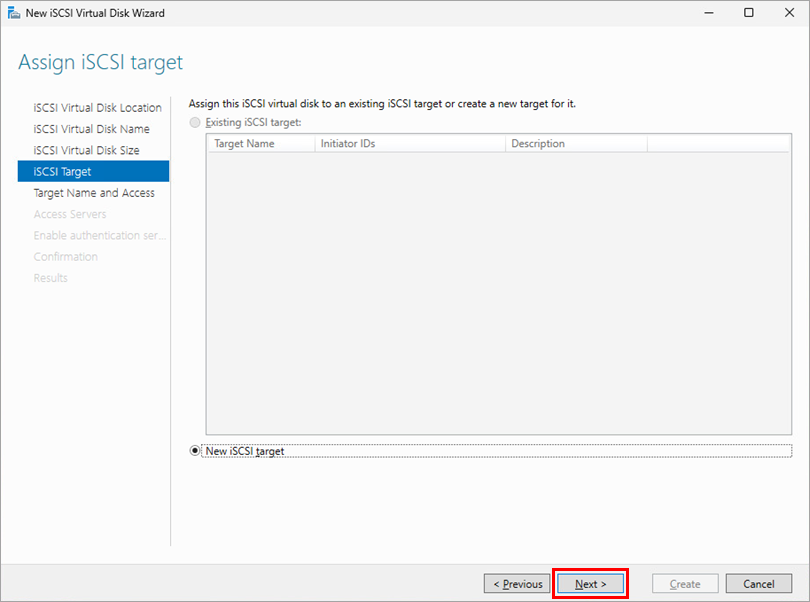
Click Next.
-
Specify the target name and click Next.

-
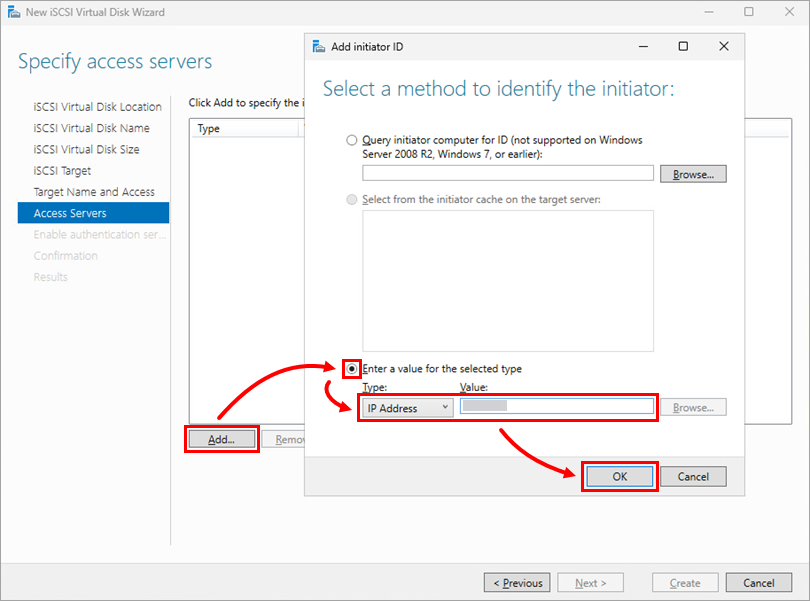
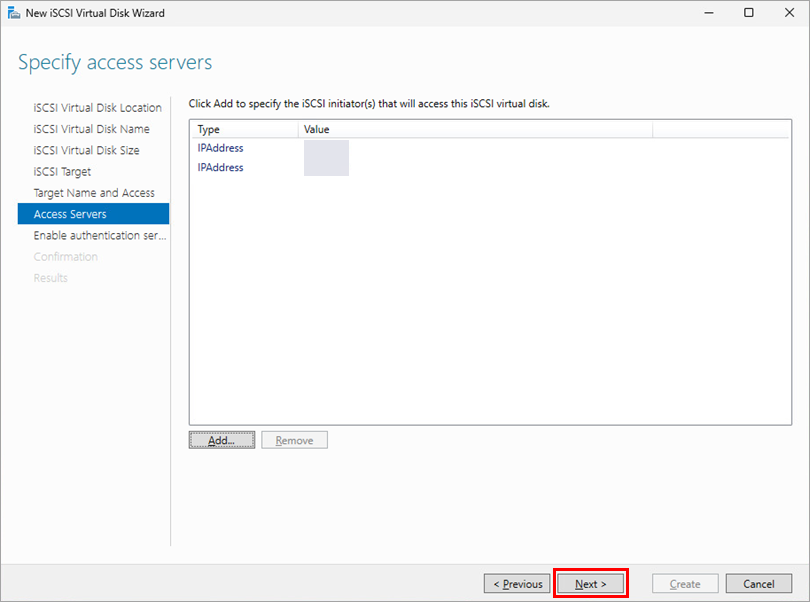
Click Add and select Enter a value for the selected type. Select IP Address from the drop-down menu, type the IP address, and click OK. Repeat the process for the second IP address.
-
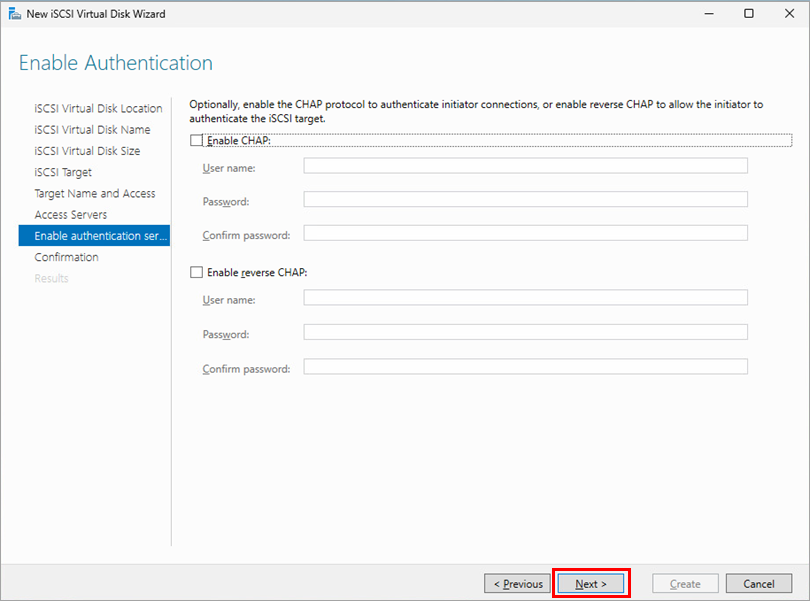
Click Next.
-
Click Next.
-
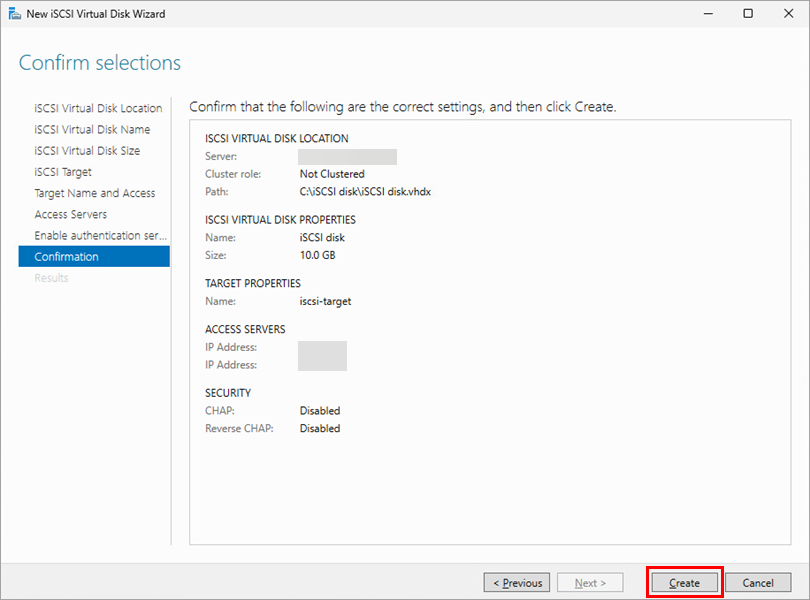
Click Create.
-
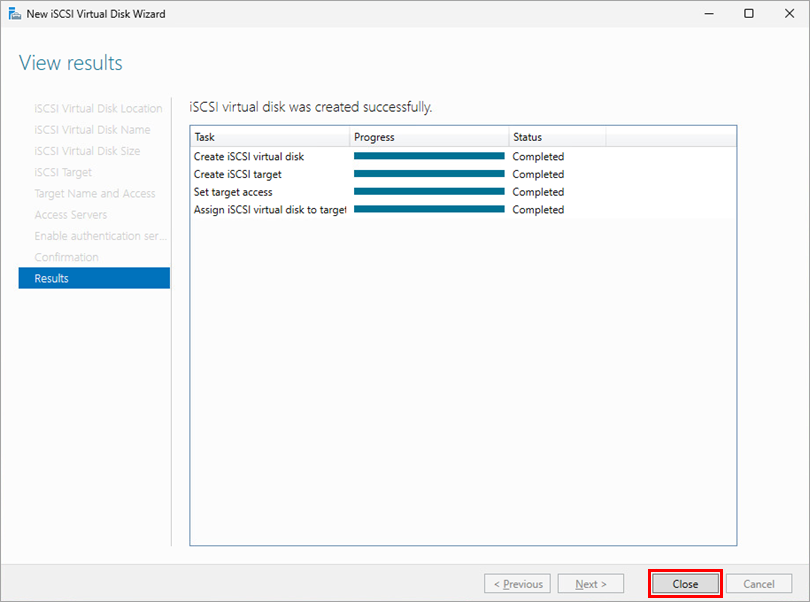
Click Close.
-
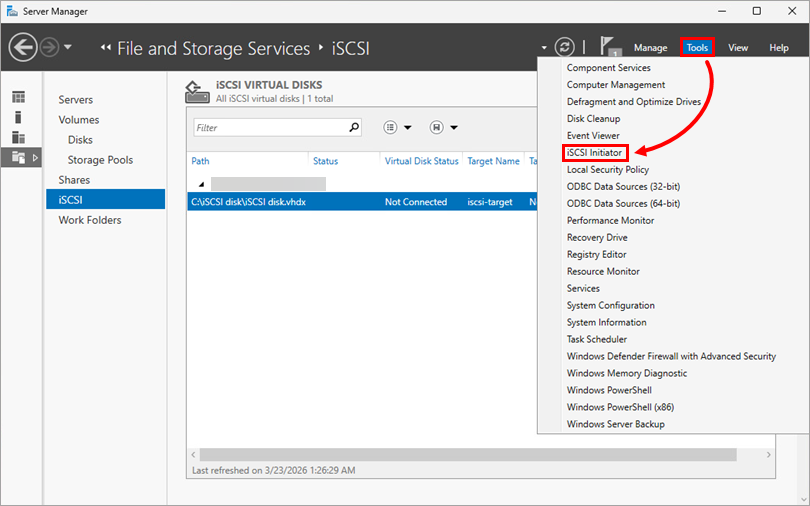
Click Tools → iSCSI Initiator.
-
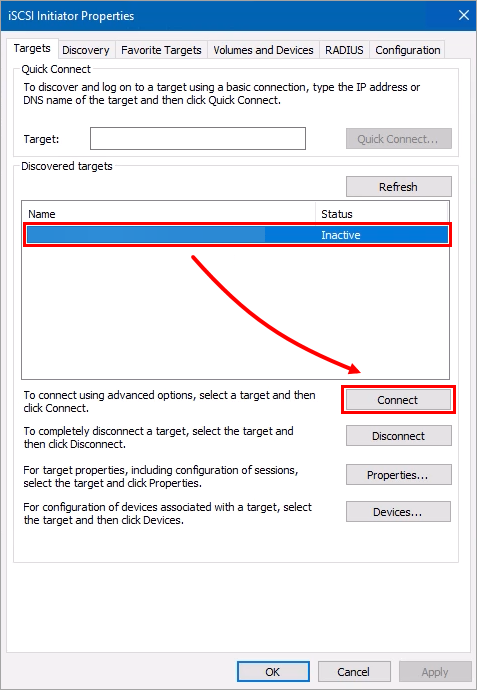
Select the target and click Connect.
-
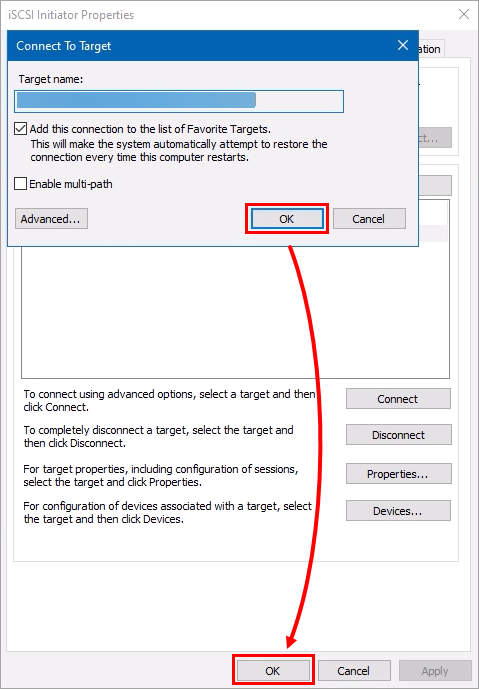
Click OK → OK.
-
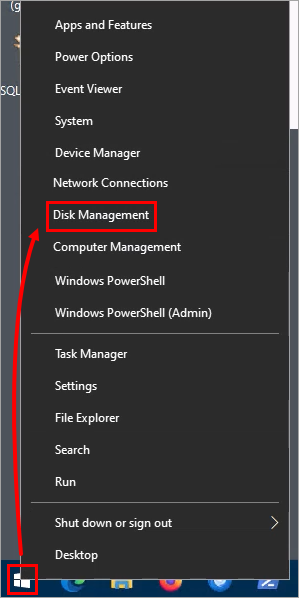
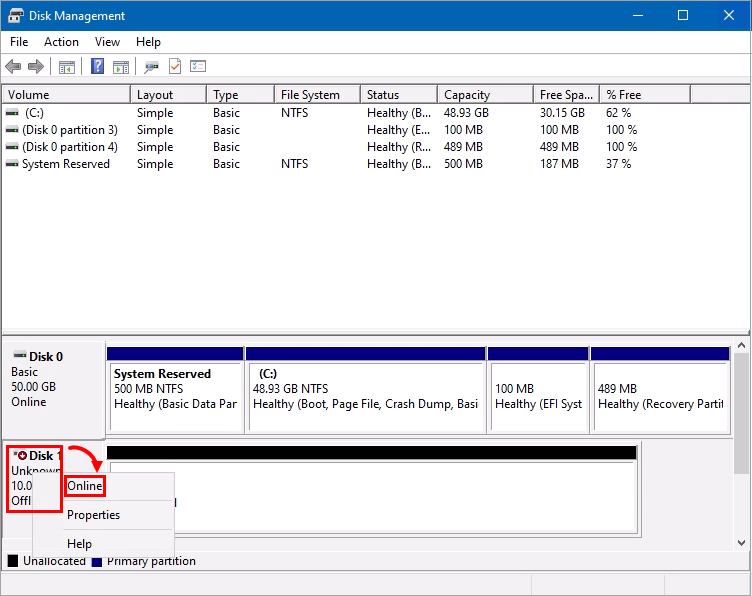
Right-click Start and select Disk Management.
-
Right-click Disk 1 and select Online.
-
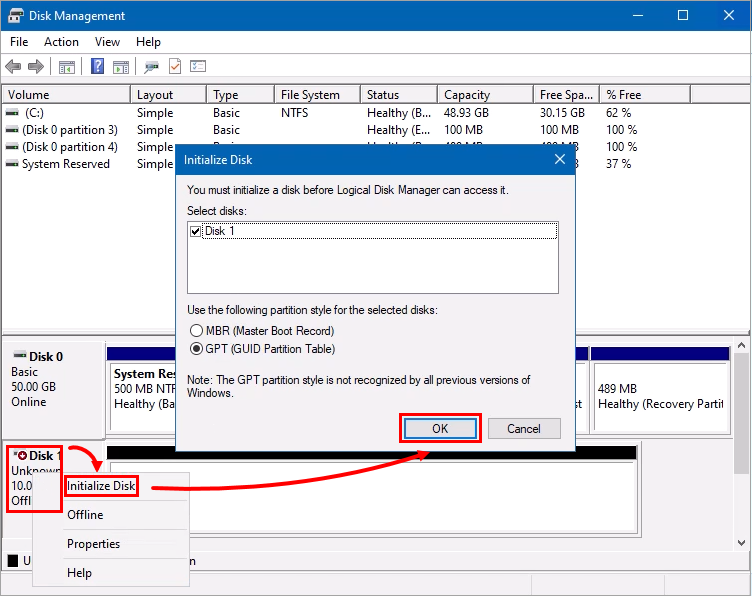
Right-click Disk 1 again, select Initialize Disk, then click OK.
-
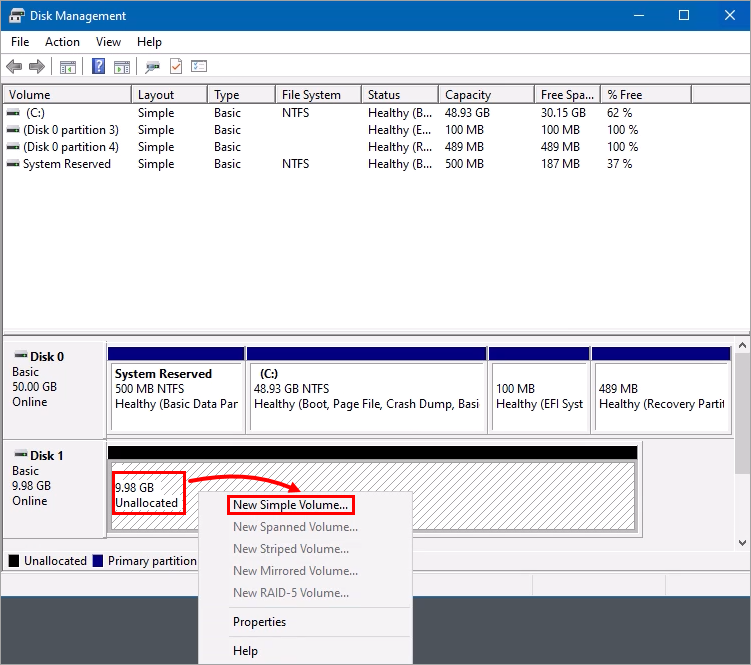
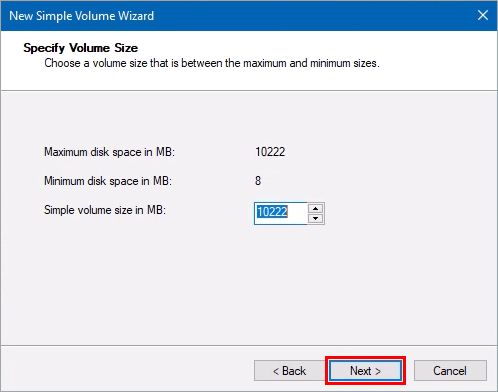
Click the GB value in the window next to the Disk 1 and select New Simple Volume.
-
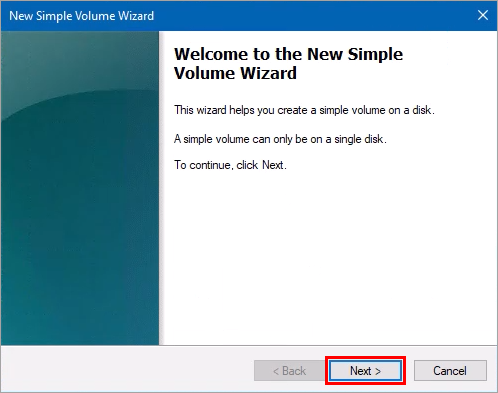
In the New Simple Volume Wizard, click Next.
-
Click Next.
-
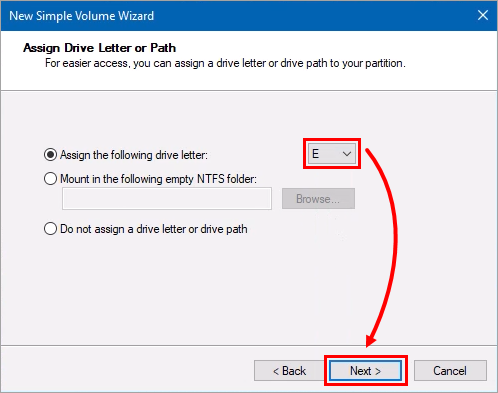
Select a drive letter from the drop-down menu and click Next.
-
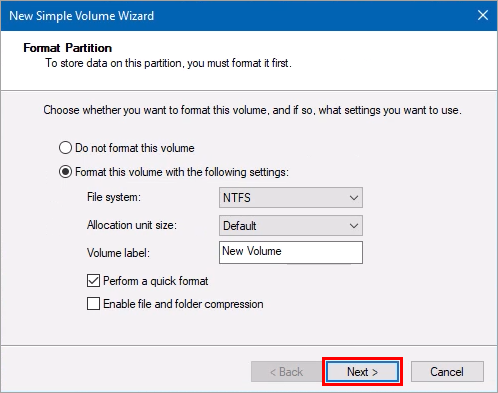
Click Next.
-
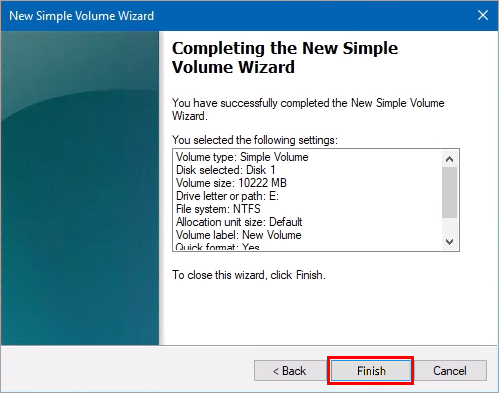
Click Finish.
IV. Enable the failover cluster on each node
-
Click Tools → iSCSI Initiator.
-
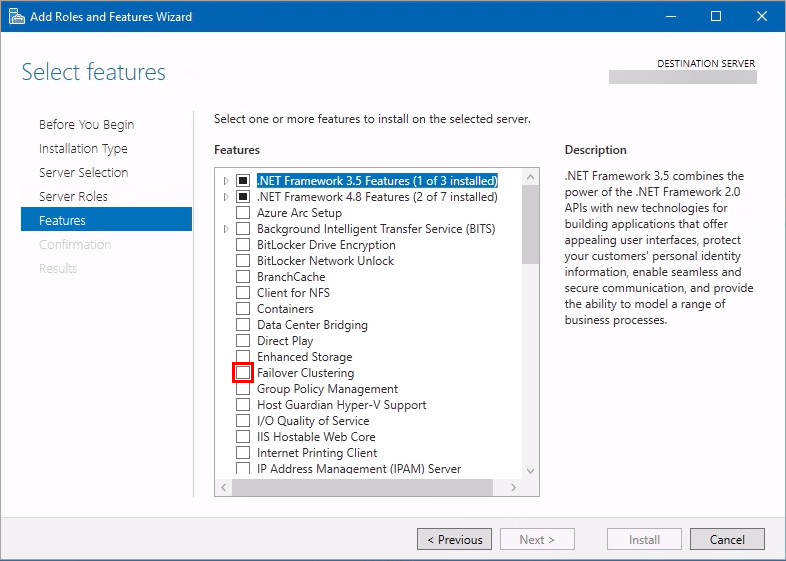
Click Next until you get to the Features window. Select Failover Clustering.
-
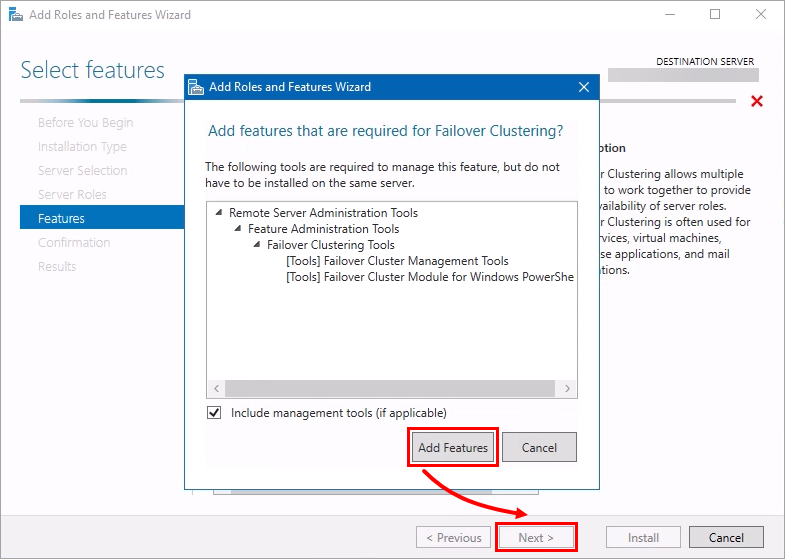
Click Add Features and click Next.
-
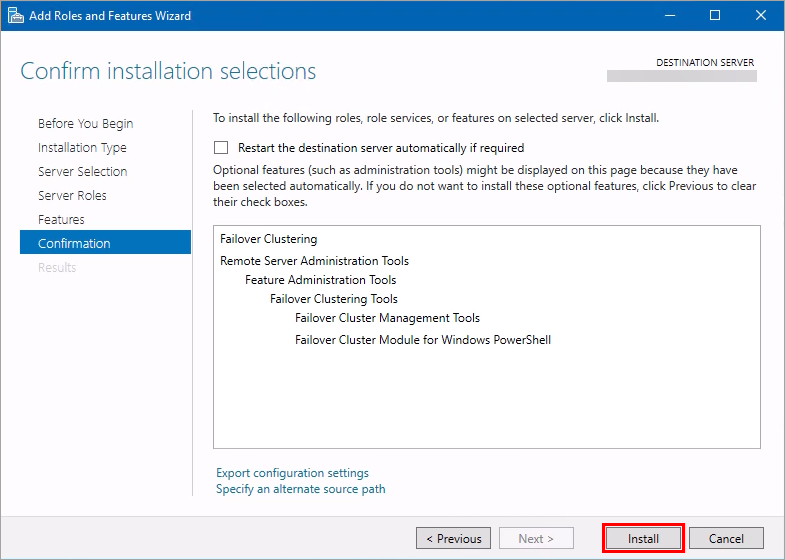
Click Install.
-
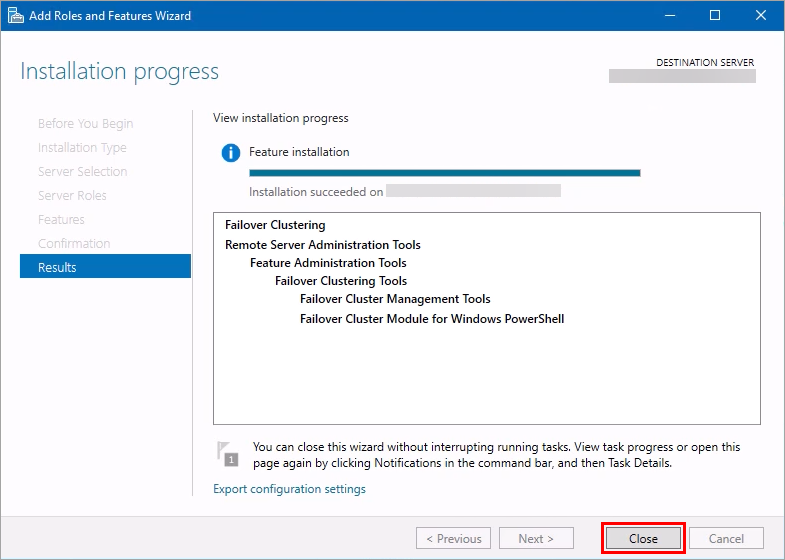
Click Close.
-
Repeat the process for the other node.
V. Set up the failover cluster
-
Click Start, type
Failover Cluster Managerand click Failover Cluster Manager.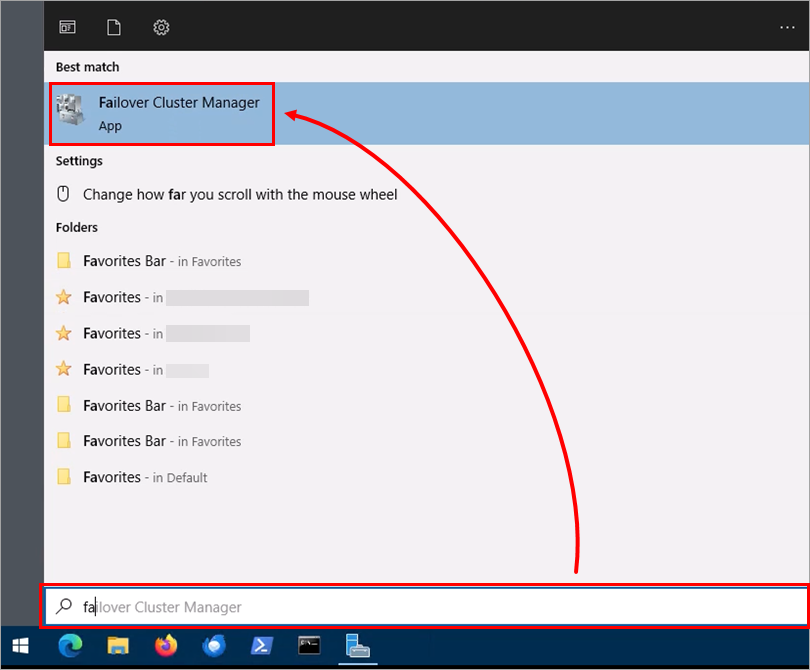
-
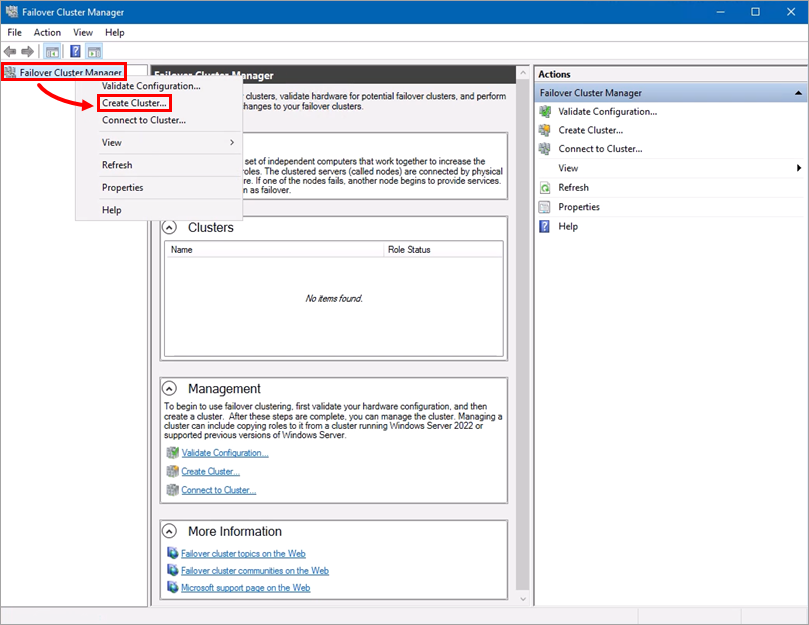
Right-click Failover Cluster Manager, click Create Cluster.
-
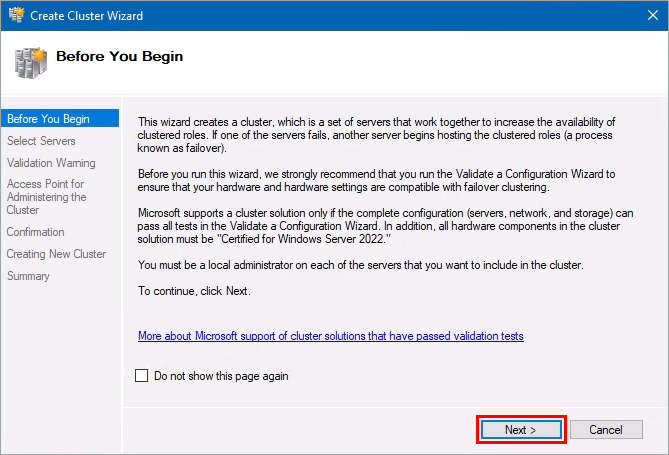
Click Next.
-
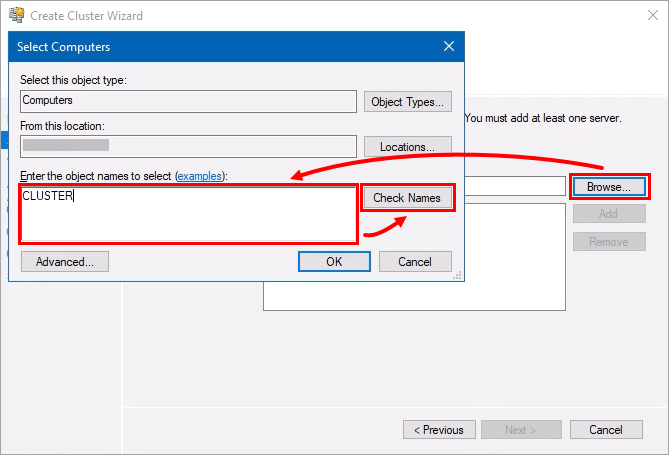
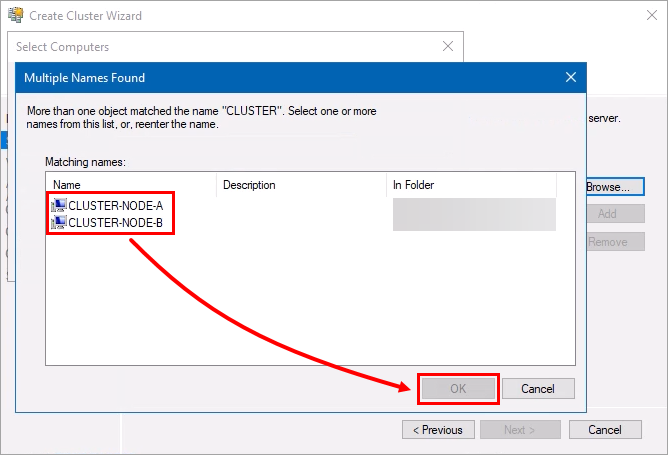
Click Browse, type the cluster names, then click Check Names.
-
Select the first cluster and click OK. Do the same with the second cluster.
-
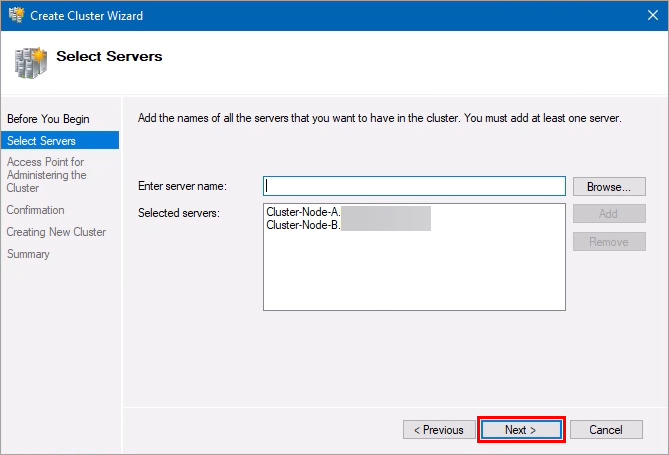
When both clusters are selected, click Next.
-
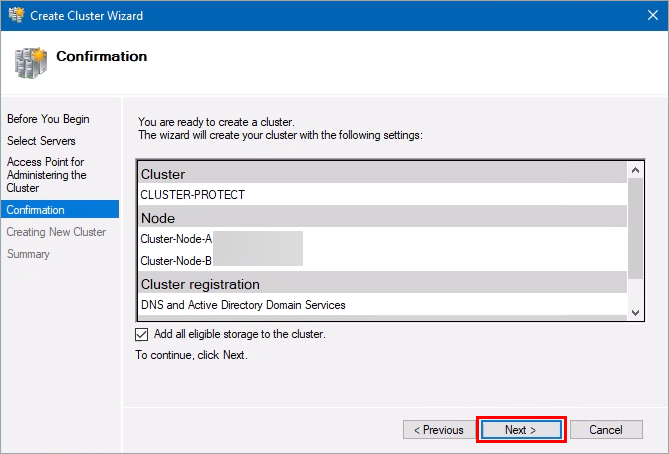
Type a name for the cluster, select the network, and type the IP Address. Click Next.

-
Click Next.
-
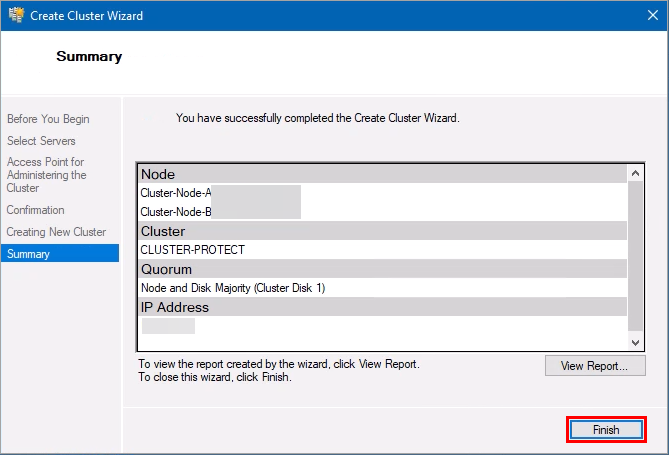
Click Finish.
VI. Install ESET PROTECT Server on the first node
-
Open the installation file and click Next.
-
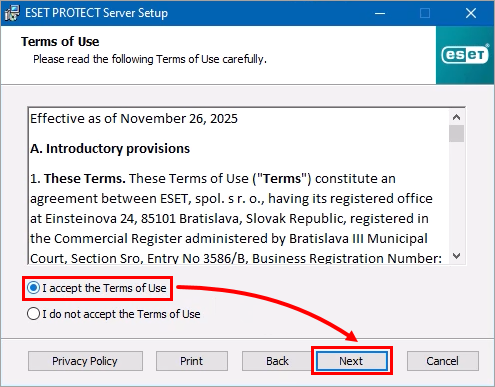
Select I accept the Terms of Use and click Next.
-
Click Next.
-
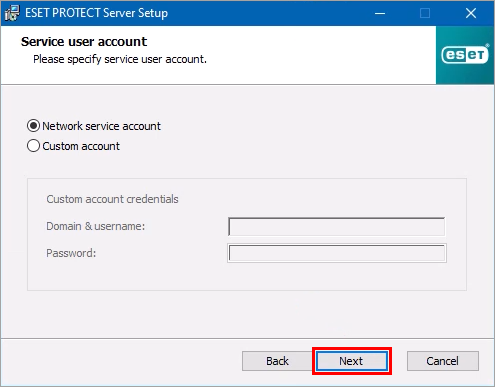
Click Next.
-
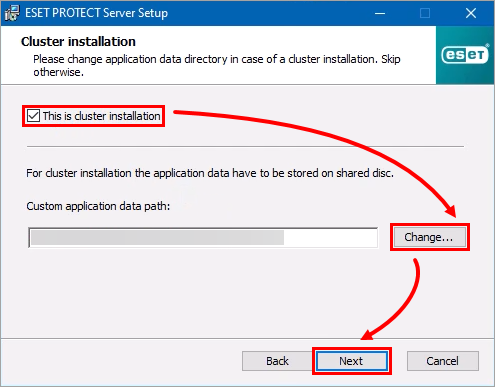
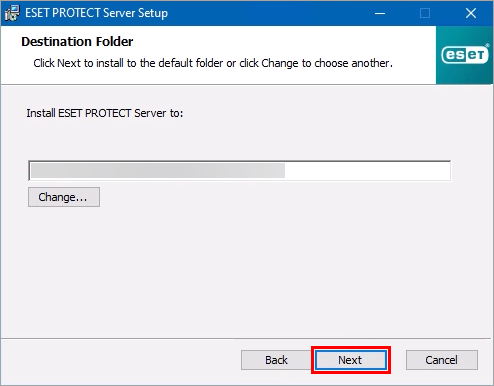
Select This is cluster installation and click Change to change the application data path. Then click Next.
-
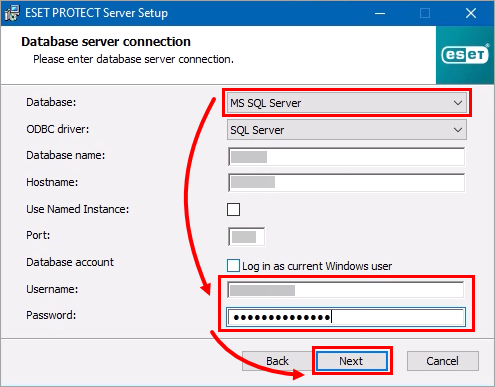
From the Database drop-down menu, select MS SQL Server. Type your username and password and click Next.
-
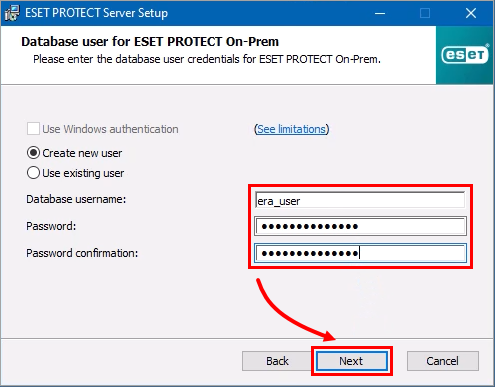
Type the database username and password, then click Next.
-
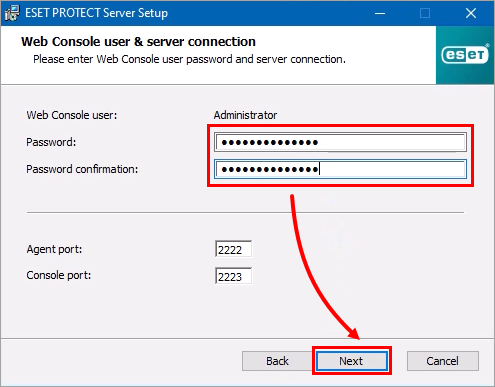
Type the password of the Web Console user, then click Next.
-
Click Next.

-
Type certificate information, then click Next.
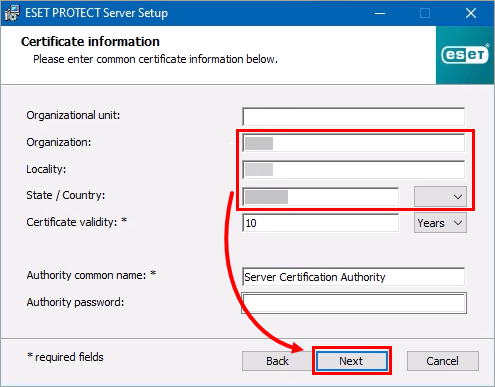
-
Type the server certificate password, then click Next.
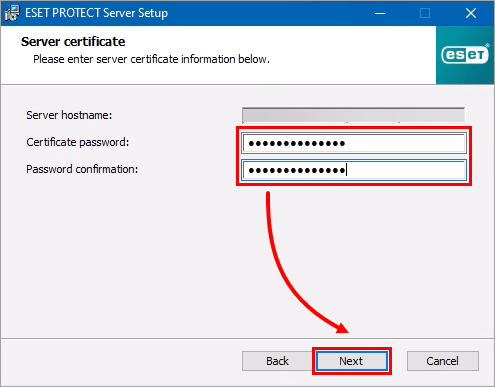
-
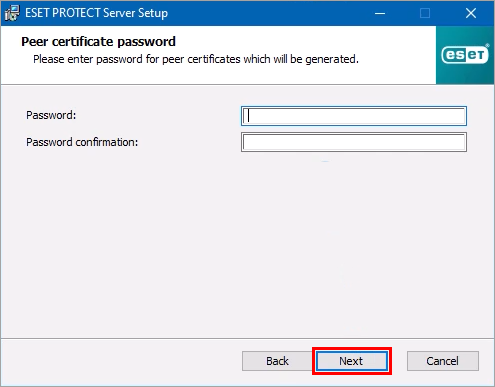
Click Next.
-
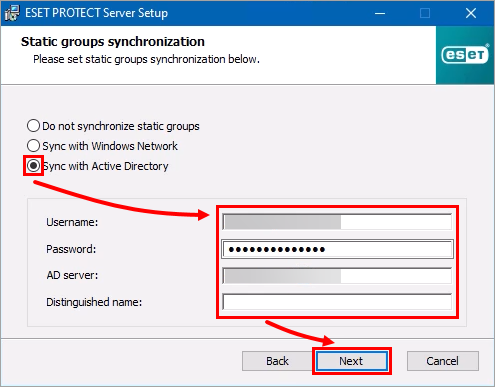
Select Sync with Active Directory, type the Active Directory credentials and AD server, then click Next.
-
Click Next.
-
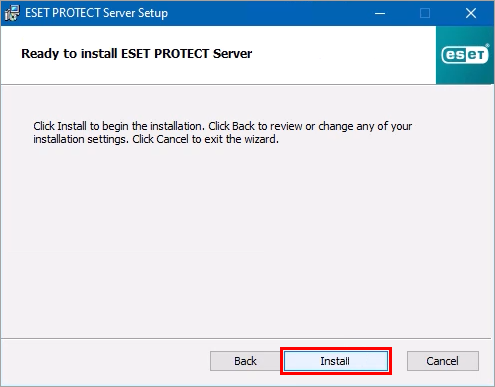
Click Install.
-
Click Finish.
-
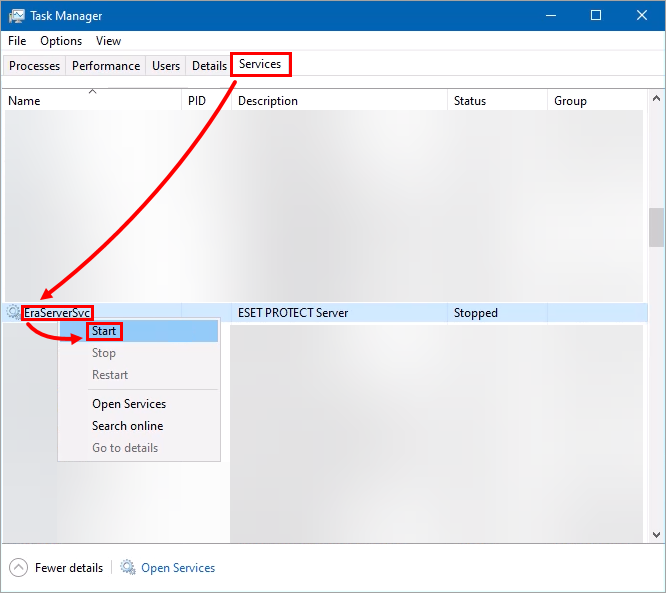
Open Task Manager, click Services, right-click EraServerSvc, and select Start.
-
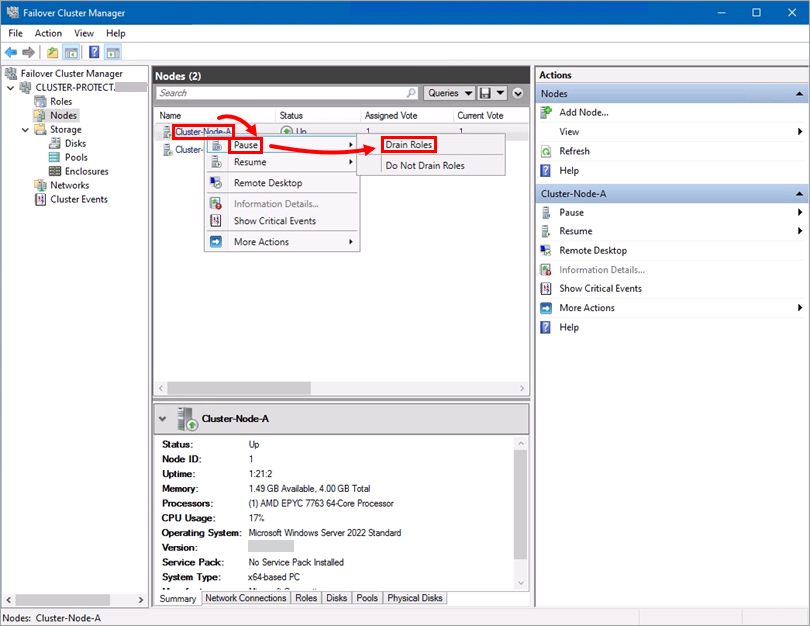
Open Failover Cluster Manager, right-click the first node, select Pause → Drain Roles.
VII. Install ESET PROTECT Server on the second node
-
Open the installation file and click Next.
-
Select I accept the Terms of Use and click Next.
-
Click Next.
-
Click Next.
-
Select This is cluster installation and click Change to change the application data path. Then click Next.
-
From the Database drop-down menu, select MS SQL Server. Type your username and password and click Next.
-
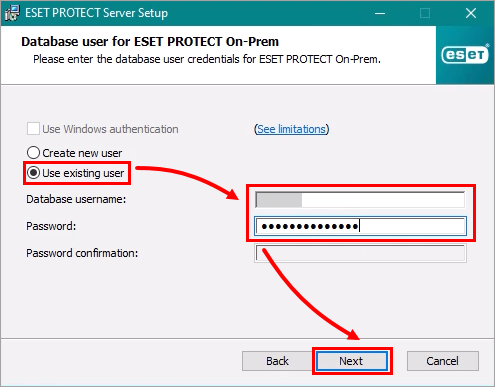
Select Use existing user and type the credentials. Click Next.
-
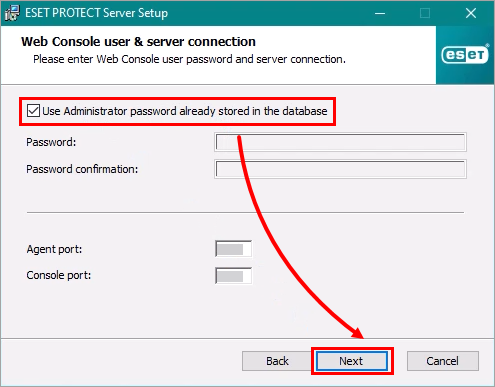
Select Use Administrator password already stored in the database and click Next.
-
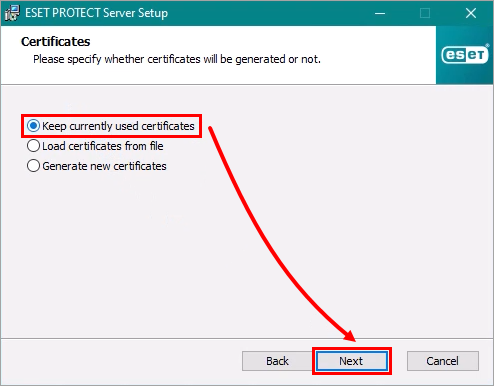
Select Keep currently used certificates and click Next.
-
Click Next.
-
Click Install.
-
Click Finish.
-
Open Task Manager, click Services, right-click EraServerSvc, and select Start.
-
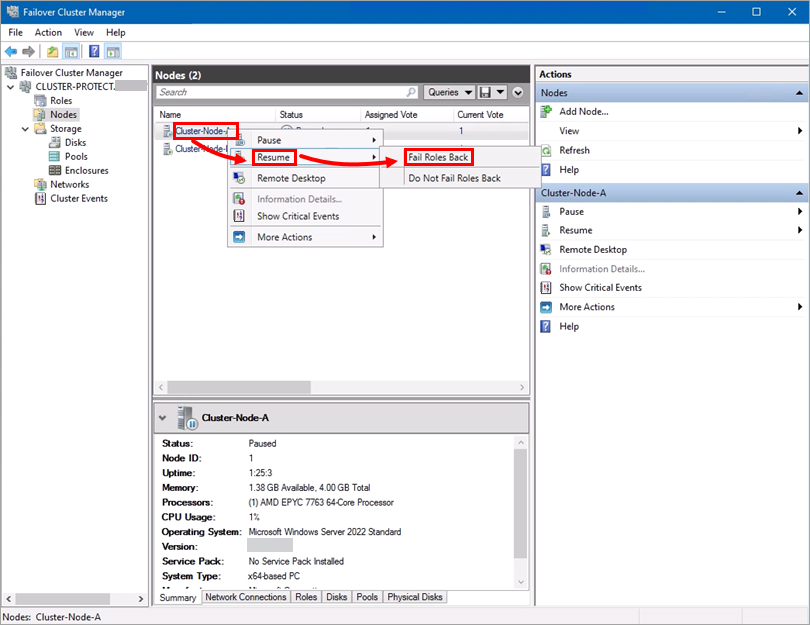
Open Failover Cluster Manager, right-click the first node, select Resume → Fail Roles Back.
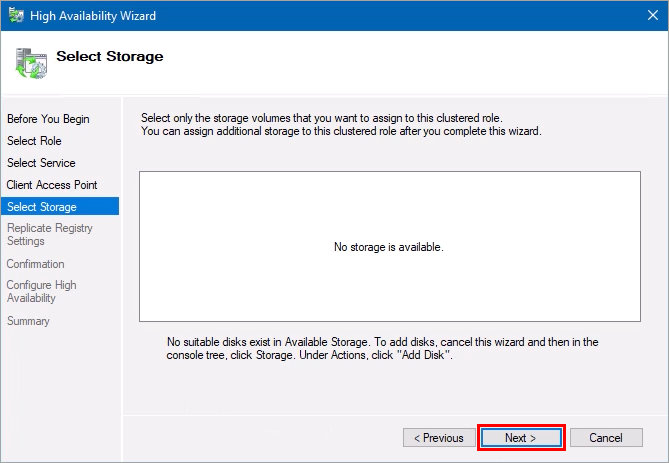
VIII. Configure the role on the failover cluster
-
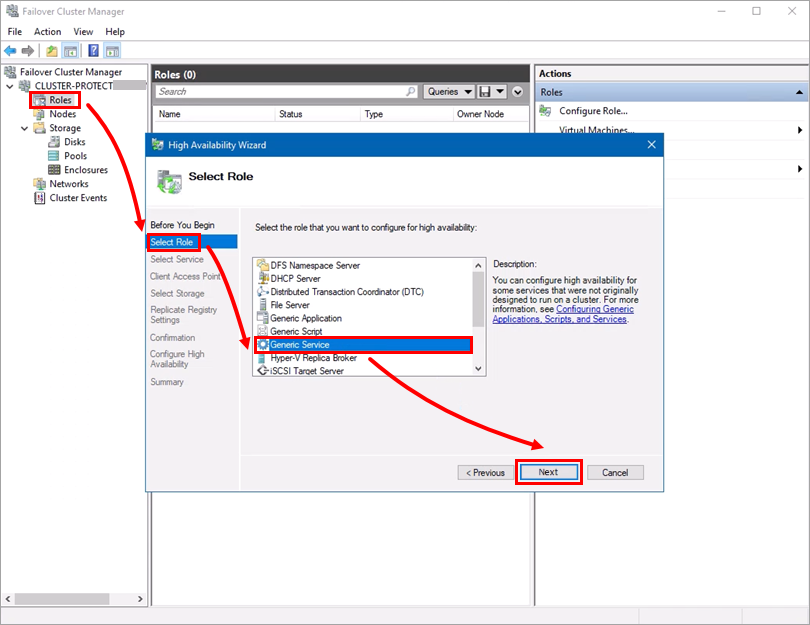
In Failover Cluster Manager, click Roles → Next. In Select Role, click Generic Service → Next.
-
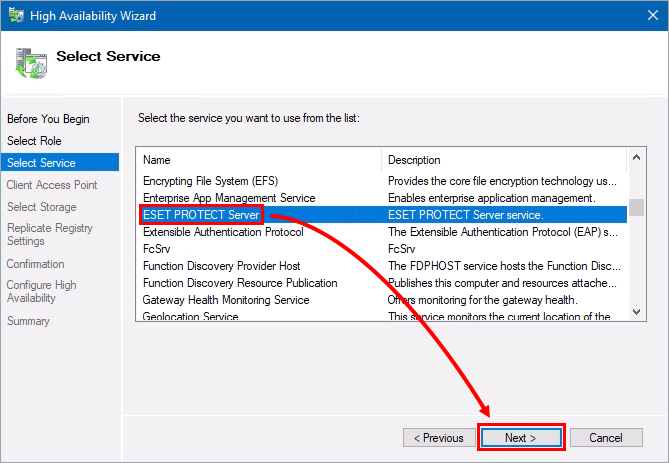
Select ESET PROTECT Server and click Next.
-
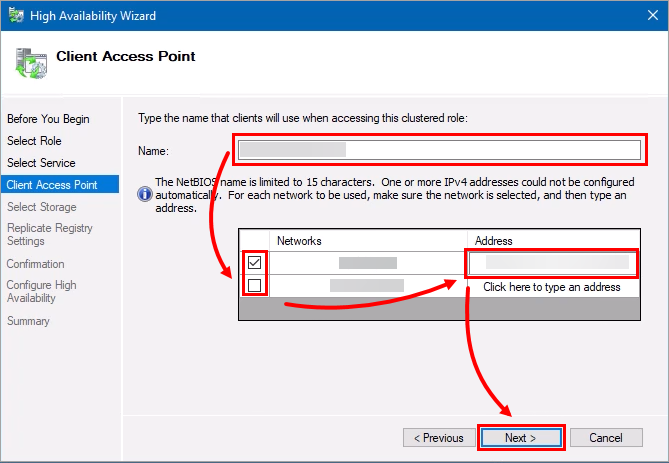
Type the name, select the network, type the IP Address, and click Next.
-
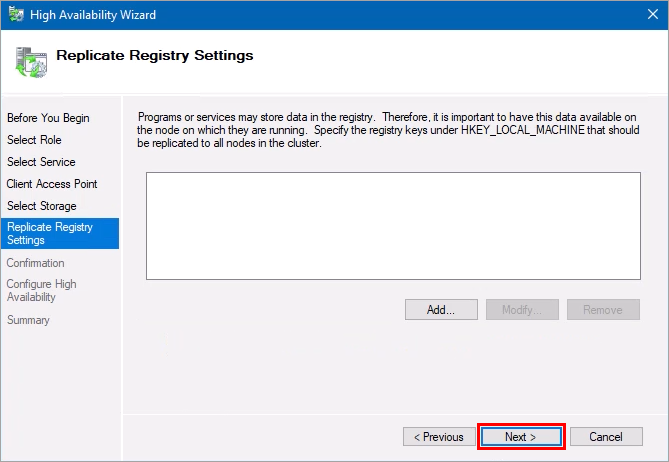
Click Next.
-
Click Next.
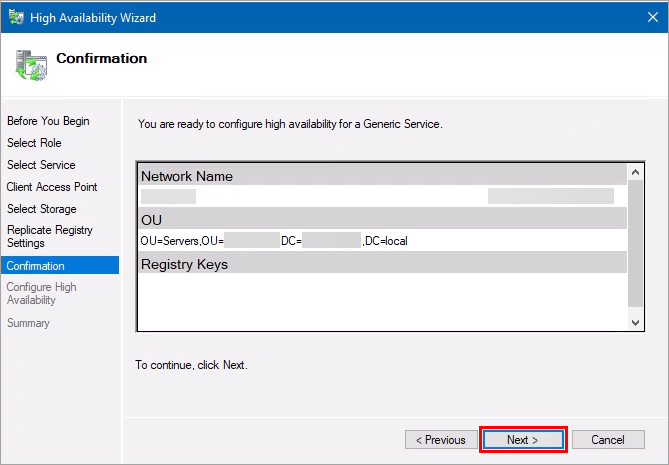
-
Click Next.
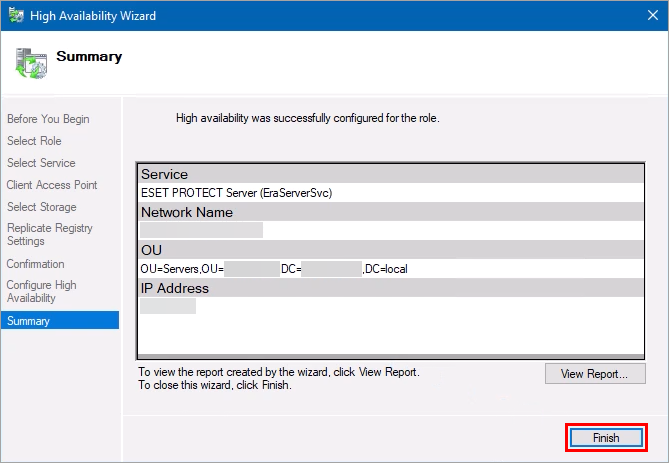
-
Click Finish.
IX. Install the ESET PROTECT Web Console
-
Edit the following file in Notepad:
C:\Program Files\Apache Software Foundation\Tomcat 9.0\webapps\era\WEB-INF\classes\sk\eset\era\g2webconsole\server\modules\config\EraWebServerConfig.propertiesChange “server_address” to your CNAME cluster listener address.
-
Restart (or start) the Tomcat service.