Issue
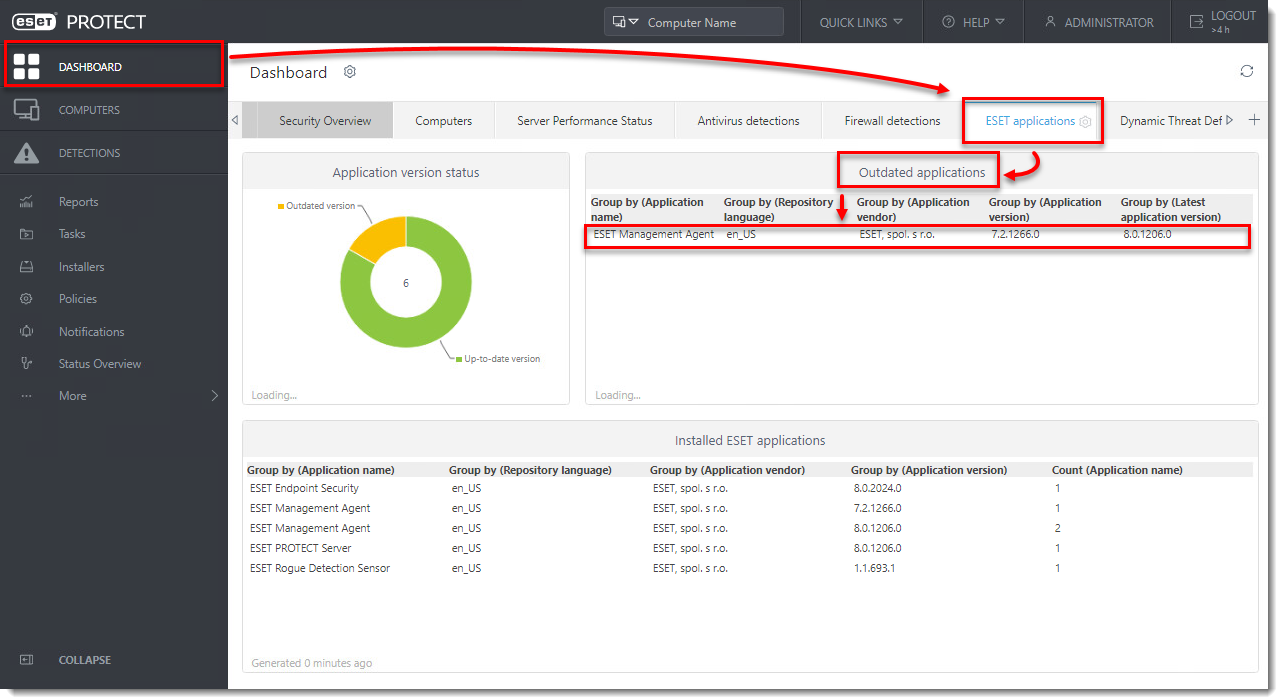
- You have upgraded your ESMC 7.x product to the latest version of ESET PROTECT On-Prem, but the computers managed by ESET PROTECT On-Prem are still running an earlier Agent version, as shown in the Web Console Dashboard → ESET applications → Outdated Applications
- Upgrade to the latest ESET Management Agents via Components Upgrade Task
- Troubleshooting
Solution
-
Open the ESET PROTECT Web Console.
-
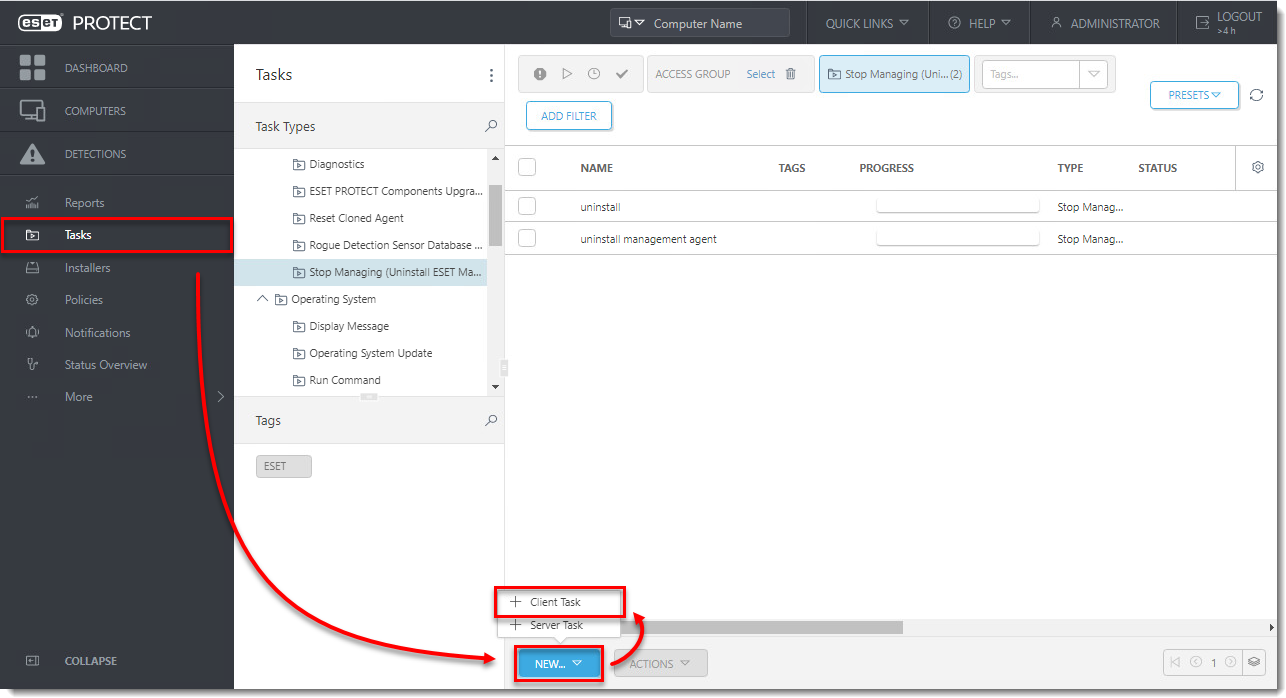
Click Tasks → New → Client Task.
- Type a task Name, select ESET PROTECT Components Upgrade from the Task drop-down menu and click Settings.

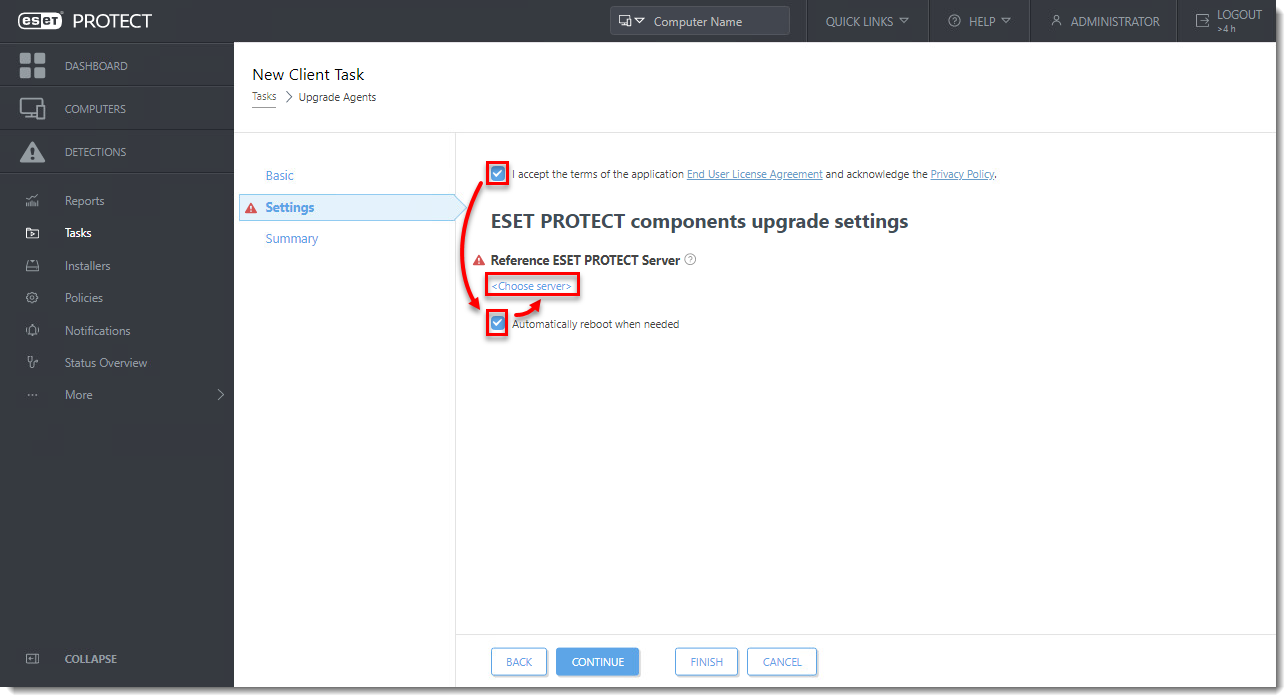
- Select the check boxes next to I accept the terms of the application End User License Agreement and acknowledge the Privacy Policy and Automatically reboot when needed and click Choose server.
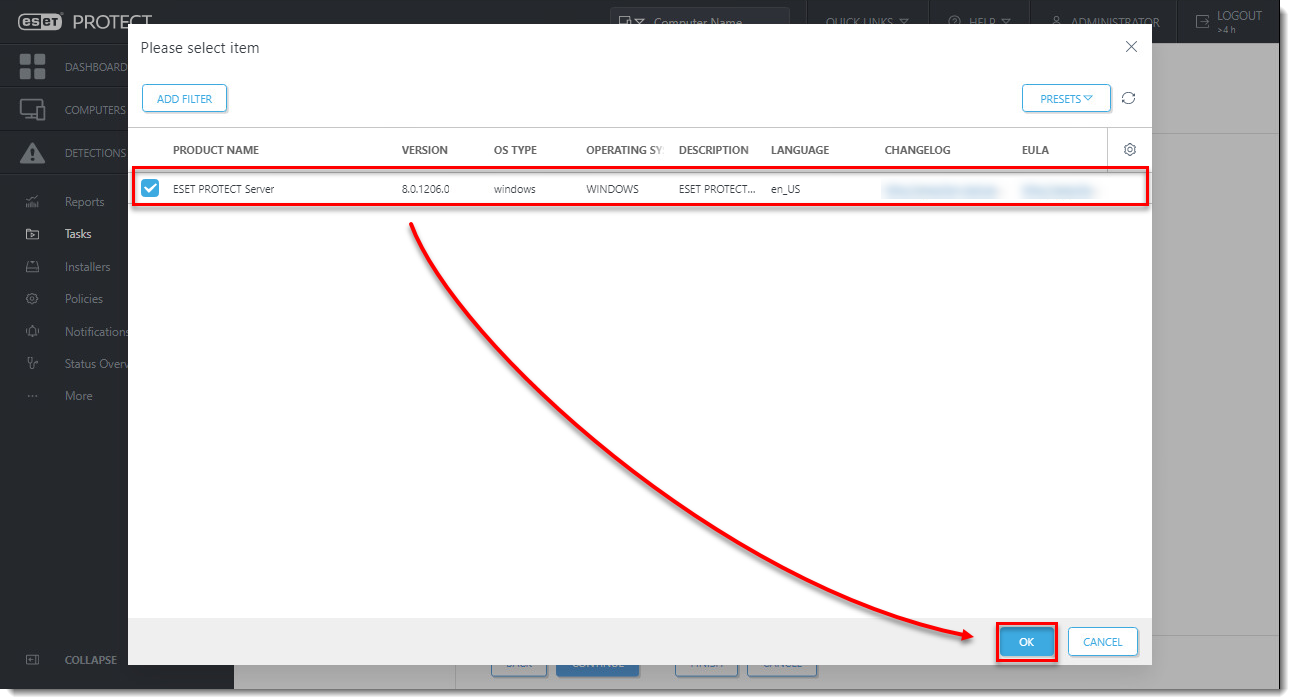
- Select the check box next to the latest version of the ESET PROTECT Server and click OK.
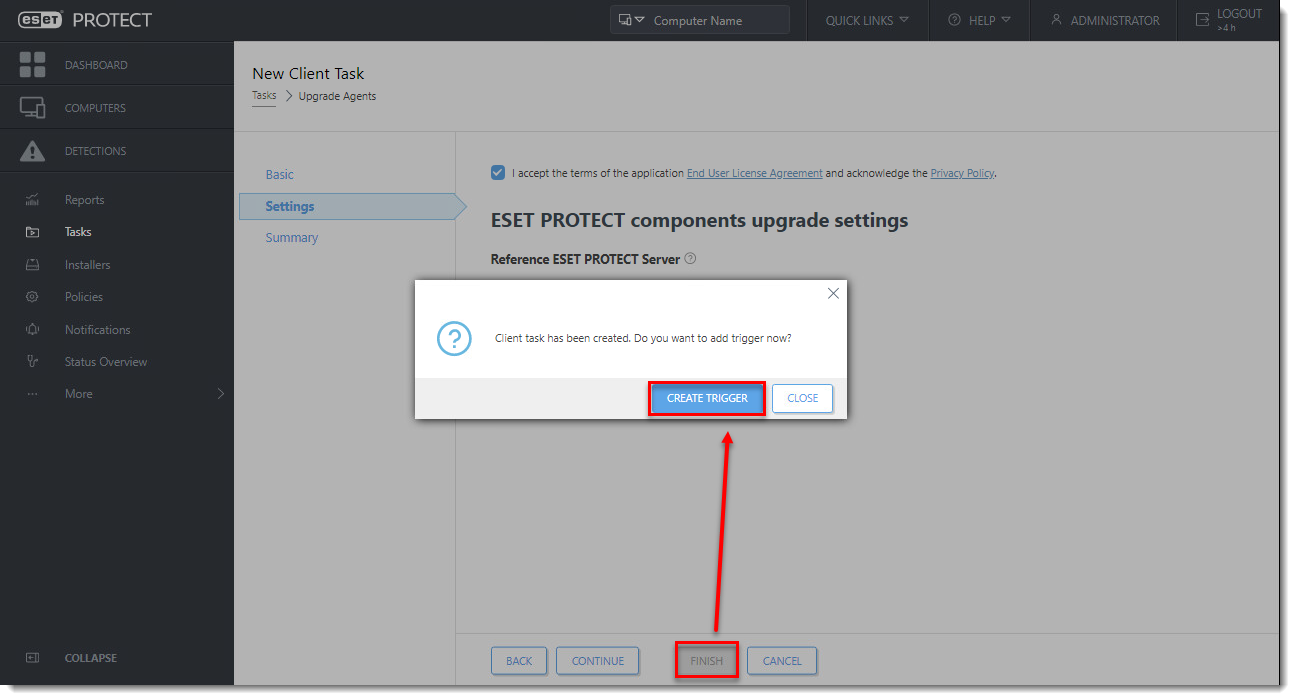
- Click Finish to create the Client Task and click Create Trigger.
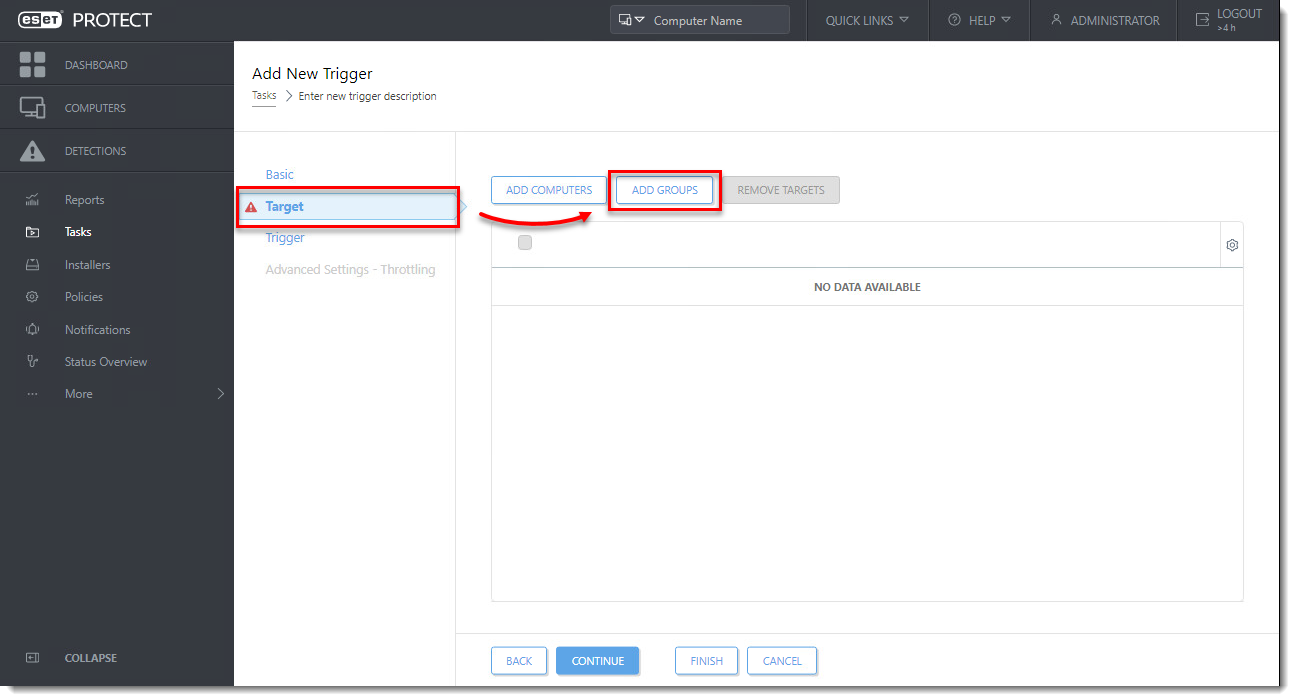
- Click Target → Add Groups.
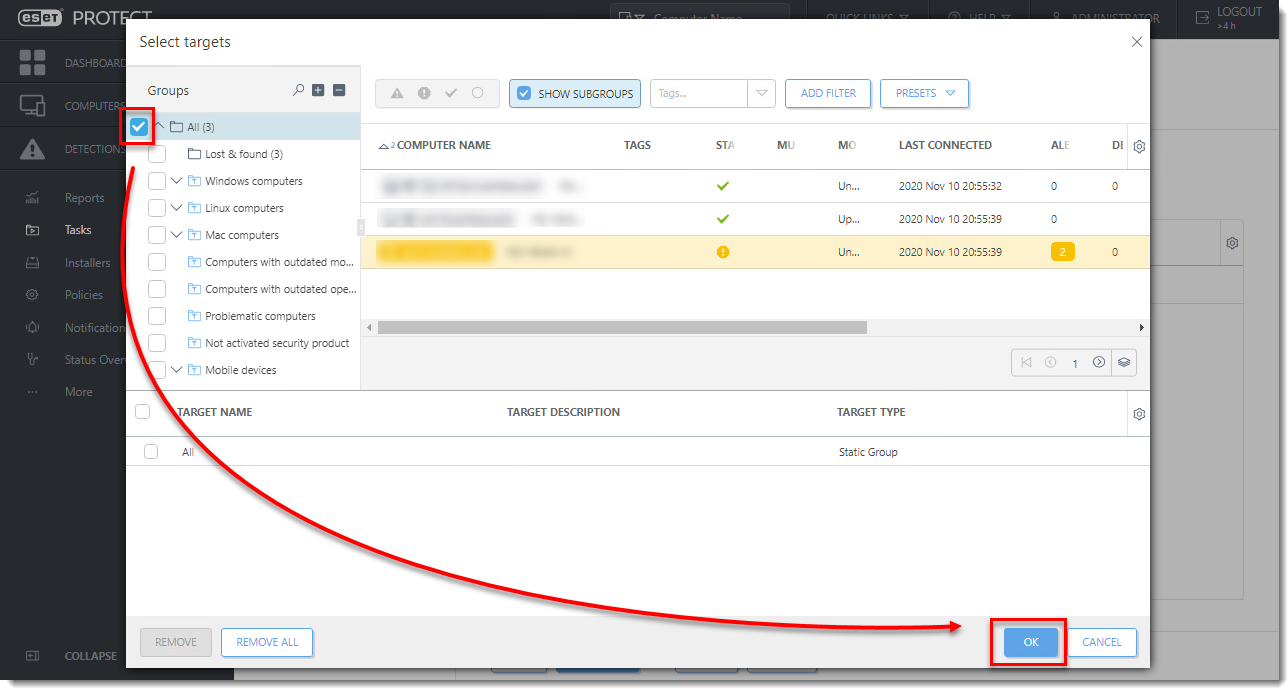
- Under Groups, select the check box next to All and click OK.
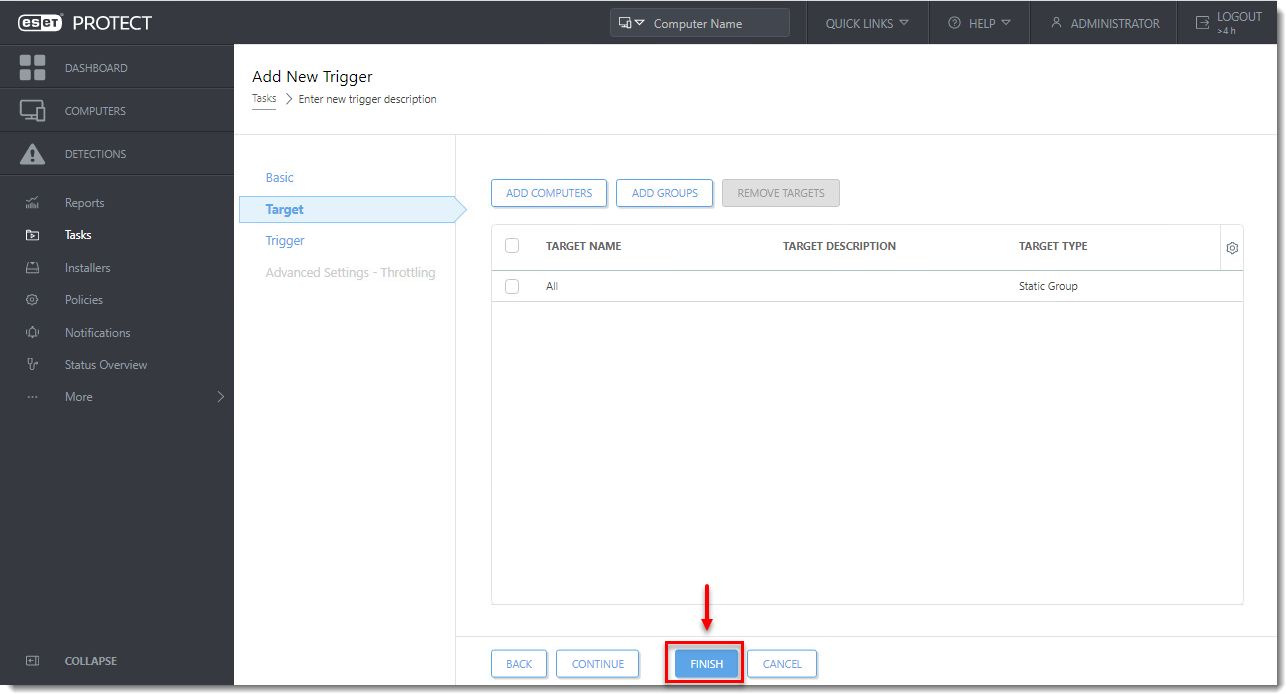
- Click Finish to apply the Client Task to all managed computers. The task may take longer to complete, depending on the Agent replication interval. After the task completes on all computers, ESET Management Agent on all managed computers is updated to the latest version.
Troubleshooting
If the Components Upgrade task is not working properly, upgrade Agents using Run Command task (recommended for advanced users only):