Issue
- Allow self-enrollment communications through the Windows Firewall of a system that is hosting ESET Endpoint Encryption Server
- Allow self-enrollment communications by application exclusion
- Allow self-enrollment communications by port exclusion
Details
The steps described below are for the software firewall provided with Windows Server 2012 R2. Steps may vary on other editions of Windows. You may need to make similar changes to hardware firewalls if present to allow communications.
There are two methods to allow communications; only one of the methods needs to be used:
Solution
Application exclusion
-
Press the Windows
 key on your keyboard and type
 control panel. Click Control Panel.

-
Click System and Security.

- Click Allow an app through Windows Firewall.

- Click Allow another app.

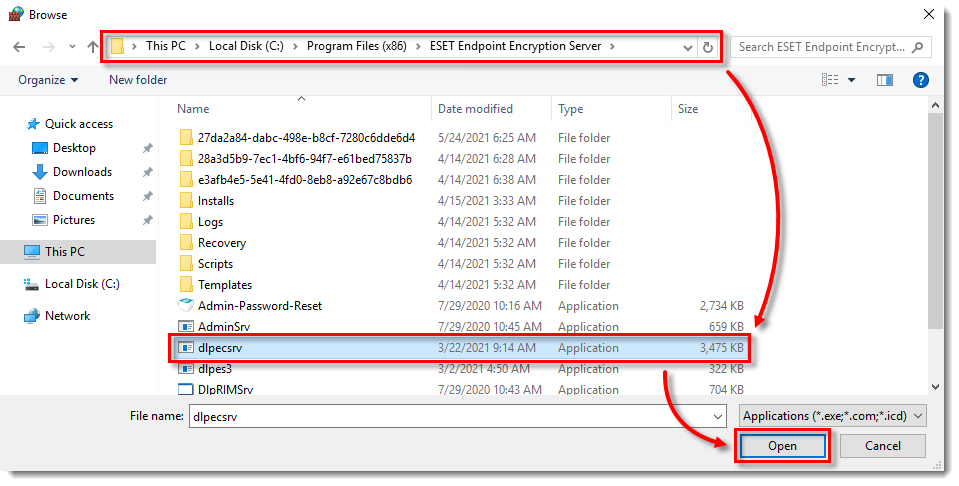
- Click Browse.

- Browse to
C:\Program Files (x86)\ESET Endpoint Encryption Serverand select dlpecsrv. Click Open.
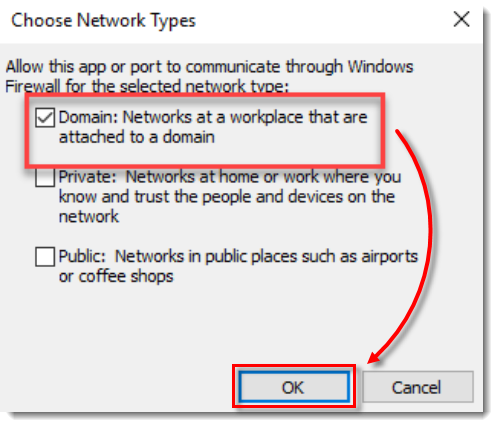
- Click Network types.

- Select the check box next to Domain: Networks at a workplace that are attached to a domain and click OK.
- Confirm that ESET Endpoint Encryption Server Console Service is listed and click OK.

Port exclusion
-
Press the Windows
key on your keyboard and type control panel. Click Control Panel. -
Click System and Security.
-
Click Windows Defender Firewall.

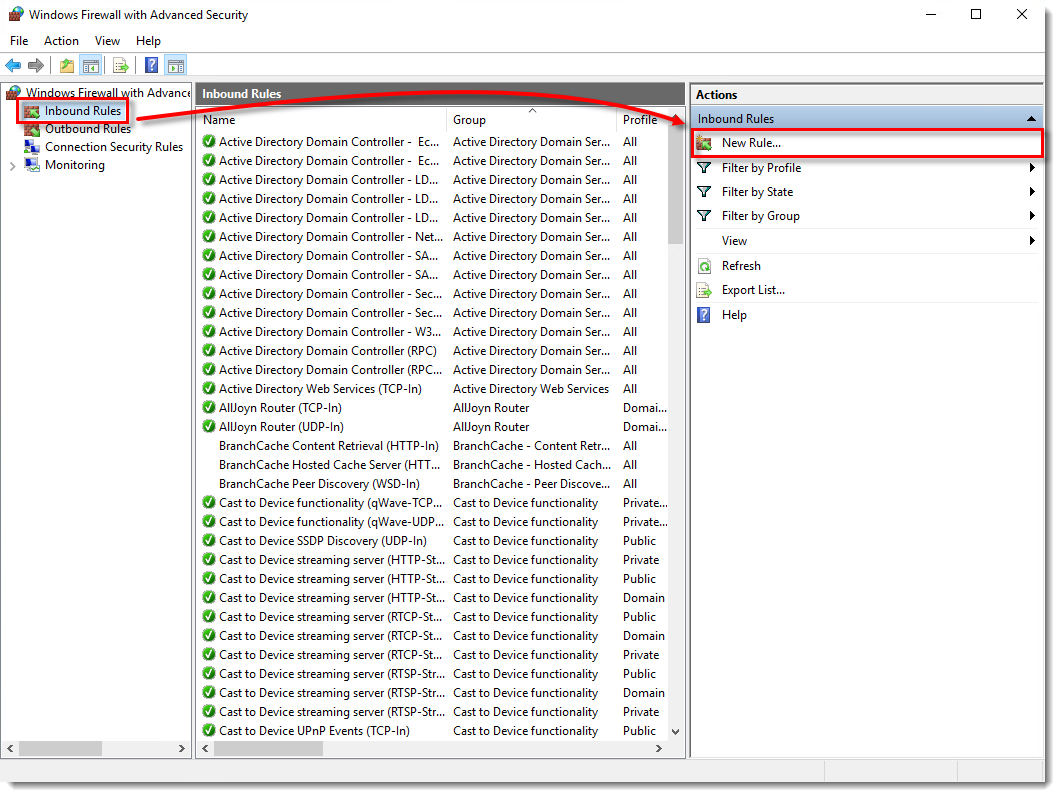
- Click Advanced settings.

- Select Inbound Rules and click New Rule.
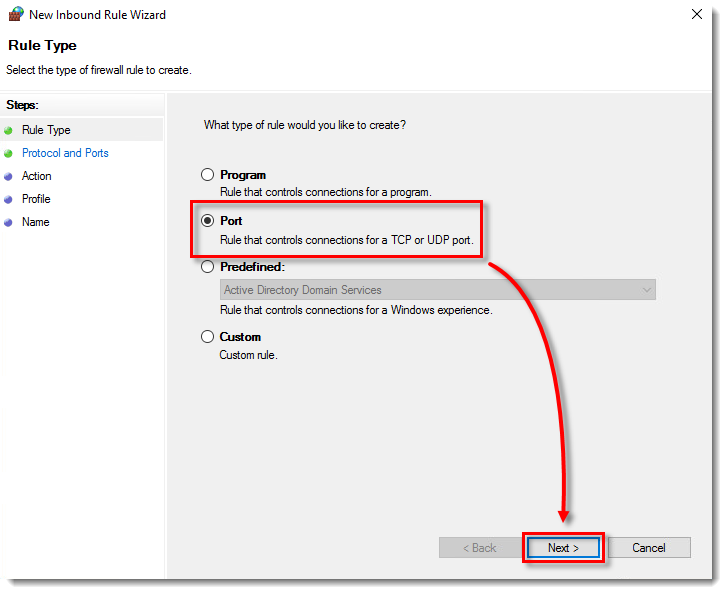
- Select Port and click Next.
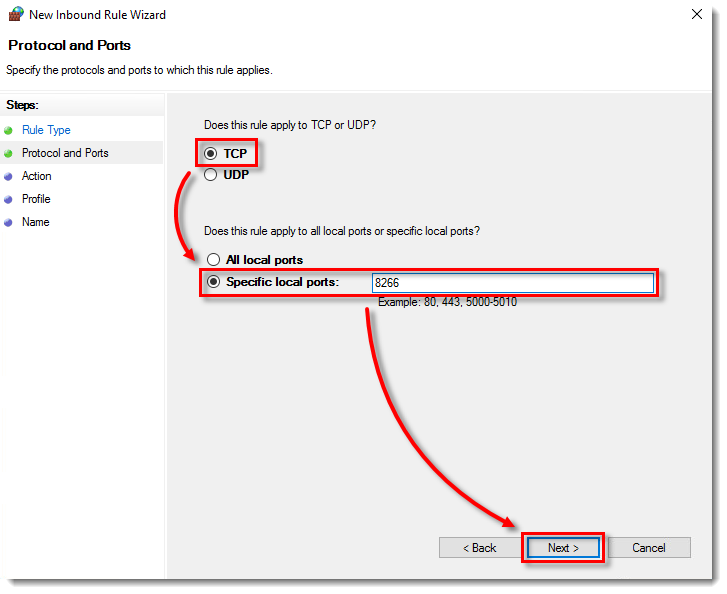
- Select TCP, ensure that Specific local ports option is selected, and type
8266in the Specific local ports field. Click Next.
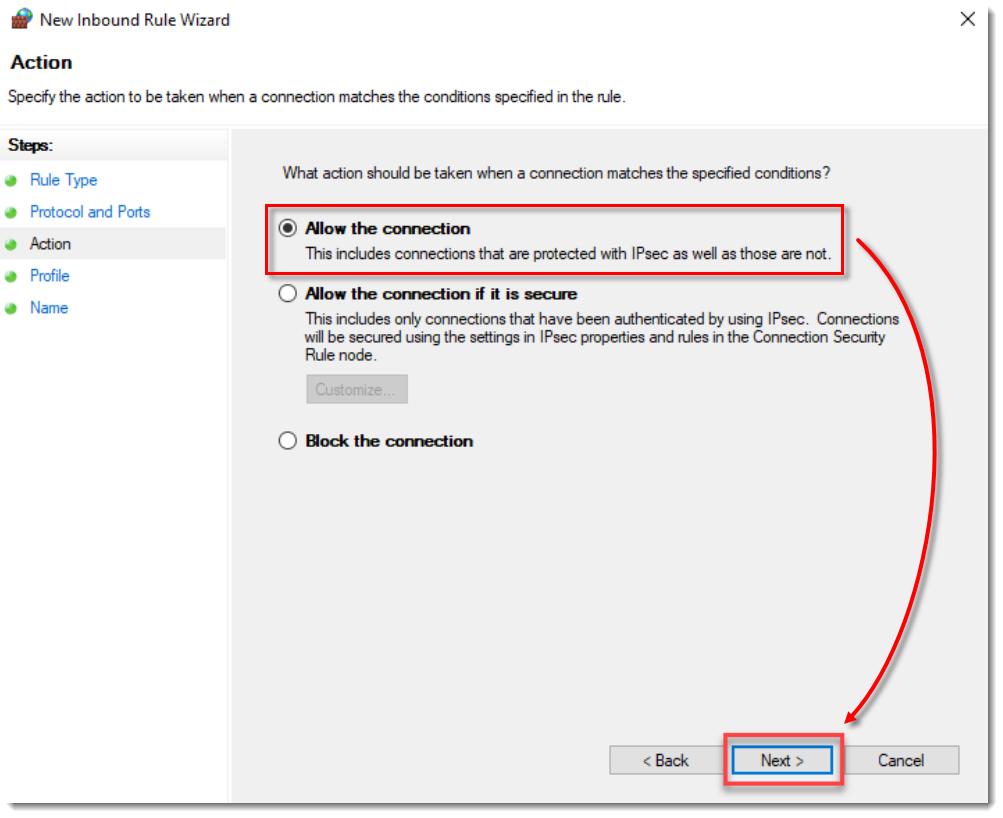
- Select Allow the connection and click Next.
- Deselect the check boxes next to Private and Public and ensure that only the check box next to Domain is selected. Click Next.

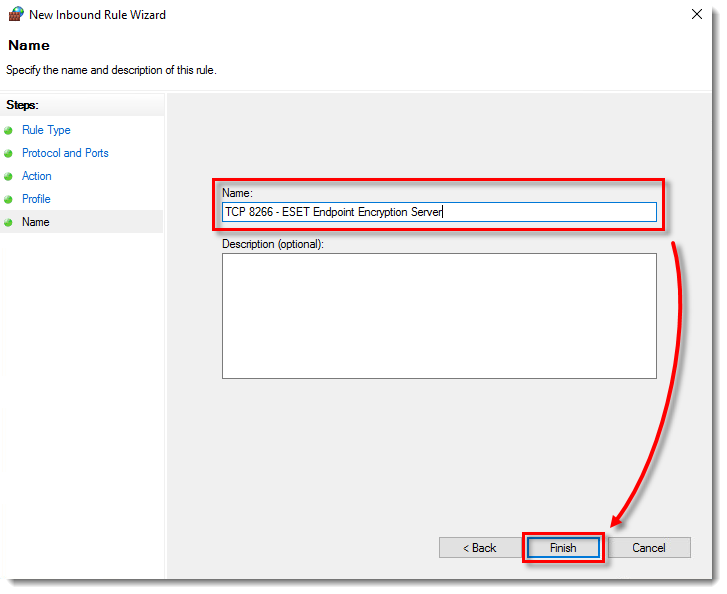
- Type a name for the rule in the Name field and click Finish.
- Repeat the process from the Port exclusion section but select UDP as the type instead of TCP in Step 7.