Issue
- You need to run ESET Endpoint Encryption (EEE) recovery utility diagnostics
- Use the ESET Encryption Recovery Media Creator
- Use the ESET Encryption Recovery Media
- Display disk information
- Search disks for metadata
- Disk R/W test
- Obtain the recovery log file
Solution
Use the ESET Encryption Recovery Media Creator
-
Insert an empty USB drive into your computer.
-
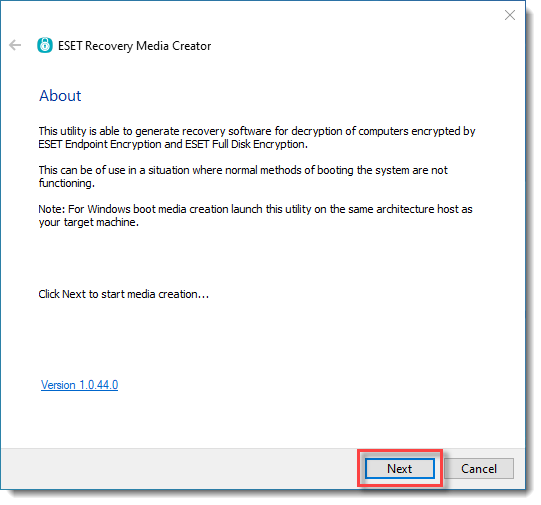
Run the utility and click Next to continue.
-
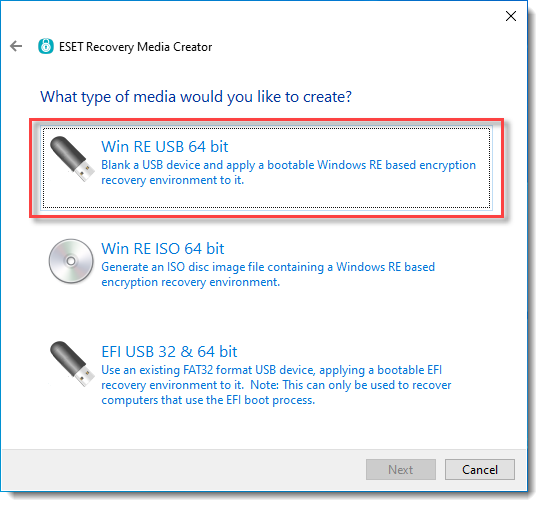
Click Win RE USB 32/64 bit.
-
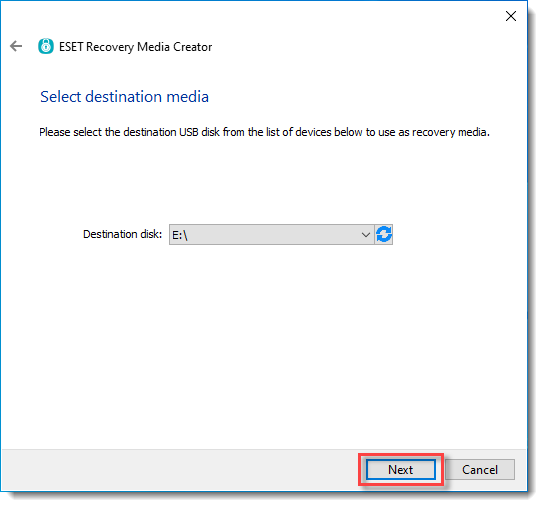
Select the Destination disk for the recovery media and click Next.
-
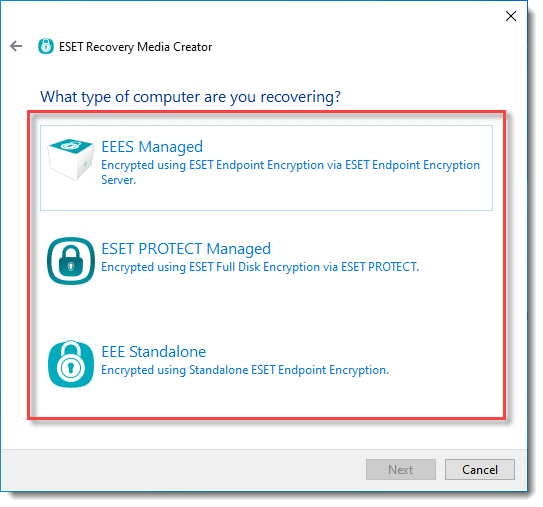
Select the type of computer you are troubleshooting.
-
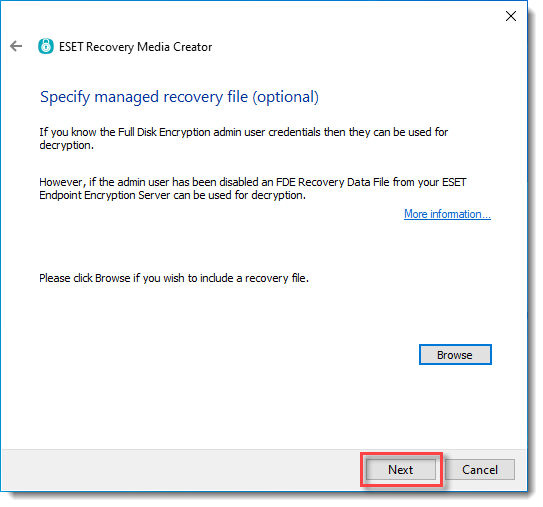
Do not specify a managed recovery file. Click Next.
-
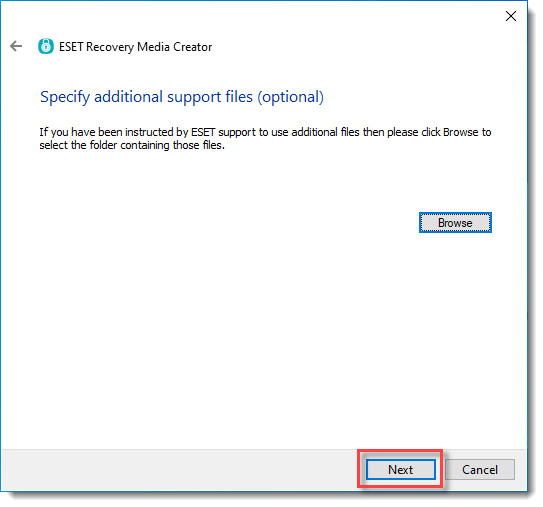
Do not specify additional support files. Click Next.
-
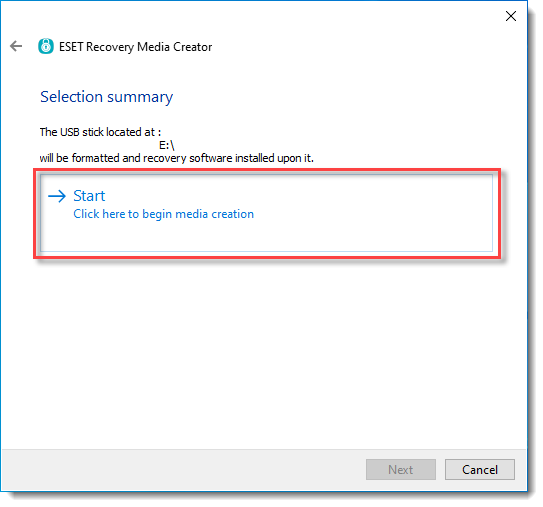
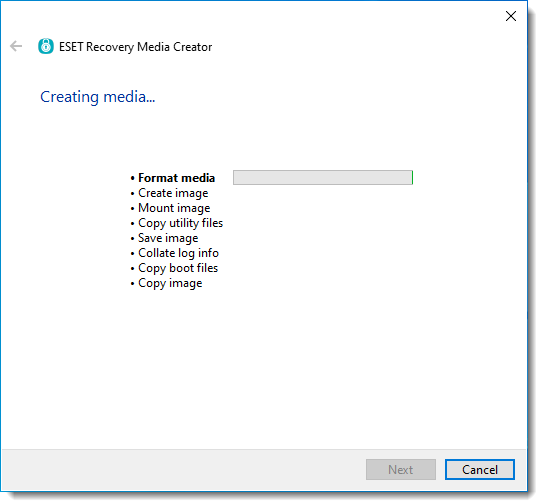
Click Start to create the recovery media.
-
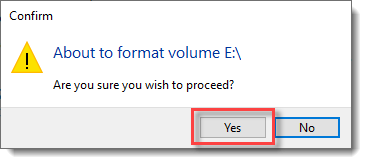
A format dialog will appear, click Yes to format the USB drive and create the recovery media.
-
Allow the utility to complete the creation process.
-
Click Finish.

-
Safely eject the USB drive.
Use the ESET Encryption Recovery Media
-
Insert the ESET Encryption Recovery USB drive and boot the Workstation from the USB.
-
If the device has booted correctly, you will see the image below.

-
Select the desired language to continue.
Display disk information
-
Click Display Disk Information.
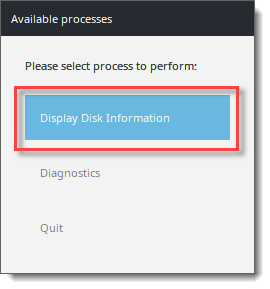
Figure 3-1
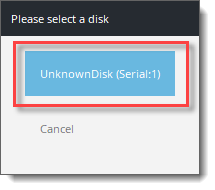
- Select the desired disk.
-
Click Ok. It will return you to the disk selection menu.
-
Either click Cancel or repeat steps two and three for additional disks.
-
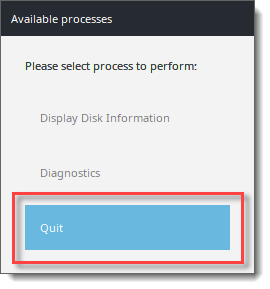
Click Quit to exit the utility.

-
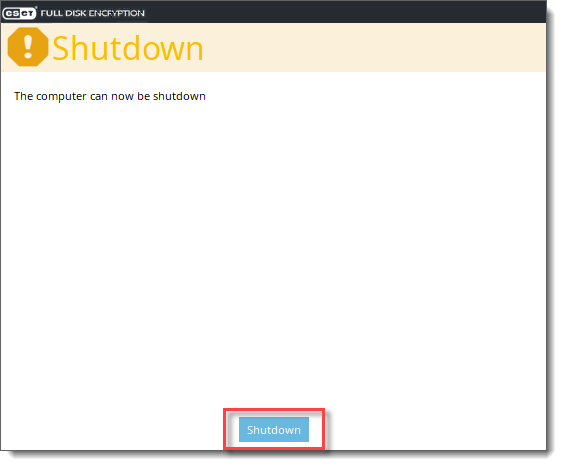
Click Shutdown to turn the machine off.

-
Provide the recovery log files to support further analysis.
Search disks for metadata
-
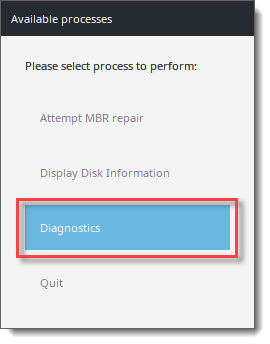
Select Diagnostics.

-
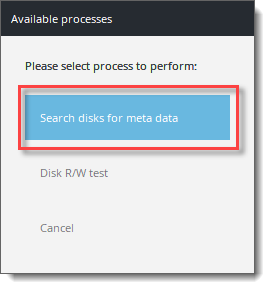
Select Search disks for metadata.
-
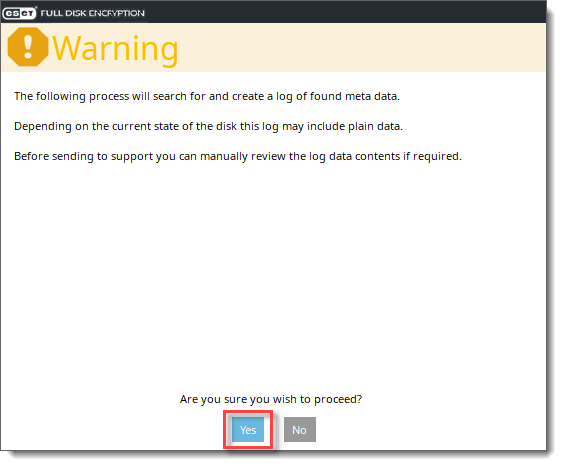
Read the warning dialog. Press Yes to continue.
-
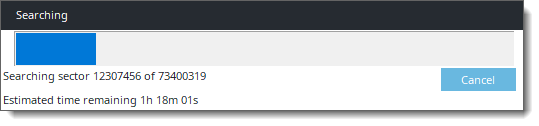
Wait for the search to complete.
-
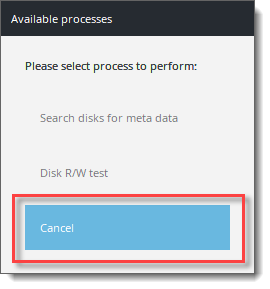
After the metadata search has finished, press Cancel.
-
Click Quit to exit the utility.

-
Click Shutdown to turn the machine off.
-
Provide the recovery log files to support further analysis.
Disk R/W test
-
Select Diagnostics.
-
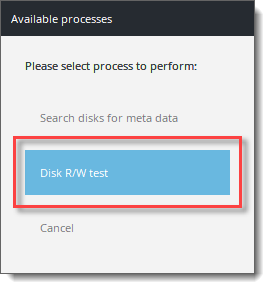
Select Disk R/W test.
-
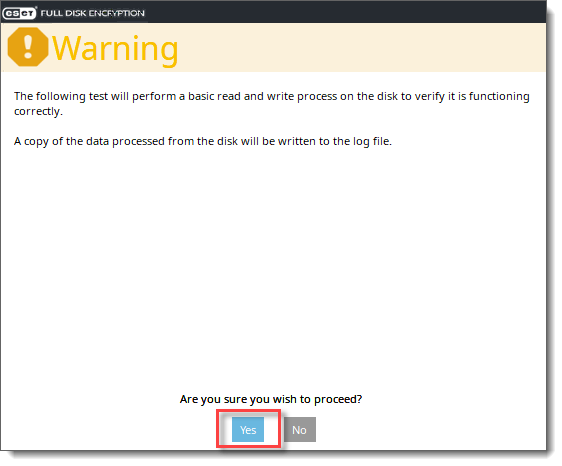
Press Yes to continue.
-
Select the desired disk.

-
Press Ok.
-
Press Cancel.

-
Click Quit to exit the utility.
-
Click Shutdown to turn the machine off.

-
Provide the recovery log files to support further analysis.
Obtain the recovery log file
-
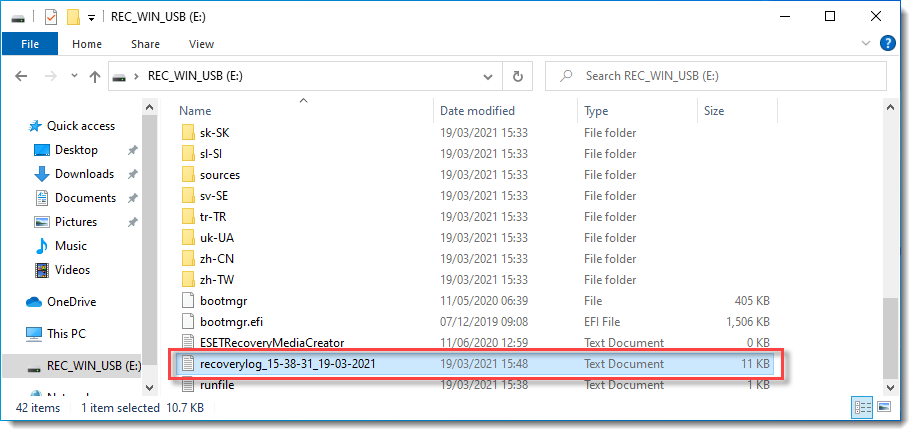
After using the ESET Encryption Recovery Media to collect diagnostic information, connect the USB drive to another machine and navigate to the root of the REC_WIN_USB drive.
-
Locate the recoverylog_TIME_DATE.txt file and provide this to Technical Support for further investigation.